
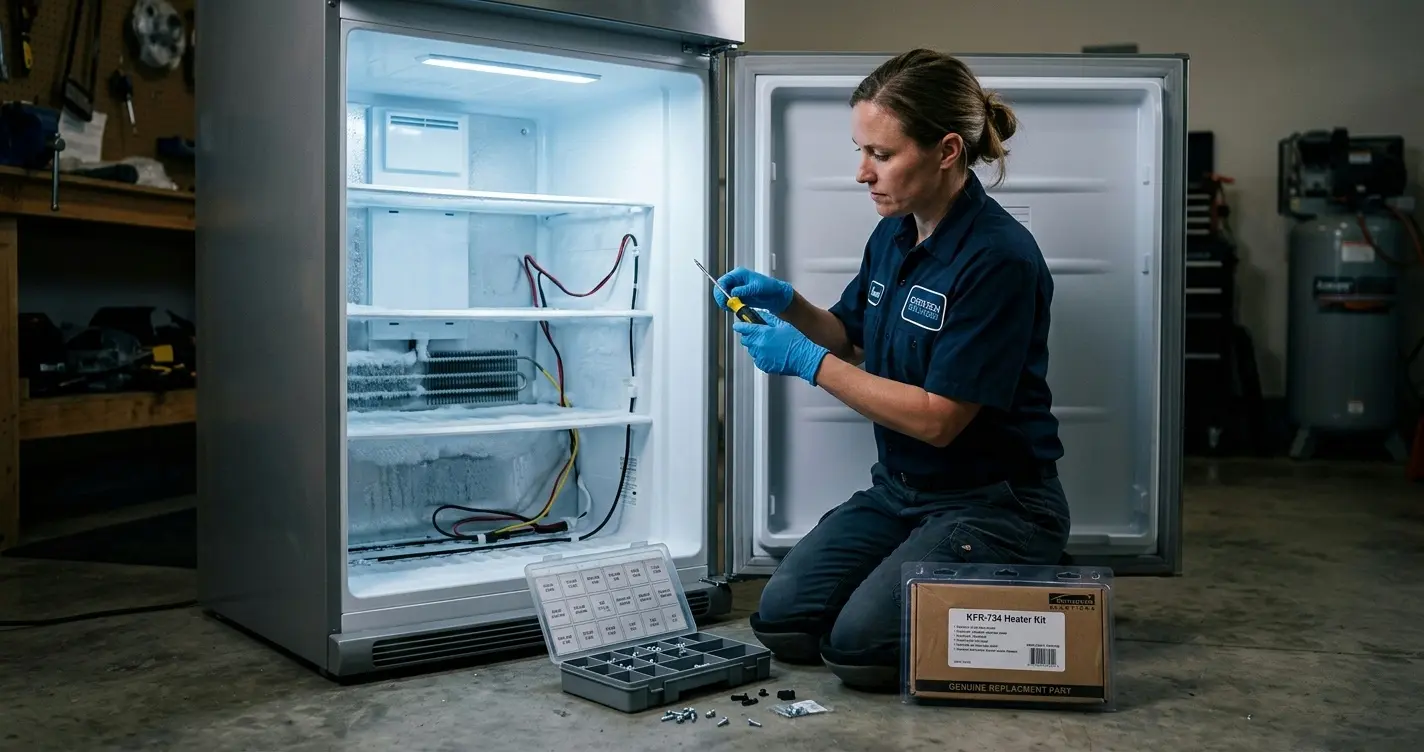
Pull the back panel off a freezer that’s been building frost for weeks, and nine times out of ten you’ll find one of two things: a dead defrost heater or a heater that’s still glowing but never gets the signal to turn on. This guide covers the physical replacement itself, the part you actually came here for once you’ve already confirmed the heater is the problem, not how to diagnose whether it’s the heater, the thermostat, or the control board in the first place.
Table of Contents
Before You Start: What This Guide Covers
This walkthrough assumes you’ve already confirmed the defrost heater is the failed component, that there is visible frost buildup on the evaporator coils that doesn’t clear during a manual defrost cycle, or that the heater tests as an open circuit with a multimeter. If you haven’t gotten that far yet, work through the diagnostic checks first, since replacing a heater that wasn’t actually the problem is a common and avoidable mistake. 👉 [LG Refrigerator Frost Buildup on Evaporator Coils, Diagnosing the Defrost System].
Common models covered by this procedure include the LFXS26973S, LMXS28626S, and similar bottom-freezer or French-door units using a rod-style or flat-foil defrost heater mounted along or below the evaporator coil assembly. Side-by-side models sometimes use a different heater configuration, so confirm your exact part number against your model before ordering.
⚠️ SAFETY WARNING: READ BEFORE YOU START
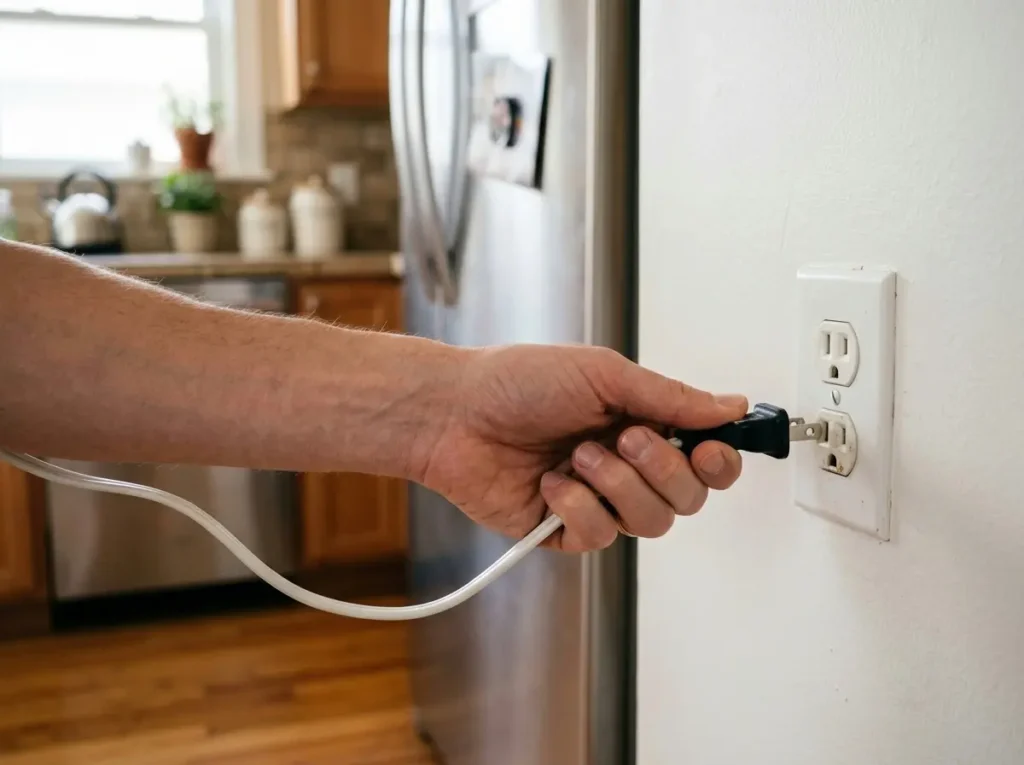
- Unplug the refrigerator from the wall outlet completely before removing any panel. Do not rely on turning the unit off through the control panel; pull the physical plug.
- Let the freezer sit unplugged for a few minutes before touching the evaporator area if you were mid-diagnosis, since heater elements can retain heat briefly after power is cut.
- The LG refrigerator defrost heater carries household voltage when connected. Never test or handle heater wiring with the unit plugged in, and never touch bare heater terminals with wet hands.
- Some evaporator covers have sharp sheet-metal edges underneath the plastic shroud; wear gloves when removing screws and panels in this area.
- If your model’s heater assembly is a sealed glass-tube type and you notice it’s cracked or broken during removal, handle it carefully and dispose of the glass properly rather than forcing a stuck piece free.
- This repair does not involve the sealed refrigerant system, so no refrigerant handling certification is needed. However, if you notice oily residue, hissing sounds, or refrigerant odor anywhere near the evaporator coils during this repair, stop and call a licensed technician; that indicates a separate, unrelated sealed-system leak that this guide does not cover.
- If at any point the wiring harness connectors look melted, scorched, or fused to the heater terminals, do not force them apart; a damaged wiring harness connector may need professional replacement rather than a DIY reconnect.
Tools and Parts You’ll Need
You’ll need a Phillips screwdriver, a nut driver or small wrench for hex-head screws (LG uses both depending on model year), needle-nose pliers for wiring connectors, and a multimeter to confirm the new heater’s resistance before final reassembly. Have a shallow tray or towel ready, since manually defrosting the evaporator area before starting this repair will produce meltwater.
Order the exact replacement heater for your model number rather than a universal part. LG defrost heaters vary in length and wattage between rod-style and flat-foil designs, and an incorrect wattage heater can either underperform on defrost cycles or run hot enough to stress nearby plastic components over time.

- Wide Compatibility:Directly replaces part number MEE63545701, 4880889, AP6325252, EAP12391928, PS12391928, ALG55777, PD0…
- Solve Cooling Issues: Effectively addresses common refrigerator problems such as frost buildup on evaporator coils, frid…
- Durable & High-Performance: Crafted from premium-grade materials engineered to withstand frequent heating and cooling cy…
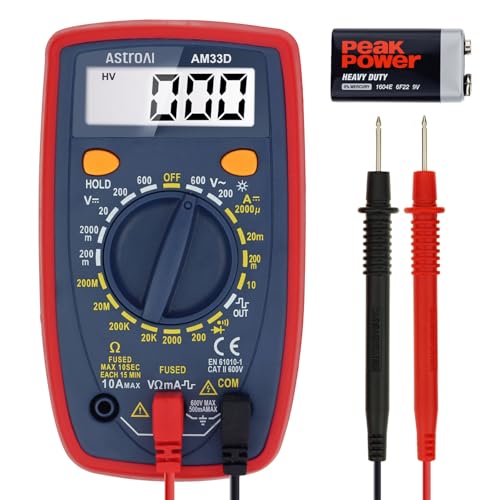
- Additional Tips – The following incorrect operations may cause the multimeter not to show results: Firstly, the plugs of…
- Versatile Digital Multimeter – Accurately measures AC/DC Voltage, DC Current, Resistance, and Diode. This Multimeter is …
- Troubleshooting with Accuracy – This Multimeter has a sampling speed of 2 times per second; Built-in a backlight LCD dis…

- Patented bit-bar design allows easy removal of bits and customizable placement
- Clear lid allows you to easily see contents at glance. Clip latch for secure closing. Small bulk storage size fits insid…
- CNC-machined bit tip for precise fit in screw heads for reducing cam-out resulting in accurate manufacturing for optimal…
Step 1: Locate and Access the LG Refrigerator Defrost Heater
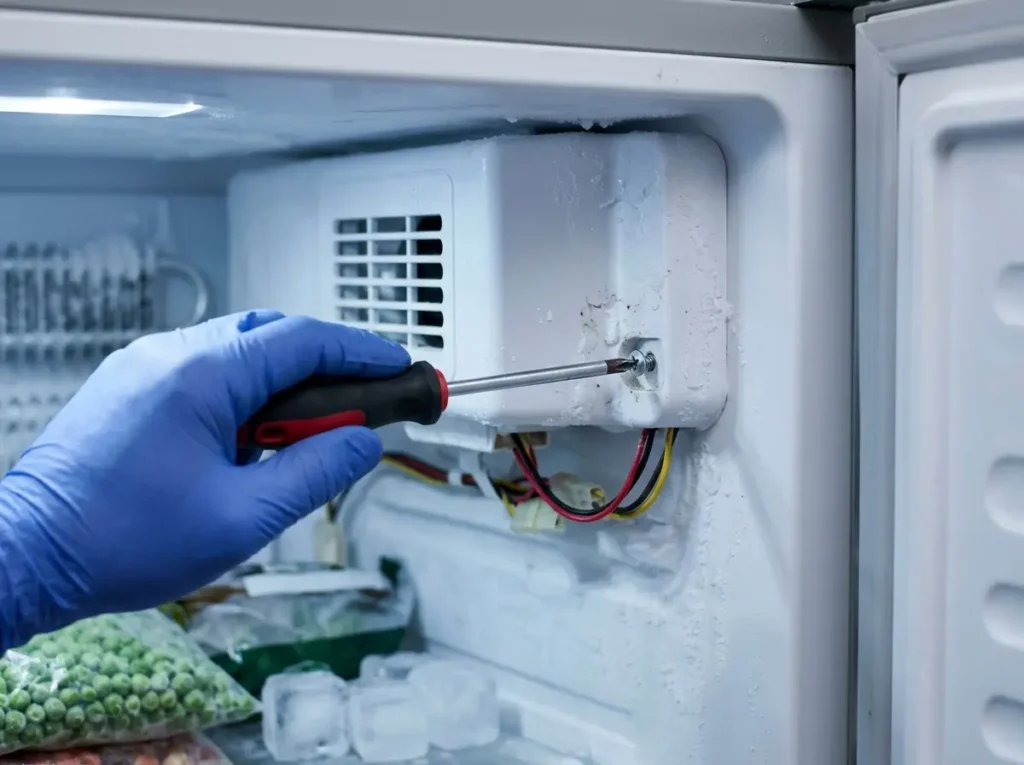
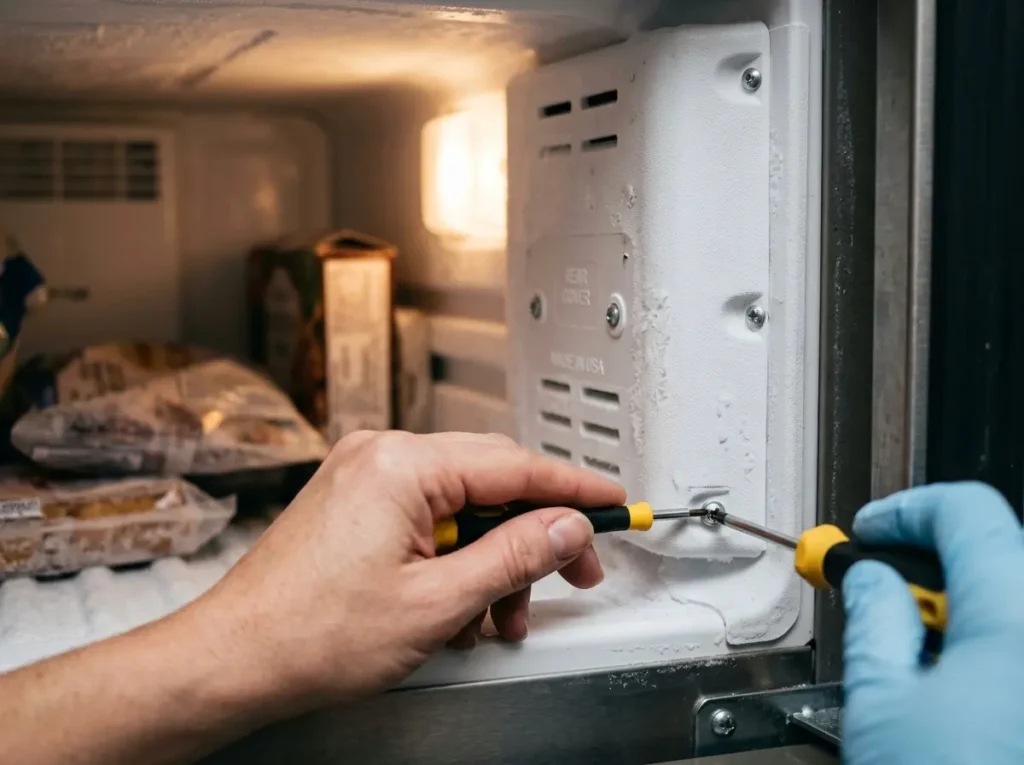
With the unit unplugged, remove all items from the freezer compartment and take out any shelves or bins blocking the rear wall. Locate the screws holding the interior rear panel (the plastic cover hiding the evaporator coils). On most LG bottom-freezer models, this is a single large panel secured by 4-8 screws around its perimeter, sometimes with a couple hidden behind a small trim piece near the top.
Before removing the panel fully, allow any built-up frost or ice on the coils to soften somewhat if you haven’t already run a manual defrost; trying to pry a heavily frosted panel free can crack the plastic tabs that hold it in place.
Step 2: Remove the Evaporator Cover and Disconnect the Old Heater
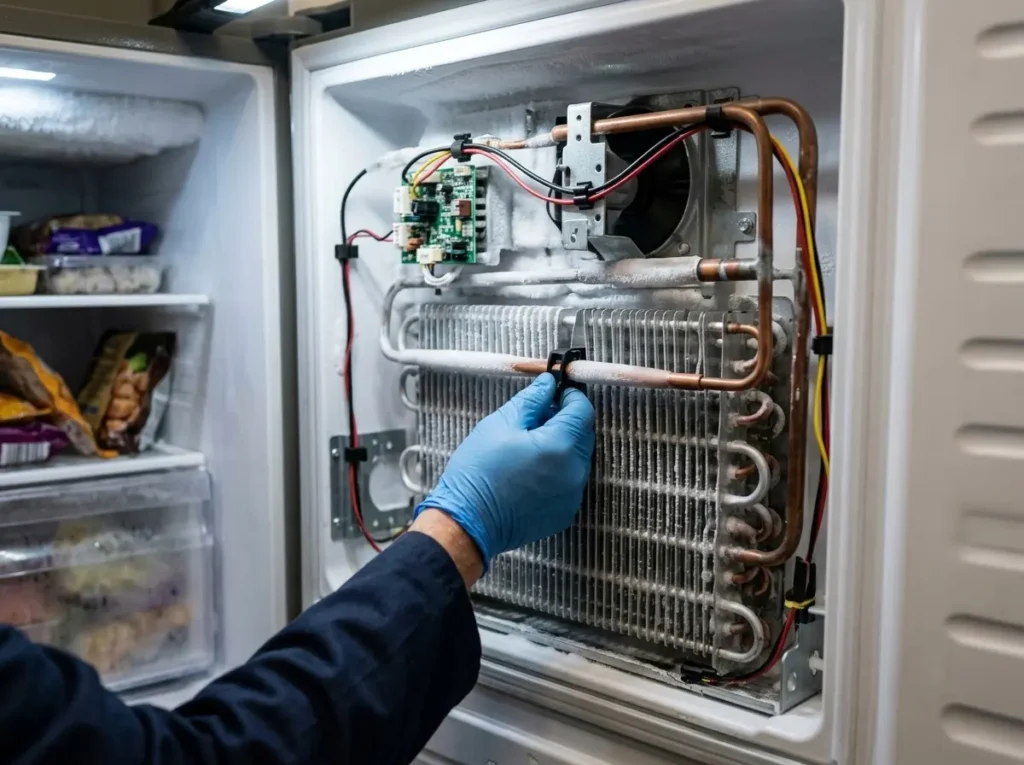
Once the panel is off, you’ll see the evaporator coil assembly with the defrost heater running along its length, either as a metal rod positioned just below or beside the coils or as a flat heating element clipped directly to the coil fins, depending on your model. Take a photo of the wiring routing before disconnecting anything. LG refrigerator defrost heater connectors are usually a simple two-wire spade or bullet connector, but the routing path around the coil assembly can be easy to forget once the old part is out.
Disconnect the wiring harness by pulling the connector housing itself, not the wires, to avoid damaging the crimp connection. Then remove the mounting clips or brackets holding the heater in place; these are typically small metal or plastic retainer clips that unclip or unscrew individually along the heater’s length.
Insider detail worth knowing: on rod-style heaters, the retainer clips are often the actual point of failure over time, not the heater element itself; a clip that’s lost its tension can let the heater sag against the coil fins, creating a hot spot that shortens the heater’s life. If you’re replacing a heater that failed prematurely (well under the expected several-year service life), inspect the clips and consider replacing them alongside the heater rather than reusing worn ones.
Step 3: Install the New Heater and Reconnect the Wiring
Position the new heater exactly along the same path as the old one, using your reference photo, and secure it with the same retainer clips (or new ones if the originals showed wear). Make sure the heater sits with even spacing from the coil fins along its entire length; an uneven mount that allows one section to rest directly against the fins can cause localized overheating during future defrost cycles.
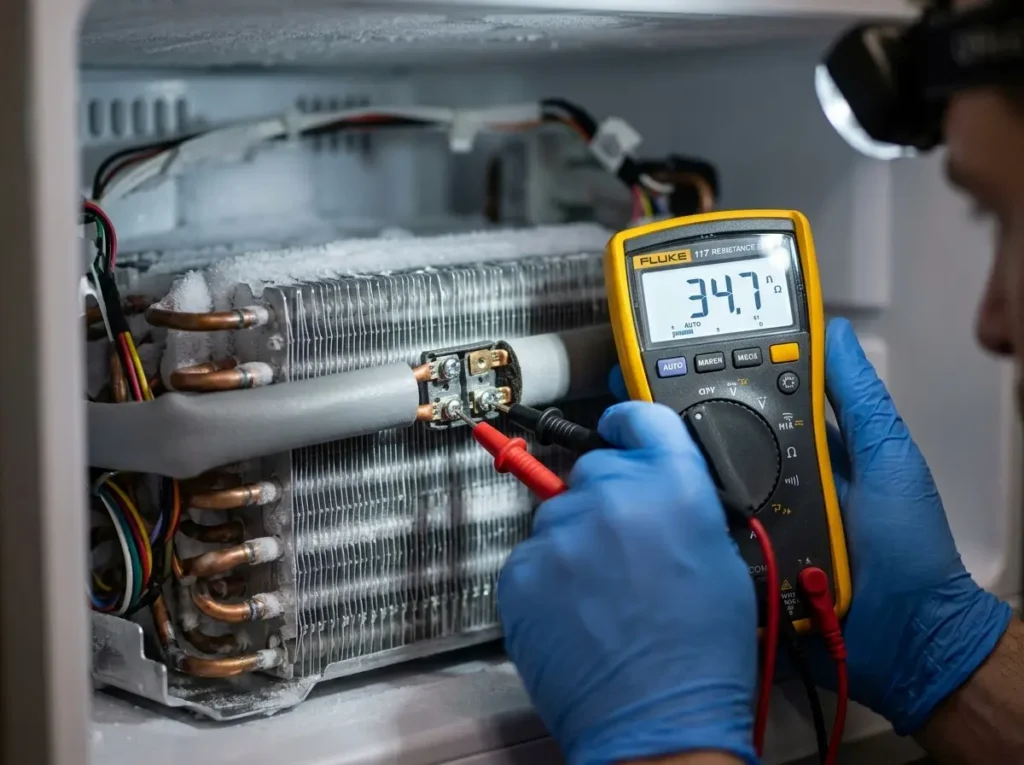
Reconnect the wiring harness, making sure the connector clicks or seats fully rather than sitting loosely. Before closing anything up, use your multimeter to test resistance across the new heater’s terminals; this should read as a definite, non-infinite value consistent with the wattage of your replacement part rather than an open circuit, confirming continuity before you button the panel back up.
Step 4: Reassemble and Run a Test Defrost Cycle
Reinstall the rear evaporator panel, replace the screws in their original positions, and put shelves and bins back in. Plug the unit back in and, if your model supports it, trigger a manual defrost cycle through the control panel’s diagnostic mode rather than waiting for the next scheduled automatic cycle; this lets you confirm the new heater is functioning within minutes rather than potentially waiting up to 24 hours for the next natural cycle.
During the test cycle, you should be able to hear a faint click as the defrost heater relay engages, and if you have access to the evaporator area briefly (freezer door open, quick check), you may notice slight warmth or hear minor melting sounds from the coil area, confirming the heater is drawing power correctly.
LG Refrigerator Defrost Heater Type Comparison Table
| Heater Type | Common On | Failure Signs | Replacement Note |
| Rod-style (metal tube) | Bottom-freezer French-door models | Open circuit, sagging against coil fins | Check retainer clip tension when replacing. |
| Flat-foil element | Some side-by-side and compact models | Cracking, delamination from coil surface | Clean the coil surface fully before mounting the new element. |
| Glass-tube sealed heater | Older or select model years | Visible cracks, internal filament break | Handle carefully, and dispose of glass properly. |
FAQ: LG refrigerator defrost heater
1. How long does an LG refrigerator defrost heater typically last?
Most defrost heaters last several years under normal use, though heaters under mechanical stress from a loose retainer clip or heavy frost buildup cycles can fail noticeably earlier.
2. Do I need to discharge any capacitors before starting this repair?
No, the defrost heater circuit doesn’t involve compressor-run capacitors, so this repair only requires unplugging the unit rather than any capacitor discharge procedure.
3. Can I test the old heater before ordering a replacement part?
Yes, testing resistance with a multimeter across the disconnected heater terminals is the standard way to confirm failure before purchasing a replacement, and it’s worth doing even after removal to confirm you diagnosed correctly.
4. Is it normal for the new heater to look slightly different from the old one?
Minor differences in wire lead length or connector style between OEM production runs are common and don’t indicate an incorrect part, as long as the wattage and physical dimensions match your model’s specification.
5. What happens if I install the heater with wiring routed incorrectly?
Incorrectly routed wiring can pinch against the coil assembly or panel edges when reassembled, which risks wire insulation damage over time even if the heater initially functions correctly.
6. Do I need to defrost the freezer completely before starting this repair?
A full manual defrost isn’t strictly required, but clearing heavy frost buildup first makes the rear panel easier to remove without cracking mounting tabs and gives you a clearer view of the heater and coil assembly.
7. How soon after replacement will I know if the repair worked?
Running a manual defrost cycle through the control panel’s diagnostic mode typically confirms heater function within a few minutes, rather than waiting for the unit’s next automatic scheduled cycle.
Final Word
Replacing an LG refrigerator defrost heater is a manageable weekend repair once you’re confident the heater is the actual point of failure; the process itself is mostly careful panel removal, a wiring photo for reference, and matching the mounting exactly to how the original sat against the coils. Take the extra few minutes to test resistance before reassembly, and you’ll know the job is done right before you ever close the panel back up.