
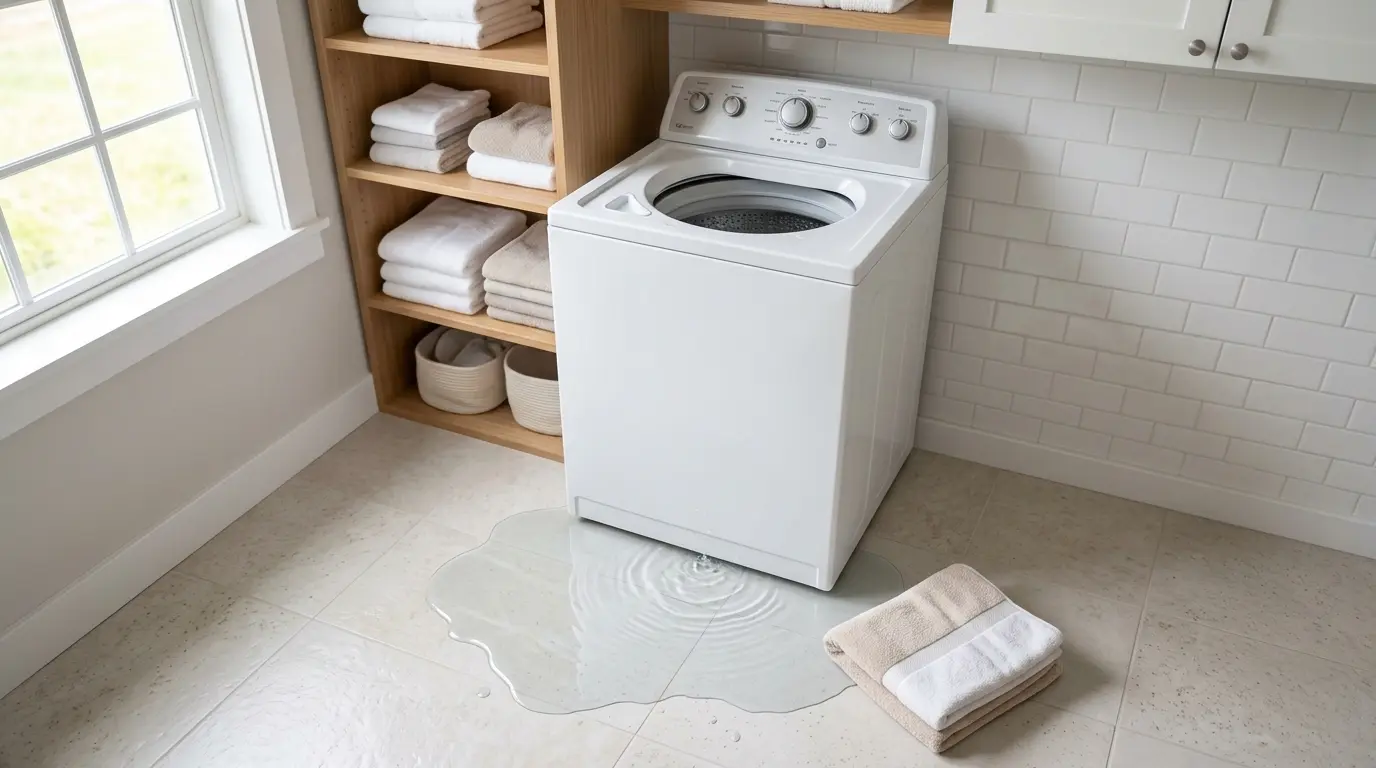
A GE washer leaking water onto the floor is usually caused by something you can check yourself. On a top-load, that is typically too much detergent, an unlevel machine, a loose drain hose, a backed-up standpipe, or worn fill-hose washers. On a front-load, the first place to look is the rubber door boot. If those checks come up clean, the cause is likely inside the machine, such as the drain pump, an internal hose, the inlet valve, or the tub seal, and that means a technician. This guide covers both types.
Table of Contents
Which washer do you have?
A top-load washer opens from the top, and a front-load washer opens from the front through a round door. Steps 1, 4, and 5 below apply to both types. Steps 2 and 3 are for top-loaders. Front-load owners should do Steps 1, 4, and 5, then go to the front-load section.
What does a GE washer leaking from the bottom mean
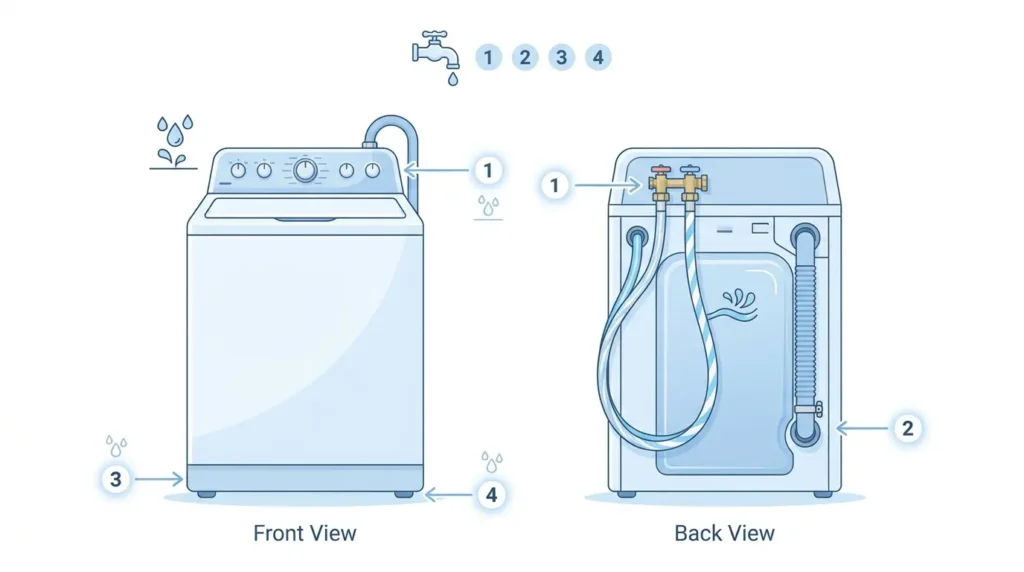
Water on the floor isn’t a diagnosis. It travels downhill, so the puddle often forms away from the source. A leak at the back can show up at the front, and the reverse is also true. The goal is to work out where the water starts and at what point in the cycle, then match that to the checks below.
Safety first
- Unplug the washer or switch off its breaker before touching anything. If the floor near the outlet is wet, use the breaker rather than reaching for the plug.
- Close both water supply taps before handling the fill hoses.
- Lay towels under any connection you will loosen, and keep the floor dry as you work.
- Don’t open the cabinet or look underneath the machine. Those checks are covered in the technician section.
Tools and parts
- Towels and a small level
- Adjustable pliers or a wrench for hose couplings
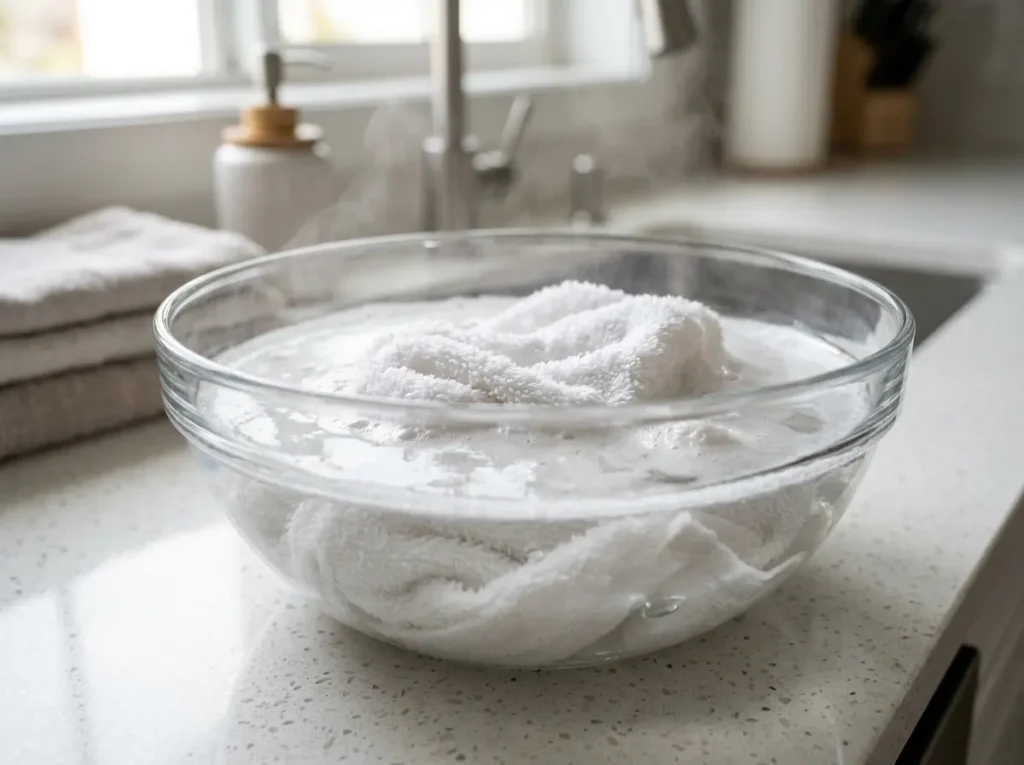
- A bowl of hot water and a washcloth (for the detergent test)
- Replacement rubber washers and fill-hose screens, if yours are worn or missing

- Torpedo Level Magnetic: Featuring a magnetic base, Firecore spirit level attaches securely to metal surfaces for a varie…
- Shockproof Rubber End Cups: Rubber end caps are shock absorbing to alleviate strain against the body of the product if d…
- 3 Different Vials: With 90°vertical bubble, 0° horizontal bubble and 45° bubble, Firecore small torpedo level tool provi…
Step 1: Pinpoint when and where it leaks.
Run a normal cycle and watch the floor. Note which stage the water appears in:
- While filling, or even when idle: points to the fill hoses, their connections, or the water valve.
- During washing: points to excess suds, an overfilled tub, or something inside the machine.
- During draining: points to the drain hose, the standpipe, or the drain pump.
- During spinning: points to an unbalanced load, an unlevel machine, or water backing up in the standpipe.
Also note where the water sits. The back of the machine suggests hoses or plumbing. The front-left corner suggests the overflow tube (see Step 2).
Result to expect: one or two likely suspects. If you can’t tell, run the checks below in order.
Step 2: Rule out too much detergent.
GE says most leaks at the front-left corner come from oversudsing. Suds push water over the edge of the inner basket, and it drains out through the overflow tube. Soft water makes this more likely. So does detergent left behind in towels, sweaters, and blankets.
To test for buildup, drop a washcloth from a wash that hasn’t been dried into a bowl of hot water. A white film on the surface means too much detergent is being used.
What to do: use less detergent. Wash heavily soaped items occasionally with soap. If it still leaks, go to Step 3.
Step 3: Check level and load.
An overloaded or out-of-balance washer can slosh water out. Run one wash with no detergent added. If it still leaks, it’s likely a service issue.
Check that the machine sits level and adjust the legs if it doesn’t. See also GE’s guidance on leveling the legs.
Result to expect: a steady machine that doesn’t rock. If water still appears, move on to the hoses.

- No More Pushing Your Washer Back – Our Dual-HexaGrip innovation prevents washer movement, offering 60% more contact with…
- Enjoy Serene Laundry Time – Our premium rubber pads absorb washer shocks and vibrations, reducing noise and shaking floo…
- Easy DIY Tool-Free Setup – Simply slide under your washer’s feet, level the washer before install; Works on any hard sur…
Step 4: Inspect the fill hoses.
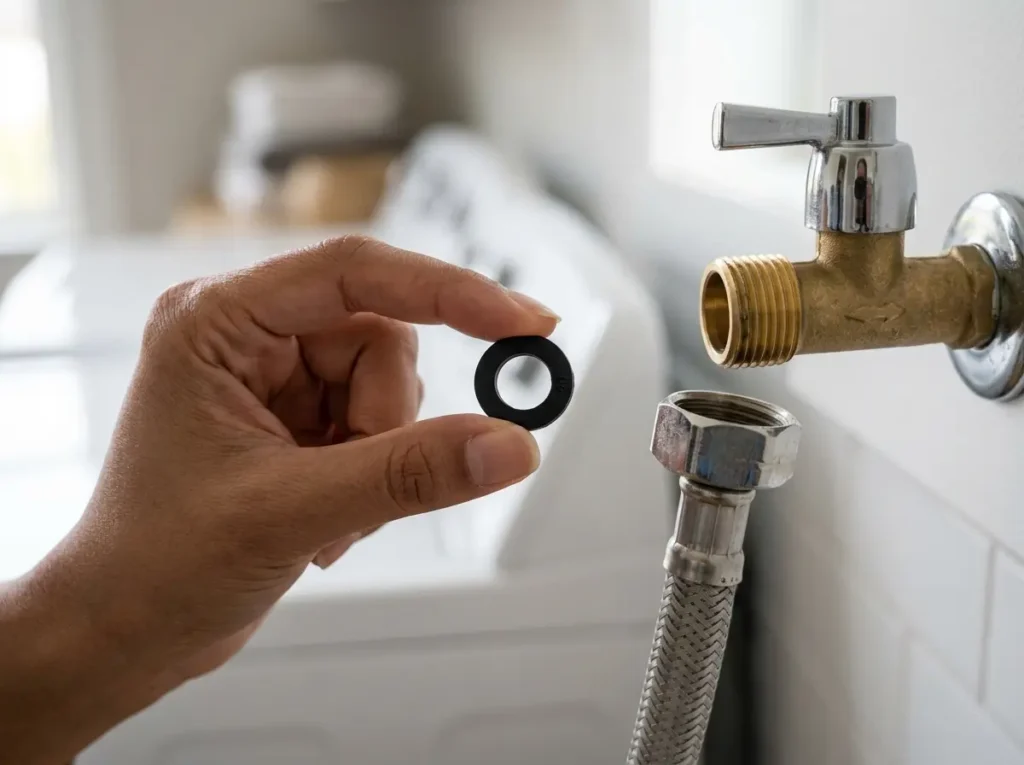
Close both supply taps first. Look at each connection at the wall and at the machine for dampness, and run a hand along the hose for damage.
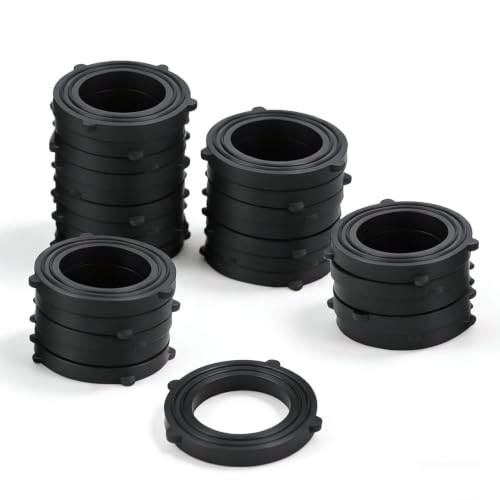
If a connection leaks even when hand-tight, look for a missing or damaged rubber washer or a damaged hose. New installs include black rubber washers, and without them water leaks at the tap.
What to do: replace worn washers, then reconnect and tighten. If the hose itself is damaged, replace the hose.


Step 5: Check the drain hose and standpipe.
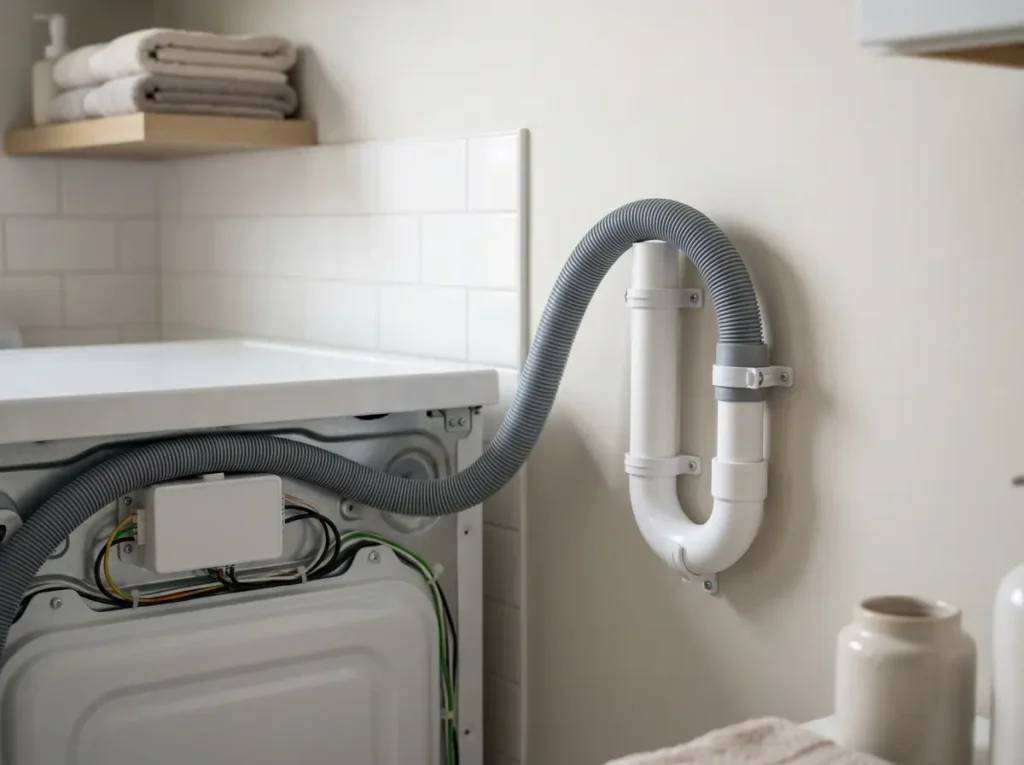
At the back of the washer, make sure the drain hose is fully seated and held by its plastic clamp and that the other end is fully inserted in the drainpipe. Look along the hose for cracks, splits, loose fittings, or soapy residue.
GE requires a standpipe at least 30 inches tall. Watch it during a spin. If water backs up and overflows partway through, the household drain is the problem, and a plumber is the right call, not an appliance repair.
If the hose is damaged, replace it. If it’s fine and water still leaks, read the next section.
Front-load washers: check the door boot.
On a front-load washer, the first thing to check is the rubber door boot, also called the bellows or gasket. It is the flexible seal between the door and the drum, and when it is damaged, water escapes at the front of the machine. Water pooling at the bottom front of the washer or door during a cycle is the usual sign. Boots fail from trapped objects, general wear, or rubber that dries out and turns brittle.
Checks (power off, taps closed)
- Unplug the washer or switch off its breaker, and dry the floor and the door area.
- Open the door and look all the way around the boot, especially the lower edge. You are looking for cracks, splits, holes, or a torn lip.
- Gently pull the boot back and look inside the fold. Stretch it slightly to show up small tears. Take care while you do this, because sharp objects such as bra wires or nails can sit in the fold.
- Wipe the door glass and the lip of the boot with a damp cloth. Built-up dirt, soap, or pet hair can stop the glass from sealing tightly against the boot.
Result to expect: a visible tear or hole means the boot is the leak. If the boot looks fine, do Step 4 and Step 5 for the hoses and standpipe. If the leak continues, call a technician.
Replacing a boot means taking part of the machine apart, so it is a job for a technician or for a guide written for your exact model.
How to protect the boot
- Empty every pocket before washing. Coins, keys, and wires can tear a boot.
- Put small items such as socks in a laundry bag so they don’t get trapped.
- Don’t overload the drum, and lift laundry over the lip of the boot instead of dragging it out.
When to call a technician
Call a technician if the owner checks above don’t solve it, or if you see any of these:
- Water valve: water fills or drips into the tub while the washer is off.
- Drain pump: a leak that shows up while draining, with soapy water or a film of dried soap, especially if small objects may have passed through.
- Internal drain hose: a leak with soapy residue when the external hose and standpipe check out.
- Tub seal: water appearing underneath during the wash cycle after everything else has been ruled out.
- Door boot or inside the cabinet (front-load): a torn or split boot, or a front leak that continues after the boot and hoses check out. These repairs mean opening the machine.
These parts sit inside the machine and need disassembly, so don’t try to open it up.
Prevention tips
- Measure detergent to the load and water hardness, and rinse buildup out of bulky items now and then.
- Keep the washer level and don’t overload it.
- Replace the fill-hose screens and washers about every 5 years.
- Recheck the drain hose seating and clamp after any move.
- A washer floor tray can protect the floor from spills and overflow.
Related problems
- GE Washer Stops Mid-Cycle Without Warning
- GE Washer Randomly Loses Power Mid-Wash
- Fix GE Washer Not Draining: A DIY Guide
FAQs
Why is my GE top-load washer leaking from the bottom? Common causes are oversudsing, an unlevel or unbalanced machine, hose and drain problems, and failed internal parts. Timing and location tell you which to suspect.
How do I find where the water comes from? Run a normal cycle and note the stage when the water appears and where it first shows up. Use that to choose which check to run first.
Can too much detergent cause a leak? Yes. Excess suds can push water over the inner basket and out through the overflow tube. Using less detergent often fixes it.
Can a clogged drain or standpipe cause a leak? Yes. If water backs up and overflows in the standpipe during spin, the household drain is the problem, and a plumber should look at it.
Can an unlevel or unbalanced washer leak? Yes. Water can slosh out of a machine that is overloaded or sitting unevenly. Level it and run one wash with no detergent to test.
How often should the fill hose parts be replaced? GE advises replacing the fill-hose screens and washers about every 5 years to prevent leaks.
Why is my GE front-load washer leaking at the bottom front? The rubber door boot is the first thing to check. Look all the way around it, especially the lower edge, for cracks, splits, or holes, and pull the boot back to check inside the fold. Sharp objects caught in the fold can tear it, so take care. A visible tear means the boot needs replacing. If it looks fine, check the fill hoses, the drain hose, and the standpipe, then call a technician.
Bottom line
Work from easy to hard. Start by finding out when in the cycle the water appears and where it first shows up, because that points you to the right check. On a top-load washer, cut back on detergent and make sure the machine is level. On a front-load washer, inspect the rubber door boot all the way around, including inside the fold. On either type, check the fill hoses, the drain hose, and the standpipe.
If every owner-level check comes up clean, the leak is inside the machine. A damaged door boot, the drain pump, an internal hose, the inlet valve, and the tub seal all involve taking the washer apart, so they belong with a technician. Your next step: run one cycle, watch the floor, and note exactly when and where the water appears before you start any check.