
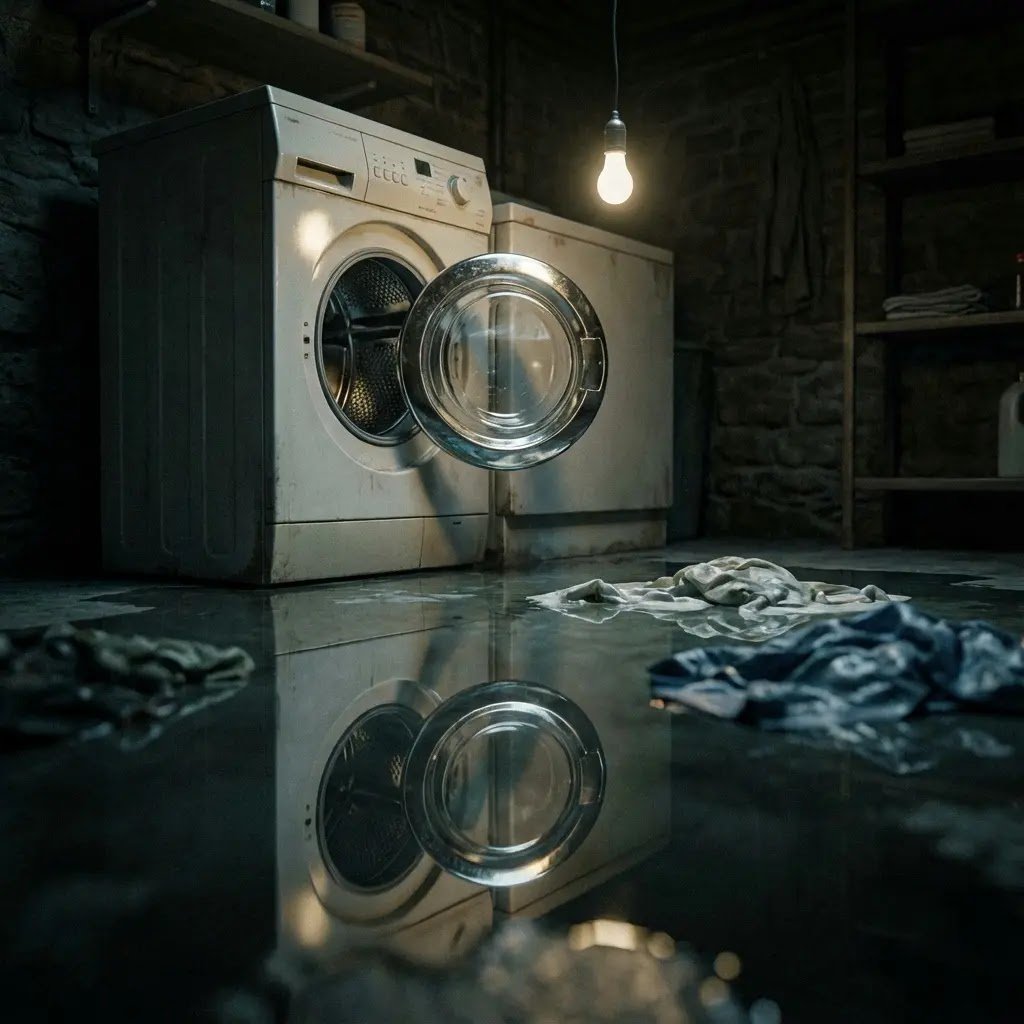
Finding a puddle under your washer is stressful, but it doesn’t always mean you need a new machine. Whether it’s a Samsung LE code and a simple torn door seal, most leaks can be fixed for under $50. In this guide, I’ll show you the 30-second diagnostic to find the leaking washing machine drum and the professional techniques to fix it before your subfloor rots.
Technician’s take: I’ve seen small drips turn into flooded kitchens overnight. About 30% of DIY attempts fail because people rush, take your time, and follow the steps in order. If you own a high-end brand like Miele, stop here; those need specialized tools, and DIY work can void a costly warranty.
Table of Contents
1. Safety First, Read This Before You Start
⚠️ Water and electricity are a dangerous combination. Read this before touching the machine.
- Unplug the machine first. If water is pooled near the outlet, don’t reach for the plug directly; shut off power at the breaker box instead, then deal with the water.
- Close the wall water taps feeding the machine before doing anything else. This stops the leak from getting worse while you diagnose it.
- If you’re repairing a structural drum crack with epoxy (Section 5), work in a ventilated area and wear gloves. Epoxy resins can irritate skin, and the fumes from curing epoxy are meant to dissipate, not be breathed in a closed laundry closet.
- Sharp edges: metal clamps, hose clamp tools, and the drum’s mounting hardware can have sharp edges. A light pair of work gloves protects your hands during hose and clamp work.
- Stop and call a technician if you suspect water has already reached the motor and wiring (a burning smell and water pooling near the motor housing during a spin cycle) and if a drum crack is large enough that epoxy patching feels like it’s asking too much of the material. Water-damaged electrical components aren’t a DIY fix. 👉 [Washing Machine Motor Overheating Guide]
2. The 30-Second Diagnostic
Before you grab a wrench, answer these three questions to pinpoint the problem:
- Is the water soapy and clear? Soapy water usually comes from the drain pump, the door rubber, and the tub hoses. Clear water usually points to the back supply hoses and the inlet valve.
- When does it leak? Leaking while filling points to the inlet valve. Leaking while spinning and draining points to the pump and drain hose.
- Where is the puddle? Front puddles are usually the door rubber. Back puddles are often a loose hose and a drainpipe issue.
If the leak only happens during high-speed spinning, water may be spraying onto the motor; cross-check this against motor damage before assuming it’s just a seal issue.

3. Tracking the Source
Wipe a dry paper towel along the hoses and under the machine. If the towel comes back wet, you’ve found the trail.
Technician’s take: I once found $5.10 in loose change and a handful of nails stuck in a pump that was causing a leak. Always check the small debris filter at the bottom front of the machine and clean it every 40 washes to prevent clogs and leaks in the first place.
4. The Tool Kit
| Tool | Purpose | Difficulty to Source |
| Spring expansion tool | Removes the wire clamp on LG/Samsung door rubbers without tearing them | Easy, specialty tool |
| Metal worm-gear clamps | Replace factory plastic clips; hold tighter and don’t snap. | Easy |
| Bubble level | Confirms the machine sits flat so hoses don’t shake loose | Easy; most households have one. |
| JB Weld MarineWeld epoxy | Patches structural cracks in the plastic outer tub | Easy |
Technician’s take: don’t try to cheat and use a regular screwdriver instead of the spring tool. I’ve seen people rip brand-new $80 rubber seals trying to force them on without it.
Leveling the feet is step one, but on tile and hardwood floors the machine can still “walk” and shake hoses loose over time. High-density EVA anti-vibration pads under the feet are a more permanent fix than leveling alone. 👉 [Vibration-Dampening Hacks for Washers]

5. How to Fix the Leaking Washing Machine: Step-by-Step
The Door Rubber (Front Loaders)
If the rubber ring is torn, water will drip from the door.
- Use rubbing alcohol to clean the area and remove mold before installing the replacement.
- Use a dab of liquid dish soap on the machine’s lip to help the new rubber slide into place.
- Critical step: make sure the small drain holes in the rubber sit at the very bottom (6 o’clock position). If they’re misplaced, water pools inside the seal and rots it from the inside within months.
Hoses and Connections
- The 6–8 inch rule: the drain hose must go into the wall pipe at least 6 inches, but never more than 8. Too deep creates a siphon effect that pulls water out mid-wash.
- Hose life: replace supply hoses every 5 years even if they look fine. Braided stainless steel resists bursting far better than plain rubber.

Structural Drum Cracks
If the plastic outer tub is cracked, epoxy can patch it.
- JB Weld WaterWeld sets in 25 minutes and works even on damp surfaces.
- JB Weld MarineWeld is rated for bigger cracks, with a tensile strength of 5020 PSI, and holds up underwater once cured.
Technician’s take: before applying epoxy, drill a tiny hole at each end of the crack. This “stop-drilling” technique keeps the crack from spreading further when the drum vibrates. Don’t use Flex Seal here; it’s a temporary fix that almost always fails under sustained pressure.

6. If You’re Seeing an Error Code Too
A leak sometimes triggers a moisture-sensor error on top of the physical problem; Samsung’s LE/LC/E1, LG’s FE/AE, Whirlpool’s F8 E3, and Bosch’s E23/F23 are the common ones. Rather than re-explain what each means here, fix the physical leak first using the steps above, then clear the code.
If any of these washers are app-connected, check LG ThinQ, Samsung SmartThings, and Bosch Home Connect before assuming you have to catch every leak by sight; connected models often push a plain-language leak alert to your phone.
If codes keep reappearing after the leak is fixed, and you’re seeing a code you don’t recognize, get the full breakdown here rather than guessing: 👉 [Washing Machine Error Codes]
7. Cost Guide: DIY vs. Pro
| Repair Type | DIY Parts Cost | Pro Repair Price (Labor + Parts) |
| Door Rubber Seal | $20–$80 | $150–$450 |
| Drain Pump | $50–$115 | $150–$400 |
| Inlet Valve | $20–$50 | $120–$300 |
| Main Motor | $250–$400 | $250–$700 |
The 50% Rule: if a repair costs more than half the price of a new machine, replacing it is usually the better long-term value, especially on a motor-level repair for a machine already 8+ years old. 👉 [Is Your Washing Machine Worth Repairing? The 50% Rule Explained]
8. Prevention
Once the leak is fixed, a short list of habits keeps it from coming back: braided hoses, HE-only detergent, a level machine, and an open door between washes. Rather than repeat a full maintenance routine here, the complete schedule (with frequency for each) lives in its own guide: 👉 [Washing Machine Maintenance Schedule & Prevention Guide]
9. FAQ
Why does my machine still beep after I fixed the leak?
The moisture sensor in the bottom tray is likely still wet. Dry it with a hairdryer on a cool setting, then unplug the machine for 5 minutes to reset it.
Is it safe to run a leaking washing machine until parts arrive?
No. Even a small leak can reach and short out the motor, turning a $50 fix into a $500 one.
How do I reset my machine after an error code, once the leak is fixed?
Samsung: unplug for 1–5 minutes. LG: Unplug and hold Start/Pause for 5 seconds. Bosch: unplug for 2 minutes, and hold Start/Reload for 5 seconds.
How do I know if it’s the door rubber and a hose, not the drum itself?
Run the 30-second diagnostic in Section 2 first; a front puddle with soapy water is almost always the door rubber, and clear water at the back is almost always a hose. A drum crack is comparatively rare and usually shows as a slow, persistent leak that traces back to the tub itself rather than a hose and seal.
Can I use JB Weld, and should I always replace a cracked outer tub?
For a small crack, a properly applied epoxy patch (with stop-drilling) genuinely holds for years. For a large crack, and one near a structural stress point, epoxy is a stopgap at best; get a parts-cost quote for the outer tub before relying on a patch long-term.
My washer only leaks during the spin cycle; what does that tell me?
Spin-only leaks usually mean either the pump seal or a hose connection that only comes under pressure at high RPM. Check the pump housing and hose clamps first before assuming it’s the door rubber.
How long should I wait after installing a new door rubber before running a full load?
Run one short, empty cycle first to confirm the seal holds under normal water pressure before trusting it with a full load of laundry.
10. Conclusion
Repairing a leaking washing machine is a high-reward DIY project; most fixes here cost under $50 in parts. Act at the first sign of a musty smell and a single drop of water rather than waiting, and double-check the 6–8 inch drain hose depth, since that’s one of the most common causes of leaks that “shouldn’t be happening.” If your fix holds through Step 6’s short test cycle, run a full load next; if the leak returns and the repair is creeping toward the 50% Rule territory, that’s your signal to weigh replacement instead of a second repair attempt.