
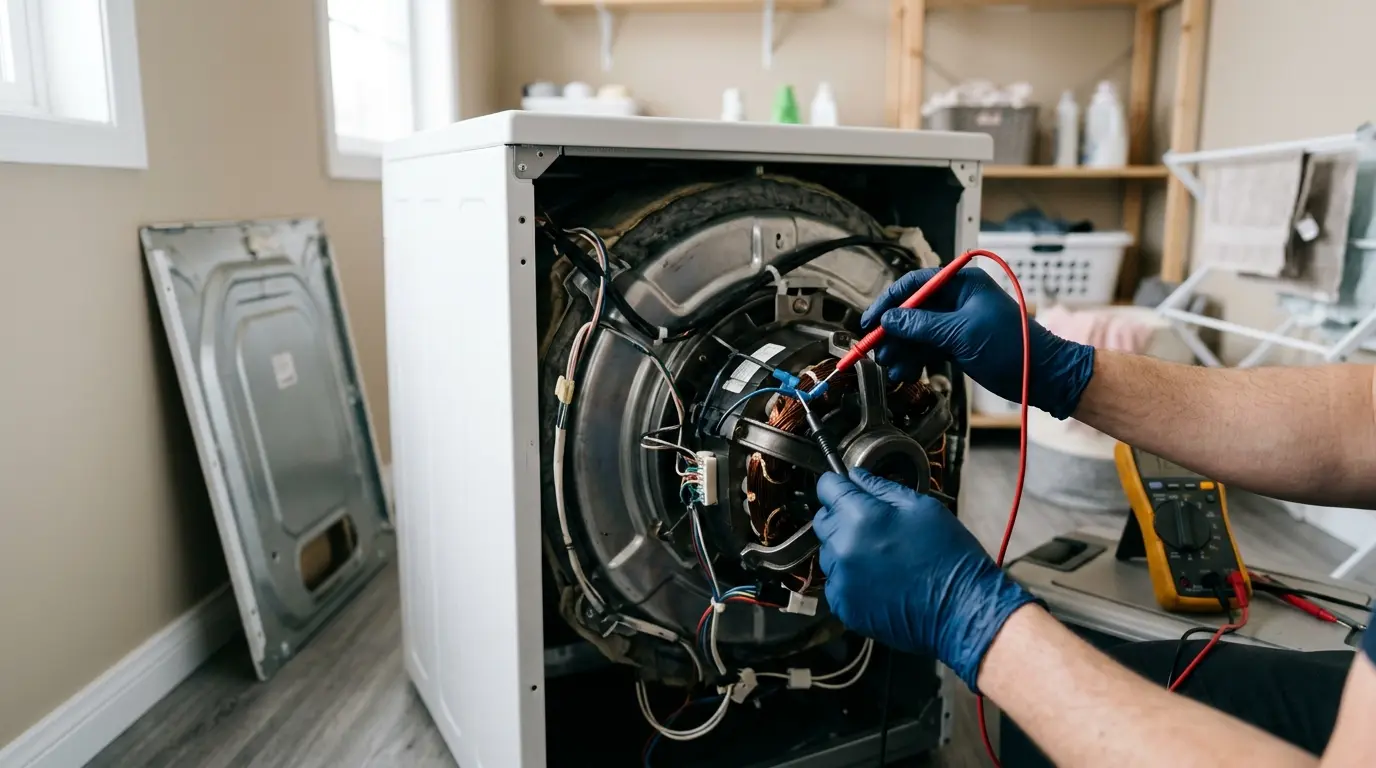
The LE code on an LG washer means the drum could not turn. Most of the time the cause is a packed load or a small item wedged inside the drum, so check those first. If neither is the problem, the next suspects on front-load direct drive models are the Hall sensor and its wiring.
Table of Contents
What the LE Error Means
LG describes the LE error as the washer failing to spin its drum. The motor cannot do its job because the load is too heavy or something is jammed in the tub.
When the washer tries to spin and receives no proper movement signal, it stops and shows the code. On some front-load direct drive machines, you may also see the drum jerking from side to side before the code appears.

Safety First
- Disconnect the washer from the wall outlet before touching anything inside the drum or behind the panels.
- Let the drum come to a complete stop before reaching in.
- If water is still in the tub, drain it before you start.
- All checks in this guide are done with the power off. Do not test any wiring while the washer is plugged in.
- Stop and call a technician if you feel unsure at any point.
Tools and Parts Needed
For steps 1 to 4 (all LG washers):
- Pliers or tweezers
- A flashlight

- DirectTorqueTechnology helps prevent rounding of fasteners and provide better grip
- O-ring and retaining pin compatible
- Laser etched markings on sockets for easy identification
For the advanced repair (front-load direct drive models only):
- Screwdrivers
- A hammer
- Socket set and ratchet (the sources used a 17 mm socket for the rotor bolt and a 10 mm socket for the stator bolts, so check the fit on your model)
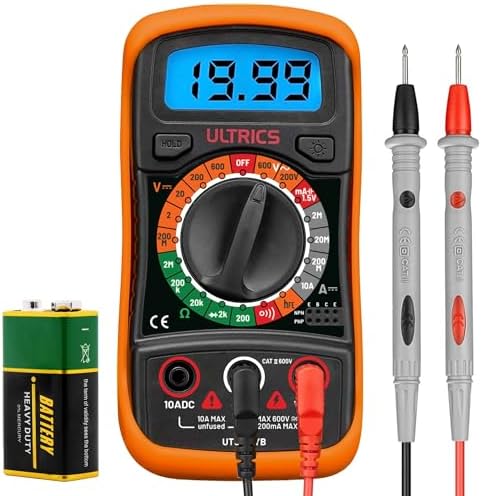
- A multimeter
- Threadlocker
- A replacement Hall sensor made for your washer
Step-by-Step Fixes
Steps for All LG Washers
Step 1: Lighten the load.
Turn the washer off and take out part of the laundry, or all of it if the drum is packed with wet, heavy items. For blankets and bulky bedding, choose the bedding cycle.
Expected result: the drum turns and the cycle runs without the code.
If it did not work, move on to step 2.
Step 2: Look for something stuck.
With the power off and the drum emptied, search for coins, pins, or small clothing that may have slipped into a gap.
- Top-load washers: check around the wash plate and the edge of the inner basket.
- Front-load washers: check the space between the inner and outer drum, where a sock or similar item can wedge.

- Ideal for picking placing shaping and holding objects.
- Equipped with coated Anti-slip grip handles for a maximum comfort.
- Forging of high carbon steel
Remove anything you find with pliers or tweezers.
Expected result: the drum moves freely, and a test spin finishes normally.
If it did not work, go to step 3.
Step 3: Do the LG power reset.
Disconnect the washer from the outlet and leave it off for 5 minutes. Plug it back in and run a short spin with a light load.
Expected result: the code does not return.
If it did not work, go to step 4.
Step 4: Turn the drum by hand.
With the washer unplugged and the drum empty, rotate the drum yourself. It should move smoothly.
- The drum turns smoothly, but the code keeps returning: the problem is likely the motor feedback system. On front-load direct drive models, continue to the advanced repair below. On top-load washers, call a technician.
- Drum is stiff or will not move: go back to step 2 and look again for a jammed item. If nothing is there, call a technician.

Advanced Repair: Front-Load Direct Drive Models Only
This section covers the rotor, stator, and Hall sensor, which apply to front-load direct drive washers only. Do not use these steps on top-load washers. This is an advanced repair, so skip it if you are not comfortable removing heavy magnetic parts.
Step 5: Reach the motor.
Unplug the washer and pull it out so you can get to the back. Remove the rear panel. The number of screws and the way the panel comes off differ by model.
Expected result: the motor is visible at the center of the back.
Step 6: Remove the rotor.
The rotor is the outer ring part of the motor, held by a large center bolt.
- Loosen the bolt with the socket. The bolt is secured with threadlocker, so it may need a tap with a hammer on the wrench while you hold the rotor steady.
- Remove the bolt and ease the rotor toward you with a side-to-side rocking motion. It contains magnets, so expect a strong pull and keep your fingers clear.
Expected result: the stator, the part with the coils, is exposed.
Step 7: Free the stator and test with the power off.
- Release the clips holding the wiring and unplug the connectors. These often have locking tabs.
- Remove the six bolts holding the stator, then tilt it forward to reach the Hall sensor.
- Set the multimeter to continuity and check each wire running from the Hall sensor to the control board connector. Every wire should show continuity.
- Measure resistance across the motor’s phases and compare the readings with the value in your model’s service manual.
- Plastic
- 【MULTIFUNCTION ELECTRICAL TESTING】 Measures AC/DC voltage up to 600V, DC current and resistance, with diode, NPN/PNP tra…
- 【1999-COUNT BACKLIT LCD WITH DATA HOLD】 The 1999-count display makes readings easy to view, while the backlight improves…
What the results mean:
- A wire without continuity points to damaged wiring. Repair or replace the wire before changing the sensor.
- Phase readings that miss the service manual value point to a motor problem. Stop and call a technician.
- Good wiring and good phase readings point to the Hall sensor itself. Go to step 8.
Step 8: Replace the Hall sensor.
Note how the old sensor sits, then lift its locking tabs and take it off. Fit the new sensor in the same position and press until the tabs click.
Expected result: the sensor sits flush and locked in place.

- 【Compatible with LG Model】WM0532HW WM0642HW WM0742HGA WM0742HWA WM1832CW WM2032HS WM2032HW WM2042CW WM2050CW WM2075CW WM…
- 【Feature】Real-time monitoring of motor rotor speed and position for precise control of drum rotation and spin balance—re…
Step 9: Put everything back and test.
Reverse the removal order. Apply threadlocker to the rotor bolt, tighten it firmly to the figure in your service manual, and reconnect the wiring and clips. Refit the rear panel, then run a spin cycle.
Expected result: the cycle completes without the LE error.
If it did not work, the fault is beyond this guide, so call a technician.
When to Call a Technician
Book a technician if:
- The code keeps returning after steps 1 to 4 on a top-load washer.
- The drum is stuck, and you cannot find anything jammed.
- The motor phase readings fail in step 7.
- The new sensor does not clear the error.
Motor replacement and control board work should always be left to a professional. LG also advises contacting its service center if the error keeps appearing.
Prevention Tips
- Do not pack the drum to the top. Wash heavy bedding on the bedding cycle.
- Check pockets for coins and pins before every load.
- Pull out small garments that are prone to slipping into drum gaps.
- Do not keep running the washer after the code appears.
Related Errors and Common Problems
- CE: LG describes this as damage to the motor control component. It needs service and cannot be solved with basic troubleshooting.
- UE: can appear during spin when the washer is not level. Rock the washer to check for unevenness and adjust the feet. LG UE error code guide
- IE: an inlet error related to water filling.
- OE: an outlet error related to water draining. LG OE Error Code Guide
- dE: a door error. LG dE error code guide
- Drum jerking side to side: on front-load direct drive models, this often goes with LE and points to the motor feedback system.

FAQs
What does LE mean on an LG washer?
It means the drum failed to turn. LG says the cause is usually an overloaded washer or an object stuck in the tub.
Can an overloaded washer cause the LE code?
Yes. A heavy load strains the motor so the drum cannot spin. Take items out and use the bedding cycle for heavy things like blankets.
Does unplugging the washer clear the LE code?
It can if the cause was temporary. LG suggests leaving the washer unplugged for 5 minutes before trying again. If the code returns, something else is wrong.
Can I fix the LE error code myself?
Often yes, for the load, stuck object, and reset steps. The sensor and rotor repair is advanced and applies to front-load direct drive models only.
Why does the LG washer LE code keep coming back?
A repeating code usually means the cause was not a one-time overload. Check for a jammed item again and test the drum by hand. If those are fine, the wiring or sensor on a direct drive model may be at fault.
Can a stuck coin cause the LE error?
Yes. Coins and pins can lodge near the wash plate or between drum parts and block movement. Remove them with pliers or tweezers with the power off.
Bottom Line
Start with the easy fixes: lighten the load, look for stuck objects, then do the 5-minute reset and spin the drum by hand. Only front-load direct drive owners should go on to the sensor repair. If the code survives all of that, a technician is the next step.