
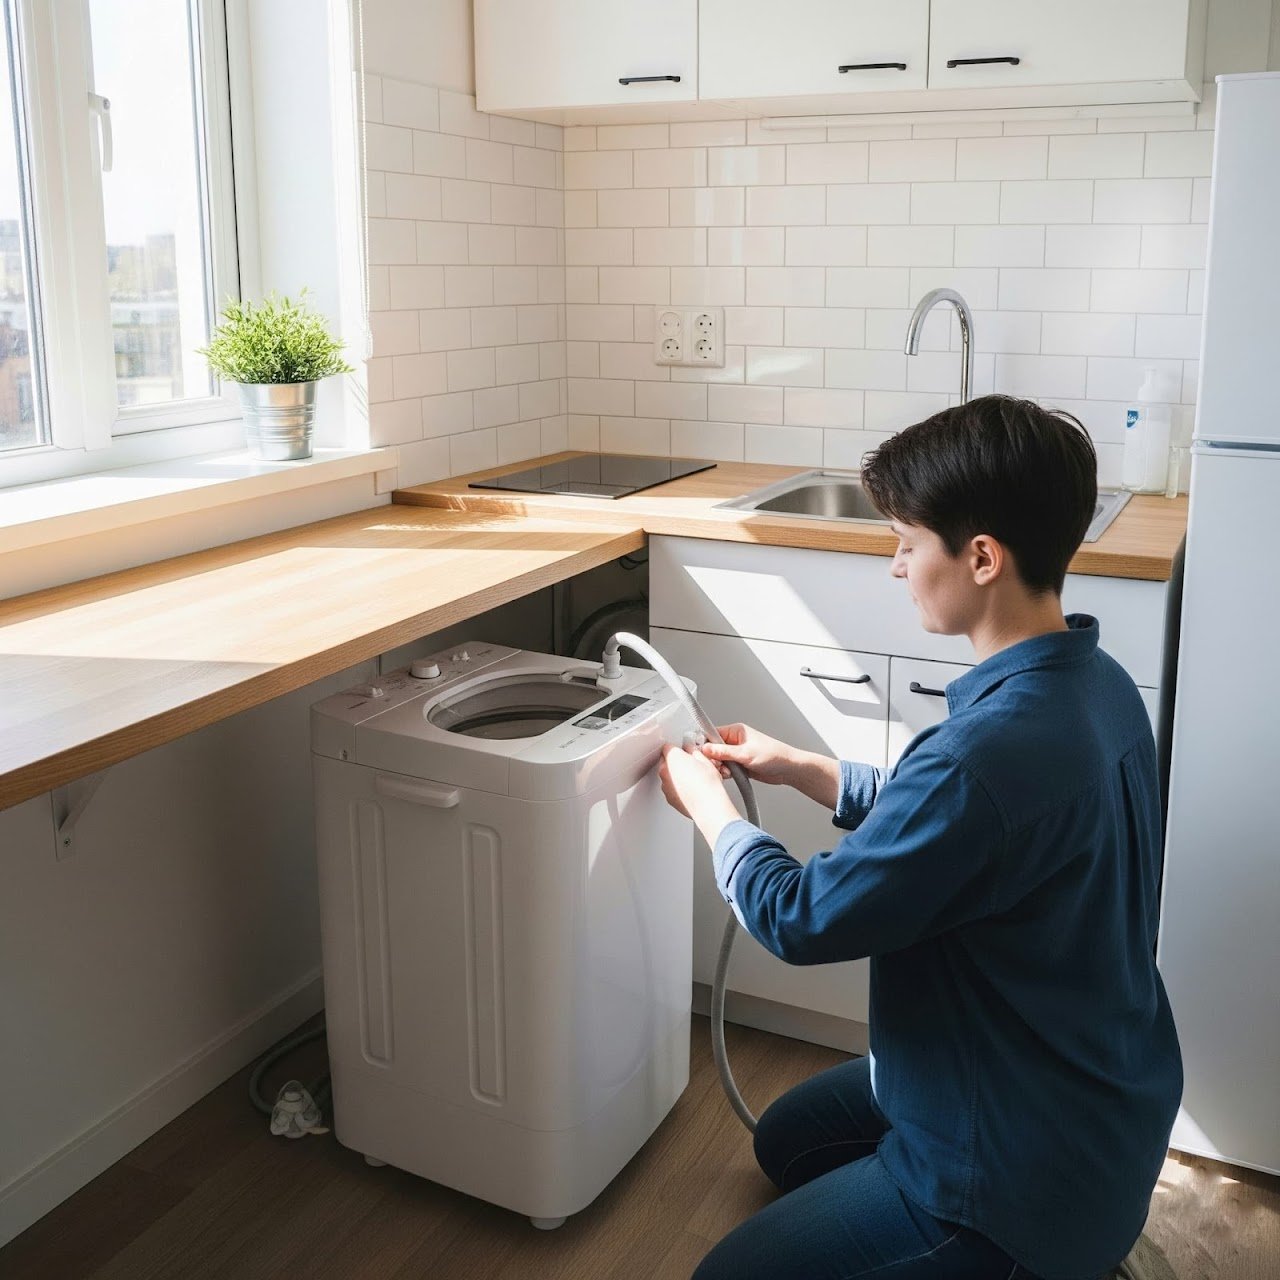
Portable Washing Machine Installation? Sick of hauling laundry bags down three flights of stairs or feeding quarters into a machine that never quite cleans your clothes? You don’t need a plumber, a landlord’s blessing, or a $2,000 renovation to have a real washer in your apartment. With the right setup and a few mistakes avoided, a portable unit can run for years without a single leak.
Whether you’re using a manual twin tub or a full-automatic unit, the hacks below apply to almost any no-plumbing setup: a studio apartment with only a bathroom sink, a shared laundry closet with no floor drain, or a kitchen where the only water source is the faucet.
Table of Contents
Is This Even Legal? The Renter’s Situation
Most landlords ban full-sized washers because of the risk of flooding and permanent plumbing changes. The good news is that a portable setup done properly is 100% non-permanent and reversible. You’re using quick-connect adapters and temporary drainage; when you move out, you unscrew the adapter and the sink is back to normal in about 30 seconds. No holes in the wall, no argument with your property manager.
If you’re still choosing a specific unit and haven’t bought one yet, matching the machine to your plumbing situation (pump-drain vs. gravity-drain, faucet type) matters more than brand; see our [👉 “Top 5 Compact Portable Washing Machines for Tiny Apartments“] for how to pick the right type for your space before you install anything.

Portable Washer vs. Laundromat: Cost & Time
Laundromats are an ongoing expense that, for most households doing 2+ loads a week, tends to exceed the cost of a portable unit somewhere in the first year or two of ownership.
| Metric | Portable Washer (At-Home) | Public Laundromat |
| Upfront Cost | ~$150 (manual) to ~$800 (full-auto) | $0 |
| Cost Per Load | Roughly $0.15–$0.30 in water/detergent | Commonly $3.50–$10.00 (wash + dry) |
| Annual Est. Cost | Often in the ballpark of $100–150 (operational + upkeep) | $300–$600+ at 2 loads/week |
| Time Investment | 5–10 minutes of active labor | 2–3 hours (travel + waiting) |
| Hygiene | Private tub, no chemical residue from others | Shared machines, contamination possible |
These are typical ranges, not guarantees; your actual per-load water cost depends on local utility rates and how full you run your loads, so treat the table as a planning tool rather than a fixed quote. If you want a closer estimate for your own situation, our [👉 “How Much Does It Really Cost to Run a Portable Washer?“] walks through the math with your local rates.
Step 1: Choosing the Gravity-Friendly Spot
Where you place the machine is the single biggest factor in preventing pump failure, more important than the brand you buy.
The Pump Height Hack: On units with a drain pump, manufacturers generally specify that the drain hose needs to sit somewhere in the range of 24–35 inches (roughly 60–90 cm) above the floor; check your specific model’s manual, since this varies by unit. Go lower than the recommended range, and you risk a siphoning effect, where the tub drains while it’s supposed to be filling.
The Gravity Hack: Non-pump twin tub models work the opposite way; the outlet needs to sit lower than the machine. The single biggest mistake people make with these units is setting a gravity-drain washer flat on the floor. You need to elevate it on a stand so gravity can actually pull the water out toward a floor drain or tub.

Gravity vs. Pump, in plain terms:
- Gravity Drain (twin tubs): water “falls” out on its own; the machine must sit higher than the drain point.
- Pump Drain (automatics): water is pushed up and out; the hose needs to arch upward (commonly cited around 30 inches, though check your manual) before going into the sink, which prevents the machine from siphoning water back out while filling.
If you don’t know which type you have, check the manual or the pump; twin tubs rarely have an internal pump motor for draining.
Installation is genuinely the easy part; the harder adjustment for most people is the drying cycle, since portable units rarely produce bone-dry laundry the way a vented dryer does. If you’re weighing a combo washer-dryer unit instead of a separate setup, our [👉 “Portable Washer Dryer Combo: 7 Brutal Truths You Must Know“] covers what to expect before you commit to one machine doing both jobs.
Real-world scenario: in a studio apartment with only a bathroom sink and no floor drain, gravity-drain models are usually the harder setup. You’re often draining directly into the tub or a second sink rather than a floor drain, so a stable, elevated stand becomes non-negotiable rather than optional.
Step 2: Faucet Connection Hacks
Most portable machines ship with a standard quick-connect adapter, but designer or pull-out faucets often don’t match.
- The Universal Adapter: If your faucet spout has no threads, a universal rubber-sleeve adapter, the Universal No-Thread Faucet Adapter for Portable Washer, can fit most standard unthreaded spouts. Measure your spout diameter first, since fit varies by faucet style.
- The Shower Diverter Hack: For pull-out kitchen faucets, avoid connecting the washer directly to the spray wand; the pressure spikes during fill cycles can strain or rupture the internal hose over time. A 3-way shower arm diverter installed in the bathroom is a more durable, purpose-built water source for this.
A shower diverter is generally the safer option here because it’s built for sustained water pressure and includes backflow protection, which a spray-wand attachment usually isn’t designed for.

The No-Flood Security Protocol
The biggest fear with any sink-drain setup is the hose popping loose and flooding the room. Don’t just rest the hose over the sink edge; secure the hose’s “U-hook” to the faucet base itself with a heavy-duty strap or zip tie. That way, even a strong pump surge won’t dislodge it.
Insider tip: Place a small water-leak sensor, like a Wi-Fi Water Leak & Flood Sensor, on the floor next to the machine. These are inexpensive, and they’ll alert your phone the moment they detect even a small puddle, which matters far more in an apartment than a house, since a slow leak here can damage a downstairs neighbor’s ceiling before you notice it.
Step 3: Stop the Walking Washer
Portable machines are lightweight, and that same portability means they can shift or “walk” across the floor during a fast spin cycle if nothing is holding them in place.
- Stability Hack: A high-density anti-vibration mat (anti-vibration pad) under the unit absorbs most of the shock and noise.
- Mobility Hack: If you need to store the machine between uses, for example, rolling it out of a closet only on laundry day, a locking-wheel dolly keeps it from sliding around mid-cycle while still letting you move it when you need to.
The Real-World Failure Point Most People Miss
In my experience, the most common and most damaging mistake is forgetting to remove the transit bolts before first use. These bolts lock the drum in place for shipping; if they’re left in, the suspension can’t do its job, and the resulting shaking can crack the chassis within a handful of cycles. Check your manual’s first-use section specifically for this; it’s easy to skip if you’re eager to just start washing.
Second most common mistake: skipping a lint trap on the drain hose. A simple mesh filter (some people use a section of old pantyhose) fitted over the end of the drain hose catches lint before it reaches your building’s pipes, a small habit that avoids being the unit whose apartment gets blamed for a clogged shared drain line.

2026 Update: What’s Actually New
A few manufacturers have started adding automatic load-imbalance sensors to compact washers, which pause the spin cycle to let you redistribute an uneven load instead of letting the machine shake itself across the floor, genuinely useful for portable units specifically, since they have less mass to resist an imbalance than a full-size washer bolted to a floor.
Some newer models are also being marketed with AI-adjusted wash settings that vary water volume and motor torque based on estimated load size and soil level. I’d treat specific brand and model claims here with some caution; this is a fast-moving part of the market, and the exact models offering this by the time you’re reading this may differ from what was announced at launch, so check the current spec sheet for any unit you’re considering rather than relying on older reviews (including this one).
One safety point that hasn’t changed but is worth repeating for 2026 units: never plug a portable washer into a power strip. These units can draw significant current during the spin cycle; plug directly into a grounded wall outlet.
Frequently Asked Questions: Portable Washing Machine Installation Hacks
Q: My washer is leaking from the bottom; is that an installation problem?
A: Sometimes, yes, a loose drain hose connection or an incorrectly seated faucet adapter from installation is a common cause. But bottom leaks can also come from worn internal hose clamps, which is a repair rather than an installation issue. If you’ve already checked your hose connections and the leak continues, see our [👉 “Portable Washer Leaking from Bottom? 5 DIY Fixes”] for the repair-side causes.
Q: Can I wash heavy blankets or comforters in a portable unit?
A: Most compact units are rated for roughly 10–15 lbs per load; check your specific model’s rated capacity. A heavy comforter can exceed that, strain the motor, and trigger unbalance sensors repeatedly. Stick to lighter or medium loads, and consider a laundromat’s large-capacity machine for bulky bedding instead.
Q: How do I prevent musty smells in a portable washer?
A: Leave the lid or door open after each use so the drum can air out; this is the single biggest factor, since portable units have less airflow than built-in machines. A monthly tub-clean cycle with vinegar or a dedicated washer-cleaning tablet also helps break down detergent residue and mineral buildup. For a more complete routine, see our [👉 “The 10-Minute Portable Washer Ritual: Stop Smells & Rust”].
Q: Do I need a floor drain to install a portable washer?
A: No, many apartment setups drain into a bathtub, a second sink, or a laundry basin instead. What matters more is that the drain point matches your machine’s drain type (gravity vs. pump) and height requirements from Step 1, not whether it’s a dedicated floor drain.
Q: Can I run a portable washer in a shared laundry closet with no dedicated water shutoff?
A: You can, but it’s worth confirming with your landlord or building manager where the nearest shutoff valve is before you install anything. In a shared space, a leak affects more than just your unit, and knowing the shutoff location in advance is the fastest way to limit damage if the No-Flood Protocol above ever fails.
Q: Will connecting to a bathroom sink instead of a kitchen sink cause any issues?
A: Generally no, as long as the faucet has (or can be fitted with) a compatible adapter and the water pressure is adequate. Bathroom sinks often have lower flow rates than kitchen faucets, which can mean slightly longer fill times, but it isn’t a functional problem.
Q: How long does a typical no-plumbing installation take from start to finish?
A: For most people doing this for the first time, budget 30–45 minutes: attaching the faucet adapter, positioning the machine at the correct height, securing the drain hose, and running one empty test cycle to check for leaks before doing an actual load of laundry.
Summary: Pro Installation Recap
Success with a no-plumbing portable washer setup comes down to three things: getting your drain hose height right for your machine’s drain type, securing everything against vibration and hose pop-out, and never skipping the lint filter or the transit-bolt removal. Get those right once, and the machine will run for years without a single flood or service call.
Next step: before you run your first real load, do one empty test cycle with just water, no clothes, and no detergent, and watch the connections for the full cycle. It’s the fastest way to catch a loose adapter or an under-height drain hose before it costs you a wet floor.