
Table of Contents
LG Washing Machine DIY Repair Guide 2026
There is a difference between knowing what is wrong with your LG washing machine and knowing how to physically fix it. This guide covers the second part: the tools you need, the safety steps that actually matter, the order in which to disassemble, and how to put everything back together correctly the first time.
This is a hands-on repair manual. It assumes you have already identified the likely problem through diagnosis. What follows is the physical procedure, panel removal, connector access, component extraction, and post-repair testing for the most commonly replaced components on LG washing machines in 2026.
👉 [LG washing machine symptom diagnosis guide]
👉 [LG washing machine error code technical reference]
Before You Start: Safety, Tools, and Workspace Setup
Non-Negotiable Safety Steps
These are not suggestions. Every step below assumes these have been completed first:
- Disconnect power completely: pull the plug from the wall; do not just press Power Off. The machine’s control board stores residual charge in its capacitors. After unplugging, press and hold Start/Pause for 10 seconds to discharge them before touching any internal components.
- Turn off the water supply: both hot and cold valves behind the machine. On front-loaders, water remains in the internal hoses and the outer tub even when the machine appears empty. Have towels and a shallow pan ready.
- Photograph before disassembly: take a photo of every wiring connector and harness routing before you disconnect anything. On reassembly, these photos are worth more than any diagram.
- Work on a hard, flat surface: if you need to tip the machine on its side, do it onto a moving blanket and cardboard to protect the control panel.
⚠️ WARNING: Do not work on any component while the machine is connected to power, even briefly to ‘test’ a replacement part mid-installation. The machine runs at 120V AC. A loose connector during a power-on test is a serious shock hazard.
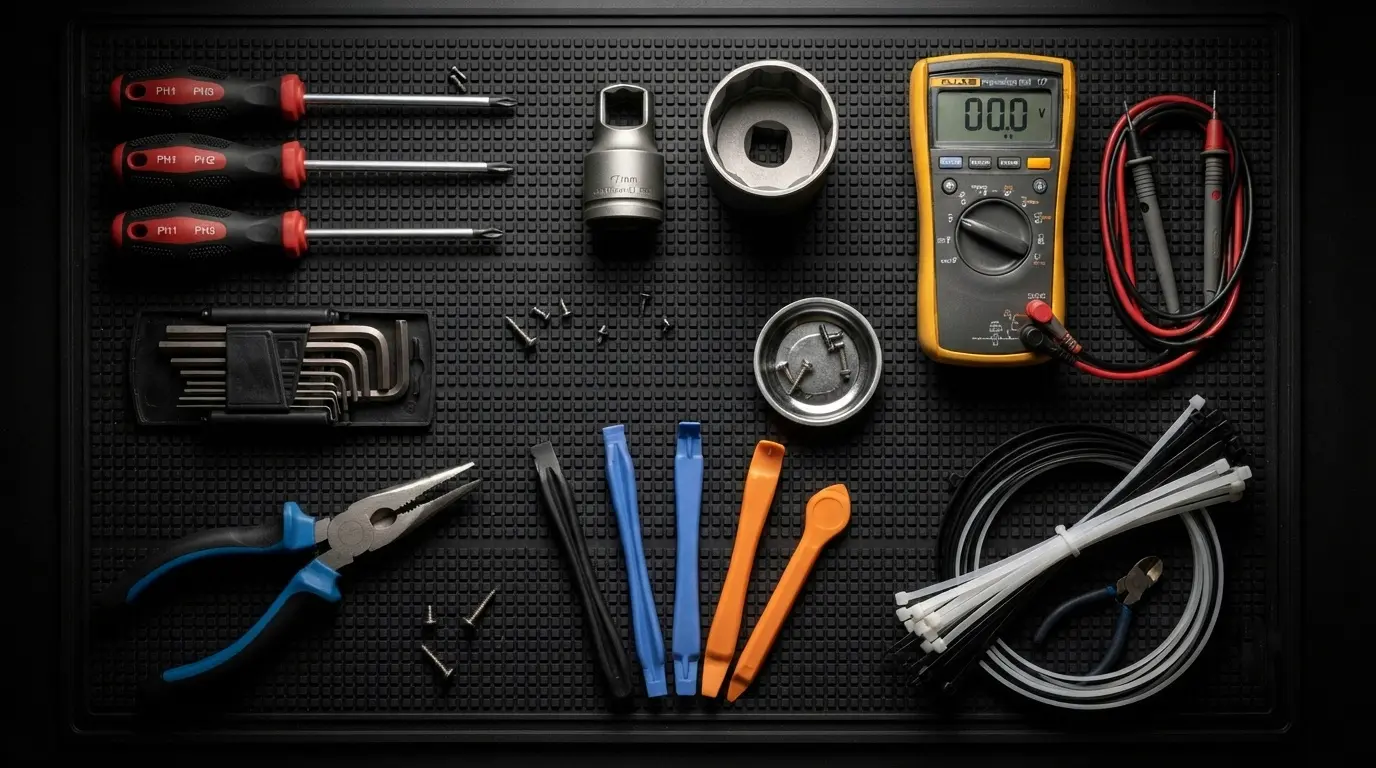
Your DIY Tool Kit for LG Washing Machine Repairs
| Tool | Size/Type | Used For |
| Phillips screwdriver | #2 and #3 heads | Back panel screws, control panel screws |
| Torx bit set | T20 and T25 are the most common. | Some 2026 LG washing machine models use Torx on internal brackets. |
| Socket wrench | 17 mm for rotor bolt; 38 mm for top-load tub nut | Motor rotor access; top-load drum removal |
| Needle-nose pliers | Standard 6-inch | Hose clamp removal; connector extraction from tight spaces |
| Multimeter | Any basic digital model | Continuity testing of harness wires before and after repair |
| Flat pry tool (plastic) | Guitar pick style | Door gasket removal; control panel clip release without scratching |
| Zip ties | 4-inch black | Harness re-routing after repair, replaces factory clips |
| Appliance touch-up paint | Matched to machine color | Cover any scratches made during panel removal. |
Repair Procedure 1: Accessing the Drain Pump (Front-Load Models)
When You Need This Procedure
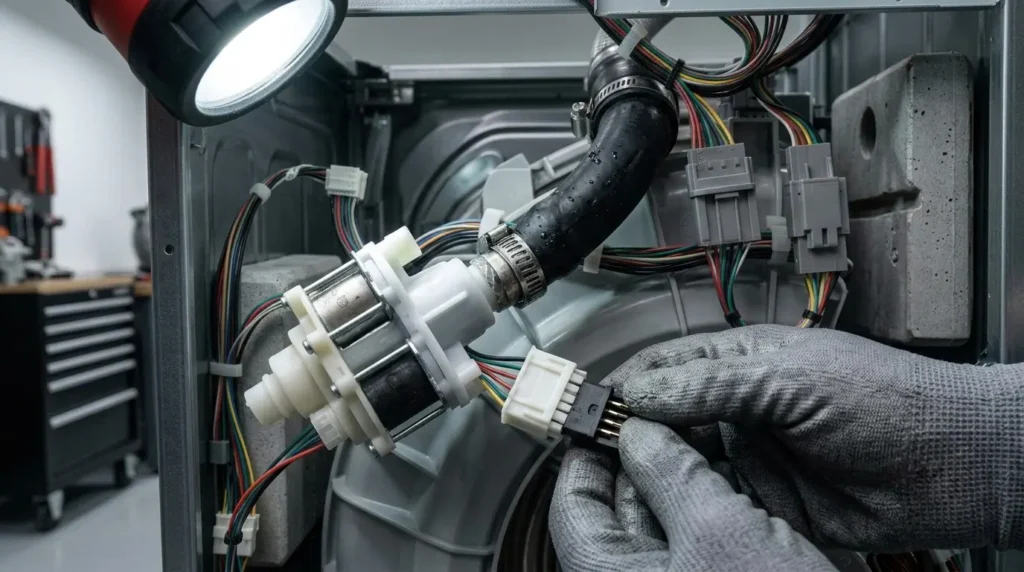
Drain pump replacement on front-loaders is one of the most accessible repairs on the machine; the pump sits directly behind the front service panel with no major disassembly required. Use this procedure to replace the pump motor itself and to access and clear a jammed impeller when filter cleaning alone did not resolve the issue.
Step-by-Step: Drain Pump Access
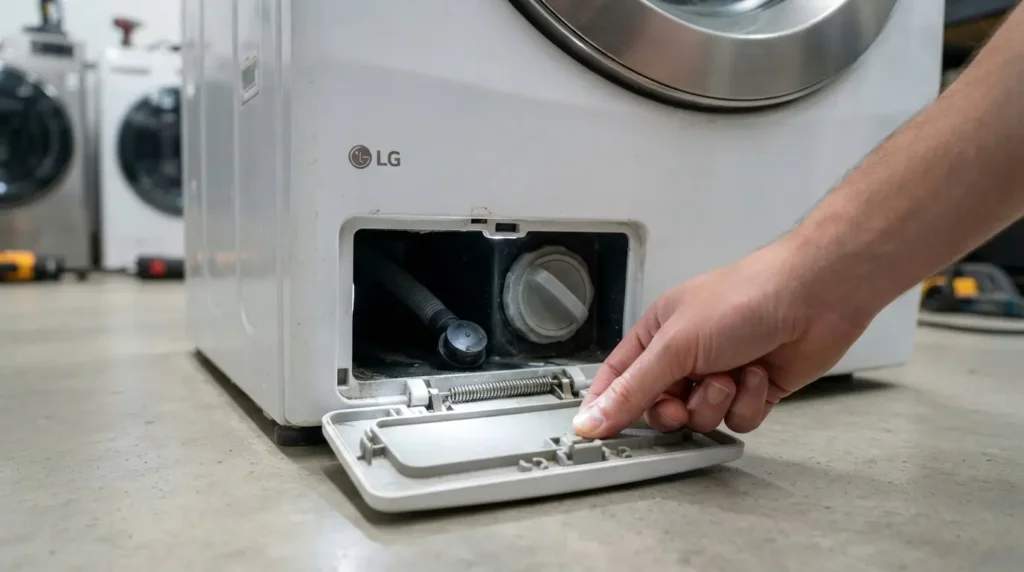
- Place a shallow pan (a baking sheet works well) and several towels at the base of the machine.
- Open the small rectangular service hatch at the lower front of the machine. On most 2026 LG washing machine models, this pops open by pressing at the center seam, no tools needed.
- Locate the small auxiliary drain hose (thinner hose next to the main filter cap). Pull it out and remove its rubber plug to allow the tub water to drain into your pan. Wait for the flow to stop completely before proceeding.
- Unscrew the main filter cap counterclockwise. Be prepared for residual water. Remove the filter and set it aside.
- The drain pump is directly behind this access point, held by 2 to 3 screws (Phillips and Torx depending on model). Remove them.
- Before disconnecting the pump’s electrical connector, photograph it from two angles. The connector has a locking tab; press the tab while pulling the connector body, not the wires.
- The pump also connects to the drain hose via a hose clamp. Use pliers to slide the spring clamp back, then twist the hose while pulling to break the seal. Have a pan ready; residual water will flow out.
- Install the new pump in reverse order. Hand-tighten the hose clamp until it sits in the original groove. Reconnect the electrical connector until you hear a click.
💡 PRO TIP: Before running a test cycle, manually fill the pump filter cavity with water from a cup, then reinstall the filter cap. This primes the pump and prevents the new impeller from running dry during its first startup.
Repair Procedure 2: Hall Sensor (Rotor Position Sensor) Replacement
When You Need This Procedure
The Hall sensor is mounted directly on the motor stator, which sits at the rear of the machine. Accessing it requires removing the back panel and the motor rotor, a 45-minute job with basic tools. This procedure covers front-load LG washing machine direct-drive models, which is the dominant configuration in 2026.
Step-by-Step: Hall Sensor Replacement
- Pull the machine away from the wall to give yourself 18 inches of working space at the rear.
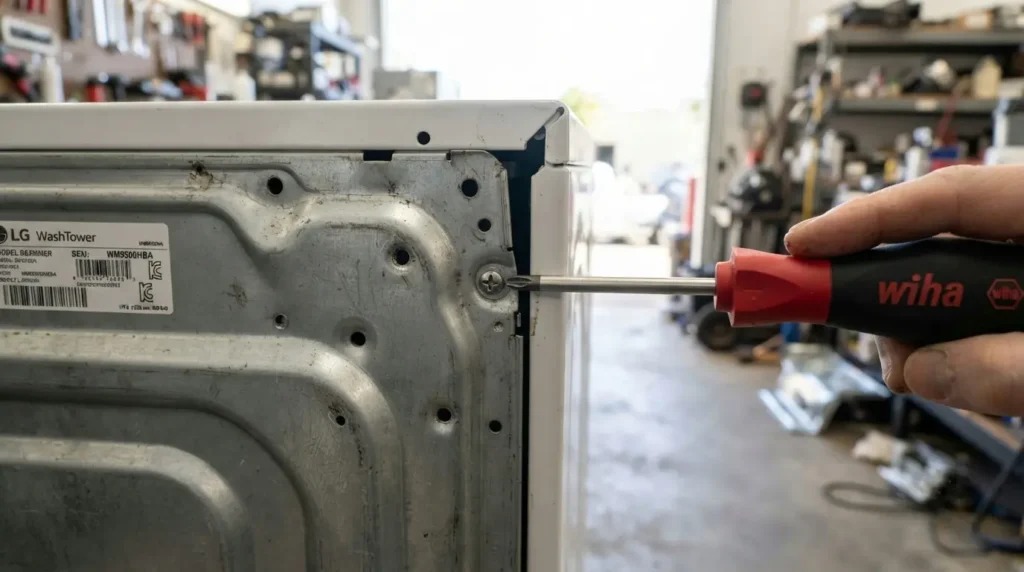
- Remove the back panel: typically 6 to 8 Phillips screws around the perimeter. The panel pulls straight back. Set it aside carefully; the edges are sharp sheet metal.
- Locate the motor stator, the large circular ring at the center of the rear of the machine. The rotor (the outer part with the drum attachment point) sits around it and is secured by a single large bolt at the center.
- Use a 17mm socket to loosen and remove the rotor center bolt. Turn counterclockwise. This bolt is torqued significantly at the factory; you may need a breaker bar for extra leverage.
- Pull the rotor straight back from the stator. It is held by magnetic attraction, so it requires a firm, even pull. Do not twist it; twisting can crack the plastic rotor housing.
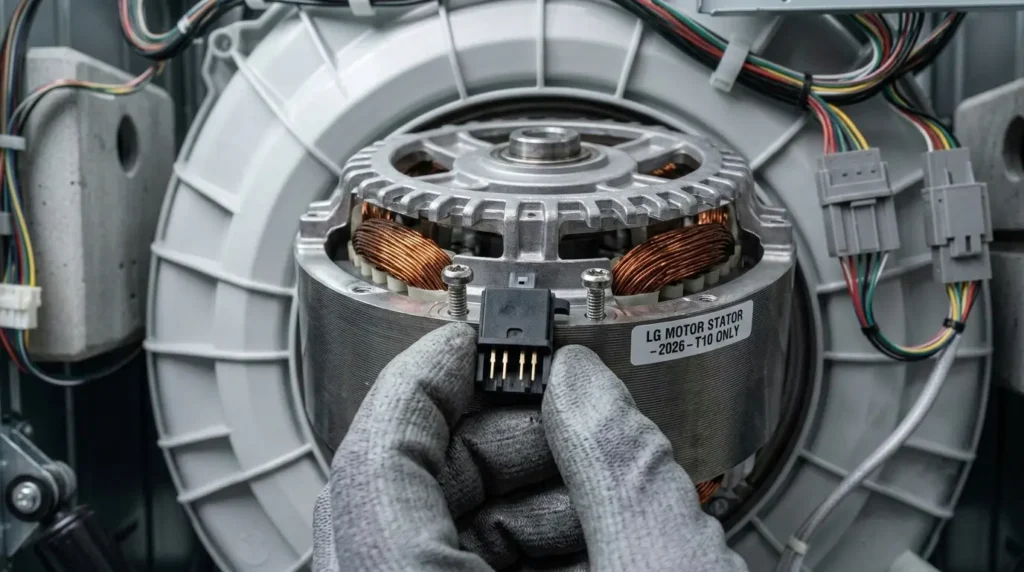
- The Hall Sensor is now visible: a small rectangular component mounted on the stator face, connected by a 5-pin wire harness. It is secured by 2 small screws (usually Torx T20).
- Photograph the wire harness routing before disconnecting it. The harness passes through a specific path around the stator; restoring this path is important for preventing rub wear.
- Remove the 2 sensor screws, disconnect the harness connector, and extract the sensor.
- Install the new sensor in the same orientation. The sensor has a locating tab that only allows one correct mounting position.
- Reconnect the harness. Route it back along the exact same path as photographed, and secure it with zip ties at the factory anchor points.
- Replace the rotor by pressing it back over the stator, aligning the center hole. Reinstall the center bolt and torque to approximately 50 to 55 Nm (37 to 41 ft-lb), firm but not over-tightened.
- Replace the back panel and run a short cycle to confirm the repair before pushing the machine back to its final position.
⚠️ WARNING: When torquing the rotor center bolt, do not use an impact driver; the sudden torque can crack the rotor housing around the bolt boss. Use a socket wrench and apply steady force.
Repair Procedure 3: Water Inlet Valve Replacement
When You Need This Procedure
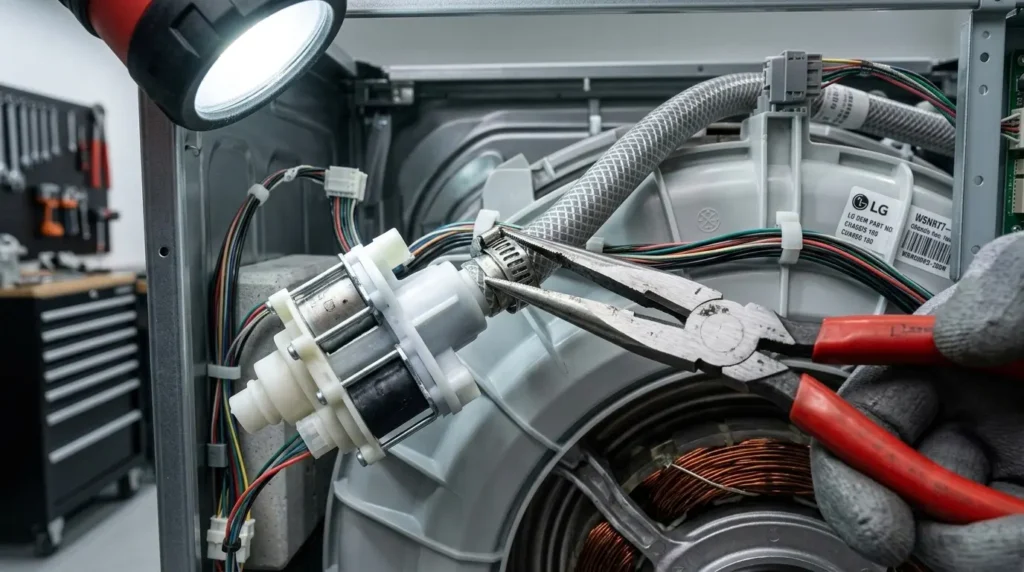
The inlet valve is located at the rear of the machine, where the supply hoses connect. It is a dual-solenoid valve, one solenoid for hot and one for cold, mounted on a plastic bracket. Replacing it is a beginner-level repair, but it requires careful attention to hose routing and clamp positioning.
Step-by-Step: Inlet Valve Replacement
- Turn off both water supply valves at the wall. Place a pan behind the machine.
- Disconnect the hot and cold supply hoses from the rear inlet ports. Have a pan ready; residual water in the hoses will flow out. Note which hose connected to which port (usually color-coded: blue for cold, red for hot).
- Remove the back panel (see Procedure 2, Steps 1 to 2).
- Locate the inlet valve; it is the component the hoses are connected to, mounted on the upper rear of the machine. It has 2 to 3 internal hoses running from it into the machine and an electrical harness with 2 to 3 connectors (one per solenoid plus a ground).
- Photograph all internal hose connections and the harness connectors before disconnecting anything.
- Slide back the spring clamps on the internal hoses using pliers, then pull each hose free. Mark each hose with a piece of tape labeled ‘hot fill,’ ‘cold fill,’ and ‘pressure’ if applicable; the pressure hose is usually a smaller diameter.
- Disconnect the electrical harness connectors. Each has a locking tab.
- Remove the 2 to 3 screws securing the valve bracket to the rear chassis. The valve comes free as a complete assembly.
- Transfer the internal hoses to the new valve, using the tape markings to ensure correct placement. Ensure each spring clamp seats firmly in its original groove; a misplaced clamp is the most common cause of post-repair leaks.
- Reconnect the harness. Remount the bracket. Reinstall the external supply hoses, hand-tighten, and then give a quarter turn with pliers. Do not over-tighten; the plastic port threads strip easily.
- Turn the water on and watch carefully for leaks at all connection points for 2 minutes before reinstalling the back panel.
💡 PRO TIP: After any inlet valve replacement, run a short hot wash cycle and verify that hot water is actually reaching the drum. Sometimes the hot and cold solenoid connectors get swapped during installation; a cold wash on a hot setting is the tell-tale sign.
Repair Procedure 4: Shock Absorber Replacement (Front-Load)
When You Need This Procedure
Shock absorbers on front-load LG washing machines mount between the outer tub and the machine base, dampening vibration during spin. They wear gradually over 5 to 7 years of normal use. Replacement requires accessing the interior of the machine, which on most 2026 LG front-load washing machine front-loaders is done through the front panel, not the back.
Step-by-Step: Front-Load Shock Absorber Replacement
- Remove the door seal gasket’s retaining spring: this is a thin wire spring that runs around the inside circumference of the door opening. Insert a flat-blade screwdriver at the 6 o’clock position to pop the spring, then work it around the gasket. Pull the gasket inward to access the front panel screws behind it.
- Remove the front panel screws (2 to 4 screws behind the door seal area) and any screws visible at the bottom front service access.
- The front panel tilts forward at the top and then lifts up and off; the panel hooks over two clips at the top edge. Have an assistant support the panel as it comes free.
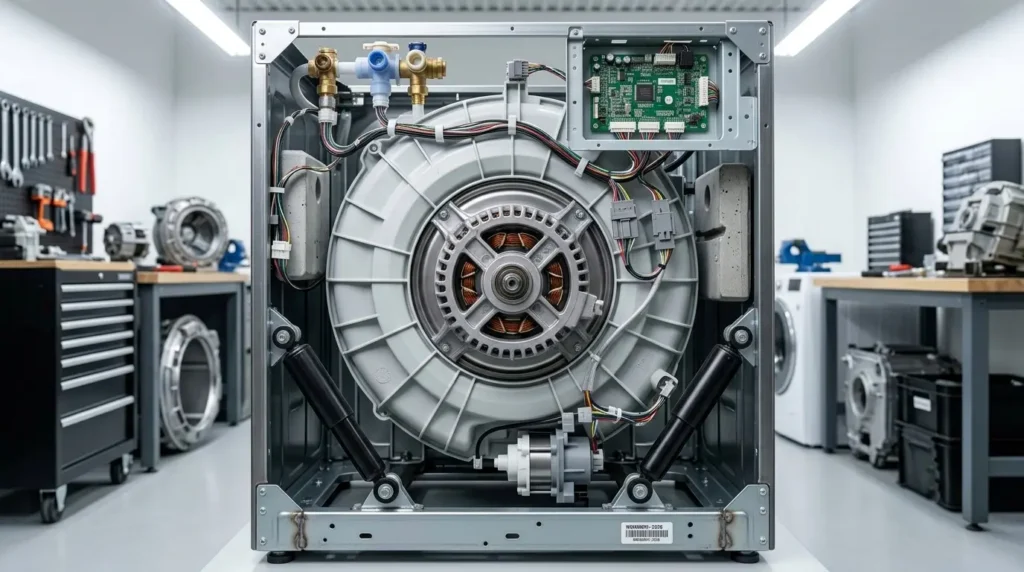
- With the front panel removed, the outer tub is now visible. The shock absorbers are attached between the lower tub and the base frame, two on most LG washing machine models, positioned at the front corners.
- Compress each shock absorber slightly by pushing the tub upward to release tension, then remove the mounting pins at both ends. The pin may be held by a plastic retaining clip; pry the clip with needle-nose pliers before extracting the pin.
- Each shock absorber slides free once both pins are removed. Compare the old unit to the new one; they should be identical in length when fully extended.
- Install new absorbers in reverse order. The pin clips must fully seat; an incompletely seated clip will cause the absorber to eject during the first spin cycle.
- Reassemble the front panel, ensuring the wiring harness for the door lock runs through the correct guide channel before the panel is pressed back into place.
- Reinstall the door gasket retaining spring by pressing it into the lip groove starting at the 12 o’clock position and working around both ways simultaneously.
⚠️ WARNING: Do not attempt to run a spin cycle with the front panel removed as a test. The drum can contact the machine frame without the panel structure in place, and the unguarded drum edge at high speed is extremely dangerous.
Post-Repair: Calibration and Testing Protocol
Why Calibration Matters After Physical Repairs
After any repair that involves moving the drum, accessing the motor, and adjusting the machine’s position, the AI DD (Direct Drive) firmware in 2026 LG washing machine models needs to re-establish its weight and load baselines. This calibration process tells the machine what ’empty’ feels like, which affects water volume, spin speed ramp-up, and load balancing behavior.
Calibration Procedure for 2026 LG Washing Machine Models
- Ensure the drum is completely empty.
- Press and hold the Temp button and the Delay Wash button simultaneously for 3 seconds while the machine is powered on.
- The display will show ‘CAL,’ and the machine will begin a 2-minute slow spin sequence.
- Do not open the door and interrupt the calibration cycle. Allow it to complete fully.
- After calibration, run a short cotton cycle with a small test load (3 to 4 items) and verify that spin, drain, and fill behavior all feel normal.
Final Functional Test Sequence
Before calling any repair complete, run through this checklist in order:
| Test | What to Verify | Pass Condition |
| Fill the test. | Run a ‘Rinse + Spin’ cycle and verify water enters. | Water visible in the drum within 2 minutes of starting |
| Drain test | Watch the drain phase, listen, and feel for the pump. | Water fully gone from the drum within 3 to 4 minutes |
| Low-speed spin | The machine reaches a slow spin without the UE code. | The drum spins smoothly, with no banging. |
| High-speed spin | The machine reaches full spin speed. | The motor sound rises to a high pitch, with no vibration. |
| Door lock test | Attempt to open door mid-spin cycle | The door remains locked until the cycle pauses and the drum decelerates. |
| Leak check | Inspect the base area after the full cycle is complete. | No water on the floor, no wet spots on the machine exterior |
💡 PRO TIP: If you replaced a water-side component (inlet valve, pump, and hose), run a full cycle with a dark-colored towel inside. Any water dripping from a connection you worked on will show as a wet spot on the towel.
Frequently Asked Questions: LG Washing Machine DIY Repairs
Q1: How do I know if I have correctly torqued the rotor bolt after a Hall sensor repair?
The rotor center bolt on LG washing machine direct-drive motors should be torqued to 50 to 55 Nm (approximately 37 to 41 ft-lb). Without a torque wrench, the practical benchmark is using a 17 mm socket with a standard 8-inch ratchet, tightening until you feel significant resistance, then applying one firm additional quarter-turn. Under-torqued bolts will cause the rotor to wobble at high spin speeds and generate an LE code after the repair.
Q2: I reinstalled the front panel, and now the door won’t close properly. What did I miss?
The most common cause is the door lock harness getting pinched between the front panel and the machine frame. The lock harness runs from the door lock assembly through a specific channel along the inside edge of the panel opening. If it is crimped, the door latch cannot engage the lock mechanism. Remove the panel, locate the harness, route it cleanly through its channel, and reinstall.
Q3: After replacing the inlet valve, the machine fills but then immediately overflows. What happened?
The fill valve solenoid is not closing fully. This almost always means the valve harness connectors were cross-swapped during installation, the hot solenoid connector is on the cold terminal, and vice versa. Power down, recheck both electrical connectors against your installation photos, and swap them if they were reversed. If the connectors are correct, a manufacturing defect in the new valve is possible; test the solenoid coil resistance with your multimeter.
Q4: I replaced the shock absorbers, but the machine still vibrates. What next?
Verify that both absorber mounting pins are fully seated with their retaining clips locked. A partially seated pin allows the absorber to pivot, which amplifies rather than dampens vibration. If pins are seated correctly, check that the machine is level; new absorbers compress slightly differently than worn ones, which can shift the machine’s center of gravity enough to change its leveling. Re-check with a bubble level and adjust the front feet accordingly.
Q5: Is there a repair? I should never attempt it myself on an LG washing machine.
Main bearing replacement is the one repair that is genuinely beyond most DIY skill levels and toolkits. It requires complete tub disassembly, a hydraulic press and bearing removal tool to extract the old bearing from the tub housing, and precise press-fitting of the new bearing to the correct depth. An incorrectly installed bearing fails within weeks and can crack the tub housing. If your machine needs bearings, get a professional quote, and if the quote is over $400 on a machine more than 6 years old, the math usually points to replacement.
Related Article
- How to Clean LG Washing Machine: Front & Top Load 2026
- LG Washing Machine Repair Secrets: 5 Secrets Before Calling a Tech and Save Your Money
- LG Washing Machine OE Error: Top-Load & Front-Load DIY Fix Saves Your Time (2026)
- Are LG Washing Machines Worth Repairing? 2025 Cost Analysis to Save Your Money