
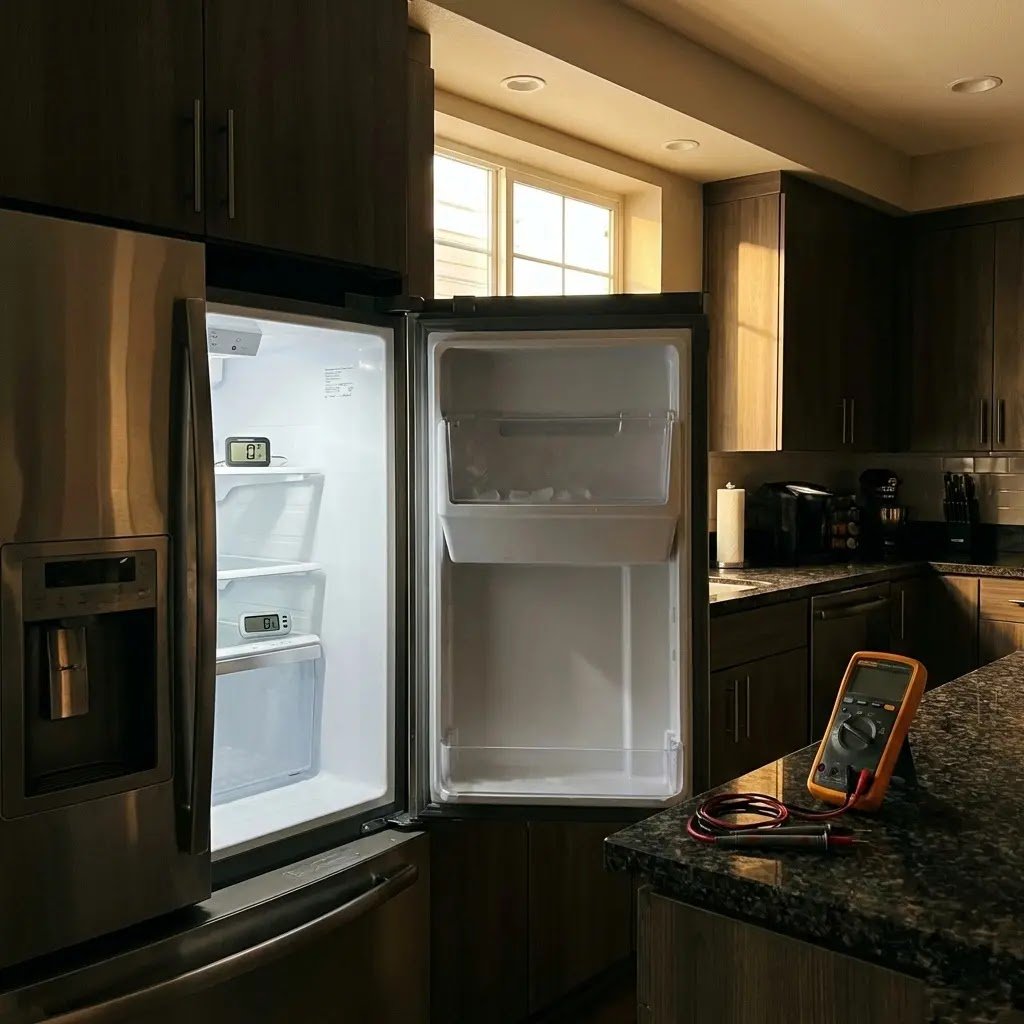
In 2026, a GE refrigerator ice maker not working is often a logical lockout by the refrigerator’s software rather than a broken motor. For your GE unit to produce ice, the freezer needs to stay near 0°F, and the ice mold has to get cold enough before the system starts a fill cycle.
This lockout behavior isn’t a flaw; it’s deliberate. Modern GE units are tuned to meet federal energy-efficiency standards, and the control board treats the ice maker as a lower priority than holding the compartment temperature. If the freezer is running warm for any reason, the board will sacrifice ice production first rather than let the whole compartment drift, which is why “no ice” is so often the first symptom of an unrelated cooling problem rather than an ice maker failure on its own.
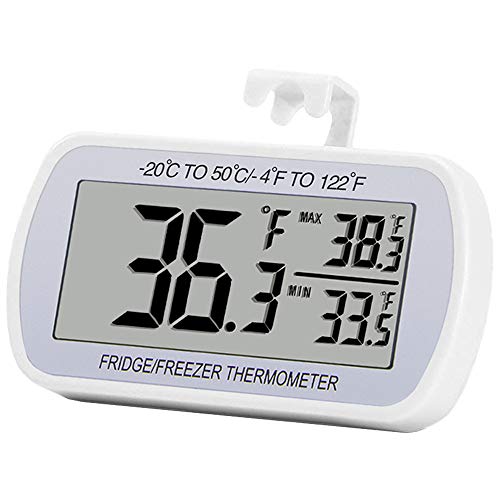
- Large Screen, Small Size: LCD display, big digits. You can visually observe the temperature, and also won’t take too muc…
- Wide Measuring Range & Accurate: Temperature range is -4°F to 122°F with high accuracy 2°F up/down. Max/Min temperature …
- Hook, Magnet, Stand: Temperature sensing point is on the back. Hanging inside the refrigerator, the measuring temperatur…
An ice maker that never fills can sometimes trigger the compressor to run non-stop, leading to an energy drain. If your fridge sounds like it’s constantly working but still not making ice, see 👉 [How to Fix a GE Refrigerator That Keeps Running: Stop the Energy Drain] to protect your electricity bill.
Table of Contents
If your unit is WiFi-connected, open the SmartHQ app and look for any alerts or diagnostic information before doing anything physical. What the app shows varies by model, so check GE’s support page for your refrigerator.
GE’s Harvest Method
GE (Profile/Cafe) uses a thermal harvest: a heater briefly warms the mold to loosen the ice edge before ejection, sensed by either infrared eyes or a weighted paddle. A GE unit that is cold-soaked (mold too cold to release) behaves differently from one that is simply jammed. If your freezer runs too warm, the logic board can halt production before the heater ever engages, because the mold has to reach its target temperature before a harvest cycle begins.

In-Door vs. In-Freezer Ice Makers: Why It Changes Your Fix
Not every GE refrigerator ice maker sits in the same place, and this trips up a lot of DIYers. Top-freezer and side-by-side models almost always house the ice maker directly inside the freezer compartment, where it shares that compartment’s air with the food storage. French door models, by contrast, often use a dedicated in-door ice maker with its own small insulated compartment and its own airflow duct from the freezer, a separate mini-environment that can fail independently of the main freezer’s temperature.
This matters diagnostically: if you have a French door model and the freezer itself is holding 0°F perfectly fine but the in-door unit still won’t fill, the fault is almost always in that duct or the door-mounted unit’s own thermistor, not the compressor or main evaporator. Don’t waste time checking the main freezer’s cooling performance in that case; go straight to the door unit’s airflow and heater.
⚠️ Safety First: Before You Touch Anything
Before you attempt any of the steps below:
- Unplug the refrigerator before touching internal wiring, the water inlet valve, or the harvest heater; never work on these while powered.
- Shut off the water line at the supply valve behind or below the fridge before disconnecting the fill tube.
- The harvest heater and mold can be hot immediately after a cycle; let it cool before handling.
- Avoid contact with sharp edges around the ice bucket rails and auger housing.
- If you smell burning, see scorched wiring, or the compressor is cycling erratically alongside the ice fault, stop and call a licensed technician; that points to a control-board or compressor issue outside DIY scope.
The Force Cycle Secret (Step-by-Step)
The Force Cycle bypasses the thermal timer so you can test the mechanical components immediately. Steps vary by model, so confirm them in your owner’s manual or on GE’s support page for your model number.
For Switch/LED Models:
- Turn the ice maker switch to OFF for 15 seconds.
- Turn the switch back to ON.
- Within 15 seconds, push the paddle in and out 3 times.
- Wait 3 minutes; the motor should turn and water should fill for 4–7 seconds.
For Touchscreen Models:
Service mode and forced harvest tests differ by model. Check your owner’s manual or GE’s support page for how to enter service mode on your refrigerator and how to run a forced harvest test.

Troubleshooting Matrix
| Symptom | Technical Cause | Difficulty |
| Empty mold / no water | Failed inlet solenoid (compare its resistance to your model’s spec) | Medium |
| 1F / Er 1F code | 1F / Er 1F code | On some models this points to an airflow or fan problem rather than the ice maker itself (check your manual for what the code means on your model); full breakdown in our error code guide | Medium |
| Small or hollow cubes | Clogged filter or low house pressure | Easy |
| Non-responsive unit | Infrared sensor blocked by direct sunlight or misalignment | Easy |
| Ice maker cycles but ejects empty | Heater engaging with no water present, usually a solenoid that opened too briefly or a partially clogged fill tube | Medium |
Before you blame the motor, check your door seal; if it isn’t airtight, the freezer can’t hold the temperature the ice maker needs. Use the ‘Dollar Bill Hack’ from 👉 [GE Refrigerator Door Not Closing? Fix the Ghost Door for $0 to rule that out first.
Repair vs. Replace
If your unit is under 5 years old and only one component tests bad (solenoid, fan motor, or fill tube), replacing that part is usually the better call; parts often cost roughly $20 to $60. Once a unit is 8 to 10 years old, or the mold coating is flaking or bubbled (a sign the non-stick surface is breaking down), replacing the whole ice maker assembly, often roughly $80 to $150, can be cheaper than chasing parts one at a time. Prices vary by model and retailer.
Technical Fixes & Hacks
Fix #1: The Turkey Baster Fill Tube Flush If the fill tube is frozen shut, don’t use a hairdryer; it can warp the plastic. Use an OXO Good Grips Precision Turkey Baster with 140°F water to melt the ice plug from the center out.

- Unique bulb shape and collar for two comfortable grip options
- Flat bulb prevents rolling
- Crack resistant, high heat plastic

Fix #2: Solenoid Resistance Test If water isn’t reaching the tray, test the secondary solenoid with a Klein Tools MM400 Digital Multimeter. Compare the reading with the spec for your model’s valve. A reading of OL (open loop) means the coil is dead and needs replacement.
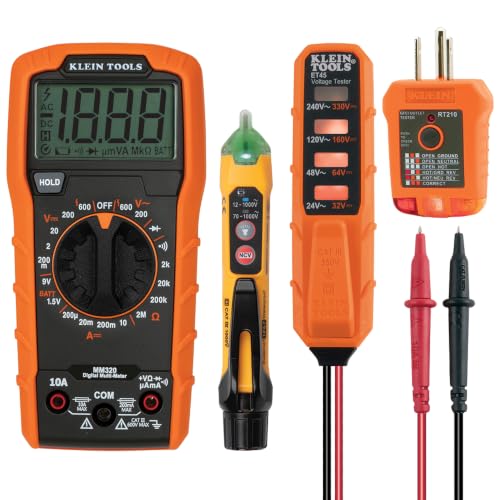
- VERSATILE MEASUREMENTS: Digital Multimeter accurately measures up to 600V AC/DC voltage, 10A DC current, and 2 ohm resis…
- EXTENSIVE FUNCTIONALITY: In addition to voltage, current, and resistance, the meter tests batteries, diodes, and continu…
- DUAL-RANGE VOLTAGE DETECTION: Voltage Tester NCVT3P detects from 12 to 1000V AC or 70 to 1000V AC, accommodating a wide …

Fix #3: The 1F Fan Error. On some models, a 1F error points to an airflow problem at the ice maker (check your manual to confirm what the code means on your model). Check the freezer’s back panel for frost buildup; if the fan is frozen, defrost it manually. If it still isn’t spinning after defrost, the fan motor needs replacing. Use the exact part listed for your model number, because GE fan motors vary by model.
Ice Bin Health Note
Pink slime, often caused by bacteria such as Serratia marcescens, can grow in damp ice bins. Clean and sanitize the bin regularly, and use a genuine GE water filter that matches your model (check the label on your current filter: RPWFE, XWFE, or MWF), since many newer GE models use RFID chips that reject filters without a compatible chip. For a cleaning schedule, see our ice bin maintenance guide.

Accuracy Checklist
Resistance values vary by model and part. Before you condemn a component, look up the exact spec for your model number in GE’s service documentation or a parts lookup, then compare it with your multimeter reading (with the unit unplugged).
FAQ: GE Refrigerator Ice Maker Not Working?
Q: Can I use a generic water filter?
A: It depends on your model. Many newer GE models read an RFID chip in the filter, so a plain generic filter can trigger an error and may stop water from the dispenser and ice maker. Use a genuine GE filter (or an aftermarket filter with a compatible RFID chip) or a GE bypass plug. Check the label on your current filter (RPWFE, XWFE, or MWF) before you buy, because they are not interchangeable.
Q: Why are my ice cubes so small?
A: Often low water pressure or a clogged filter. If the dispenser fills a measuring cup much slower than it used to, check your water supply valve, supply line, and filter. If you also notice a slow drip from the dispenser front, your inlet valve may be sticking; see 👉 [GE Refrigerator Water Dispenser Leaking? Quick DIY Fix Guide] since it’s often the same failed part causing both issues.
Q: How much ice is normal?
A: Ice production varies by model, so check your refrigerator’s spec sheet or manual.
Q: How do I know if the motor is actually dead versus just needing a reset?
A: Run the Force Cycle first. If the motor audibly turns during the 3-minute test but no water fills, the motor is fine and the problem is upstream (solenoid or fill tube). If there’s no motor sound at all after two Force Cycle attempts, the module itself has likely failed. It’s worth noting that a motor can also stall partway through a cycle if the ejector arm is physically obstructed by an ice clump. Before condemning the motor, open the compartment and confirm the arm can move freely through its full range by hand with the unit unplugged.
Q: My touchscreen shows the ice maker as “installed,” but nothing dispenses. What’s wrong?
A: This usually means the control board sees the module, but the harvest cycle isn’t completing. Run your model’s forced harvest test (see your manual); if the paddle/sensor doesn’t respond during the test, the issue is mechanical (sensor or paddle), not the software connection. On some Cafe-series units, this same symptom shows up when the dispenser door actuator is stuck closed, the GE refrigerator ice maker itself is working, but nothing can physically leave the chute, which can look identical to a production fault from the outside.
Q: Can I run the Force Cycle test too many times?
A: Running it back-to-back without waiting the full 3 minutes between attempts can leave the motor mid-cycle and give you a false “it’s broken” reading. Space attempts at least 5 minutes apart.
Q: Is a loud grinding or cracking sound during harvest normal?
A: A brief crack as ice releases from the mold is normal. A sustained grinding sound usually means the ejector arm is hitting an obstruction or the gears are worn; that’s a repair-vs-replace call, not something to force through repeatedly.
Conclusion
Restoring a GE refrigerator ice maker in 2026 is a balance of thermal management and electronic resets. Start by checking the SmartHQ app for any alerts, then use the Force Cycle (3 paddle pushes, or your model’s forced harvest test) to verify the motor’s health. If the motor is fine but water is missing, check the solenoid resistance (500–1500Ω) or thaw a frozen fill tube with a hot water flush. Finally, protect your family’s health by cleaning and sanitizing the bin regularly to help prevent pink slime.
If you’ve worked through every step above and the mold still isn’t filling or the motor stays silent, it’s time to stop chasing software resets and replace the failed part directly. If you’re still stuck, note your model number and symptoms and contact GE support or a licensed technician.