
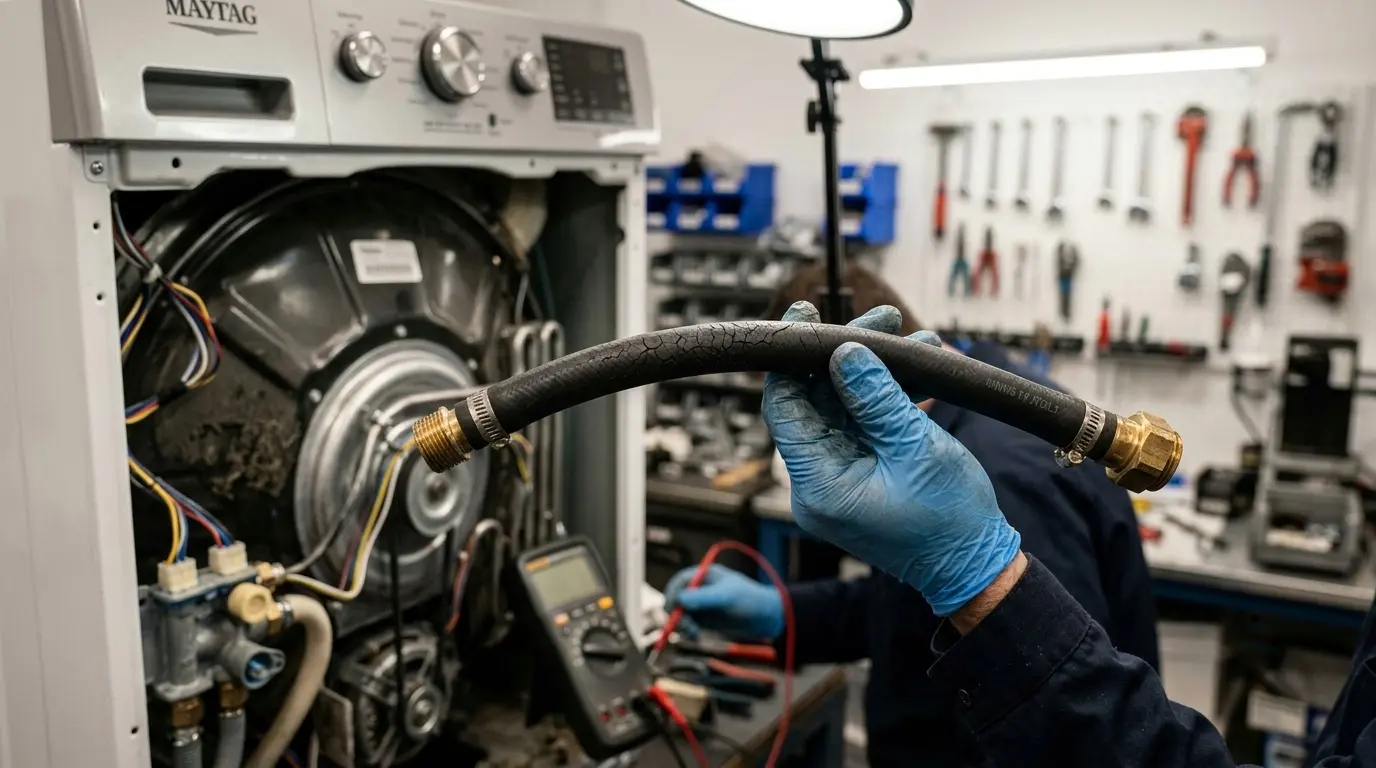
A hands-on repair walkthrough for Maytag top-load and front-load washers that keep looping back to the start of the wash cycle instead of finishing normally.
The first time a customer’s Maytag Bravos called me back with “It just keeps starting over and over,” I figured it was a quick fifteen-minute lid switch swap. It wasn’t. That machine went through three restart loops before I found a cracked water level pressure hose that was fooling the control board into thinking the tub never filled. Cycle-restarting is one of those Maytag faults with four or five completely different root causes that all produce the exact same behavior, so guessing wrong wastes a part and a Saturday.
This guide covers only the physical repair process of Maytag Washer Cycle Restarting Automatically: which components actually cause a Maytag washer to restart its cycle, how to test each one on the machine in front of you, and how to replace or repair it correctly. I’m not going to re-explain what your control panel display is telling you or list out general troubleshooting symptoms; if you landed here from an error code article, this is the next step: the actual wrench-time fix.
Table of Contents
Before You Touch Anything: Confirm It’s a True Restart
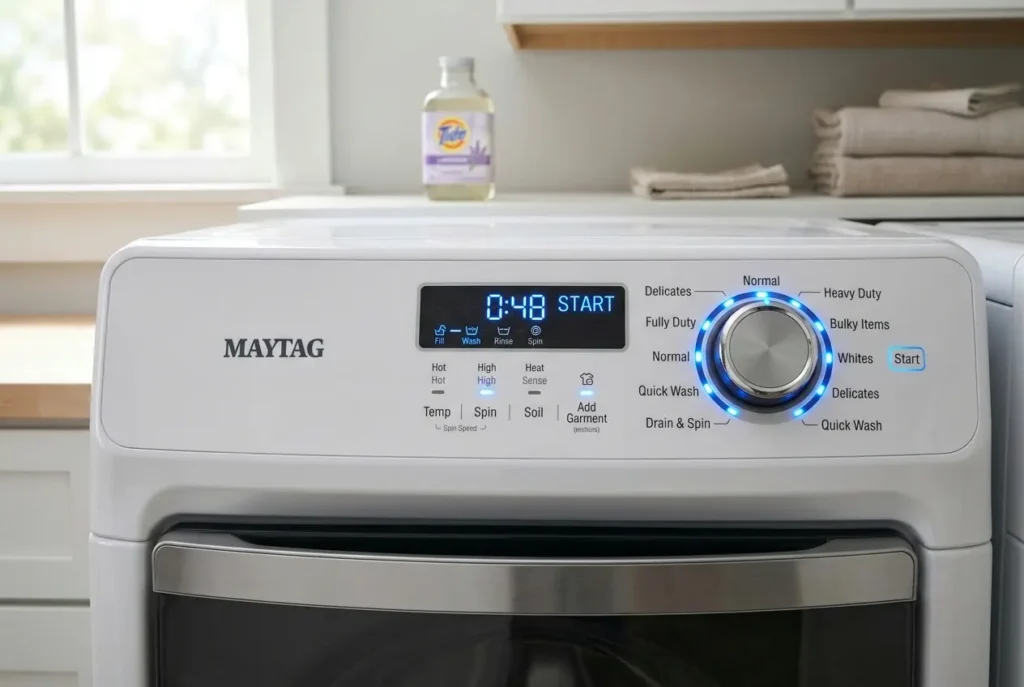
A true cycle restart means the washer completes part of a phase, fills, agitates, or spins for a while, then drops back to the very beginning of the cycle (fill light or start indicator resets) without you touching the controls. That’s different from a pause, a long soak phase, or a full stop with a blinking code. Confirm this on your specific model before you start pulling panels, because the fix path is different if the machine is actually stopping dead versus looping.
Run one full cycle on empty and watch the display or dial. Note exactly where in the cycle the reset happens, during fill, during the first agitation, mid-spin, or right after the water pump kicks on. That timing is your single biggest diagnostic clue, and I’ll reference it throughout this guide.
Tools You’ll Need Before You Start
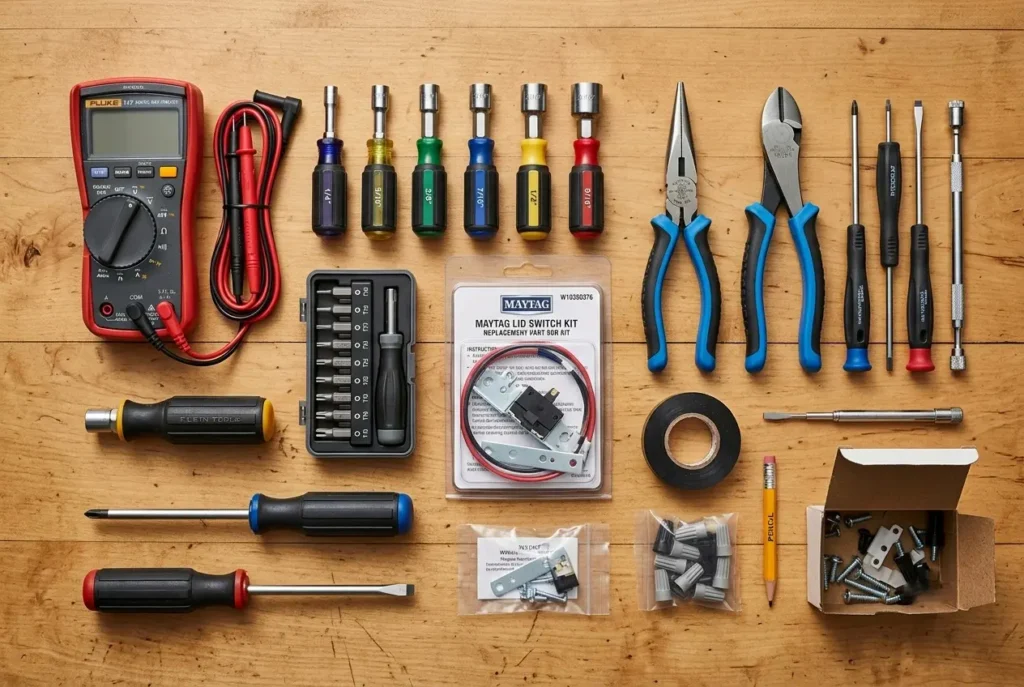
- Multimeter with continuity/ohms setting
- 1/4″ nut driver and Phillips/flathead screwdrivers
- Torx T15 and T20 bits (front-load door lock screws)
- Needle-nose pliers
- Replacement lid switch/striker, pressure switch, or door lock kit as needed (model-specific)
- Painter’s tape and phone camera to label wire positions before disconnecting
Fix #1: Lid Switch and Striker Replacement (Top-Load Models)
On top-load Maytags, Bravos, Centennial, and the MVWB/MVWC series, a worn lid switch is the most common cause of a mid-cycle restart, and it’s the first thing I check. The switch doesn’t just stop the machine when the lid opens; it sends a continuous signal to the control board confirming the lid is latched. If the striker (the plastic tab on the lid) is worn down or the switch contacts are pitted, that signal flickers on and off during the spin phase’s vibration, and the board interprets each flicker as “lid opened”, which forces a safety reset back to the start of the cycle.
How to test it
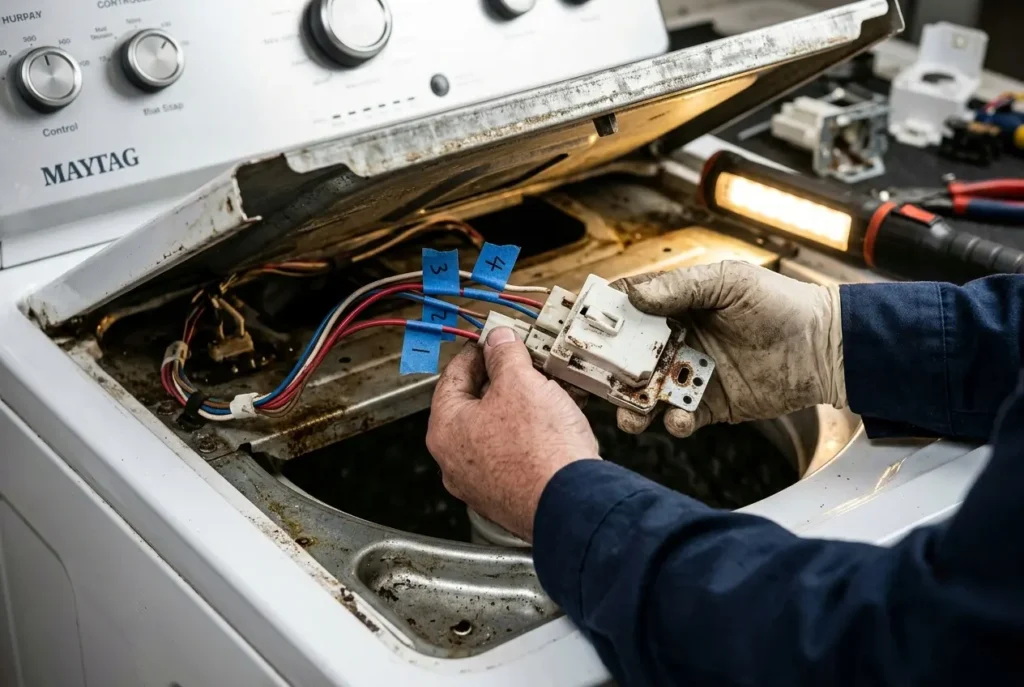
Unplug the washer. Locate the lid switch assembly under the top panel near the hinge (on most Bravo models, remove the two screws at the rear of the top panel and tilt it up). Disconnect the wire harness and set your multimeter to continuity mode. With the lid closed and the striker pressing the switch Bravoplunger, you should read a closed circuit (continuity/near-zero ohms) on the relevant pin pair. Open the lid, and the reading should go to open (infinite resistance). If the switch reads intermittently, flickering between open and closed as you gently wiggle the plunger, that’s your restart cause confirmed.
How to fix it
Replace the switch, not just the striker, unless the striker itself is visibly cracked or shortened; in that case, replace both, since a worn striker will just re-damage a new switch. The switch is held by two tabs; press them in with a flathead, and it pops free. Transfer the wire harness one connector at a time using your labeling photo, since the pin order matters and a swapped connector will read as a permanent lid-open fault. Reassemble the top panel and run a full cycle before calling it done; don’t just check for continuity and walk away, because some intermittent switches test fine sitting still and only fail under spin vibration.
Fix #2: Water Level Pressure Switch and Hose Repair
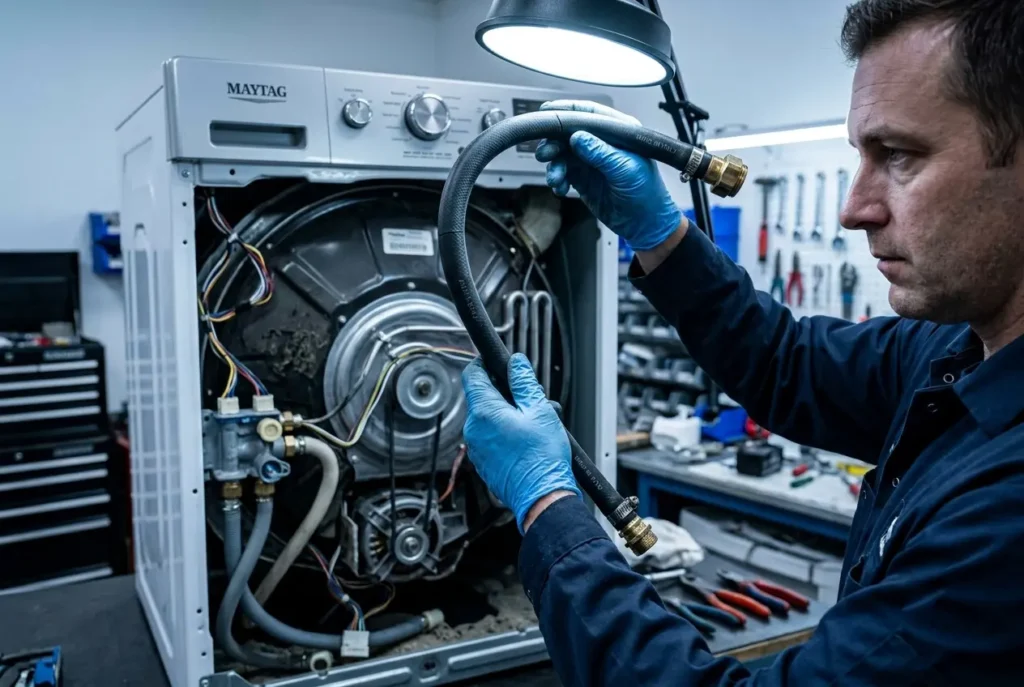
This is the fix I mentioned in the intro, and it’s the one people skip because it doesn’t look like an electrical part. Maytag top-loaders use a pressure switch connected by a rubber hose (the “air dome” or “air trap”) to the bottom of the tub. As water fills, air pressure in that sealed hose rises and tells the switch and the control board that the tub has reached the target level. If the hose has a pinhole crack, has a loose clamp, or has slipped off its barb fitting, the switch never sees full pressure. The board waits, times out, assumes a fill failure, and restarts the cycle from the top rather than proceeding.
How to test it
Access the pressure switch; on most Bravos and Centennial models, it’s mounted to the rear cabinet wall or under the console, with a clear or black rubber hose running down to the tub. With the washer unplugged, check the hose for cracks, especially near the clamps at both ends, and confirm both ends are pushed fully onto their barb fittings. Blow gently into the disconnected hose with your mouth; you should feel firm resistance and hear a faint click from the switch. If air passes through with no resistance and no click, the hose has a leak or the switch diaphragm has failed.
How to fix it
A cracked hose is a five-dollar fix: cut back past the crack and reseat with a fresh clamp, or replace the full hose length if it’s brittle throughout (rubber hardens with age on machines past 6-7 years). If the hose tests fine and the switch itself doesn’t click under pressure, replace the pressure switch assembly; it’s a single connector and two mounting screws on nearly all Bravos/Centennial platforms. After replacement, run a fill-only test (advance the dial to a fill phase and let it complete) before running a full load, so you’re not troubleshooting a wet floor at the same time.
Fix #3: Main Control Board Relay Repair
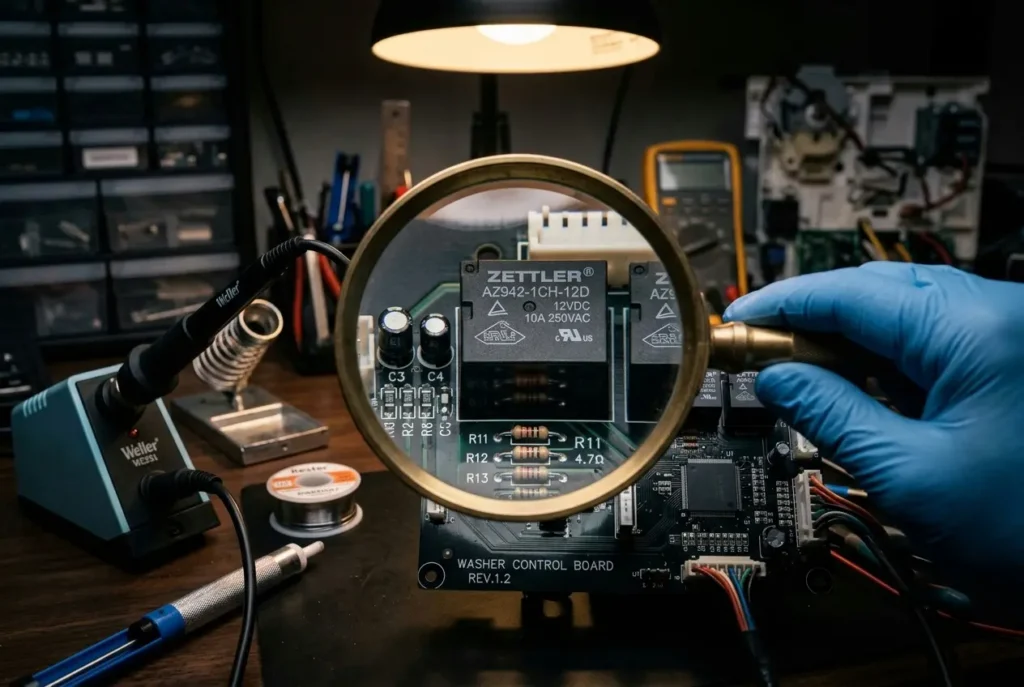
When the restart happens at unpredictable points in the cycle, not consistently at fill, not consistently at spin, and both the lid switch and pressure switch test clean, the fault usually sits on the main control board itself. Specifically, a weak relay or a cracked solder joint around the relay bank can cause the board to momentarily lose its own state and reboot its internal program, which looks to you exactly like a cycle restart.
How to test it
With the washer unplugged, remove the control board (usually behind the console on Bravos/Centennials or behind the top-rear panel on Commercial Technology models) and inspect it under bright light with a magnifier. Look specifically around the relay housings, small black rectangular components, for hairline cracks in the solder, a slightly lifted leg, or a faint scorch mark. Reflowing solder is only worth attempting if you’re comfortable with a soldering iron at this scale; otherwise, this points straight to a board swap.
How to fix it
For a confirmed cracked joint, reflow with a fine-tip iron and rosin-core solder, then reseat the board and test through a full cycle before closing the cabinet. For anything beyond a clean, isolated crack, multiple suspect joints, visible burn marks, or a board that’s simply old and has failed once before, replace the control board as a unit. Boards are model-specific by part number stamped directly on the board, not by model number alone, so pull the board and read the number rather than ordering from the washer’s model tag.
Fix #4: Door Lock Assembly Repair (Front-Load Models)
Front-load Maytag washers, the MHW series, use a completely different restart mechanism: the door lock assembly. Unlike top-loaders, front-loaders re-verify the door lock signal throughout the entire cycle, not just at the start. A door lock motor or switch that’s failing intermittently will drop that signal mid-spin, and the machine will unlock the safety interlock and restart the cycle sequence to re-establish a locked, verified state.
How to test it
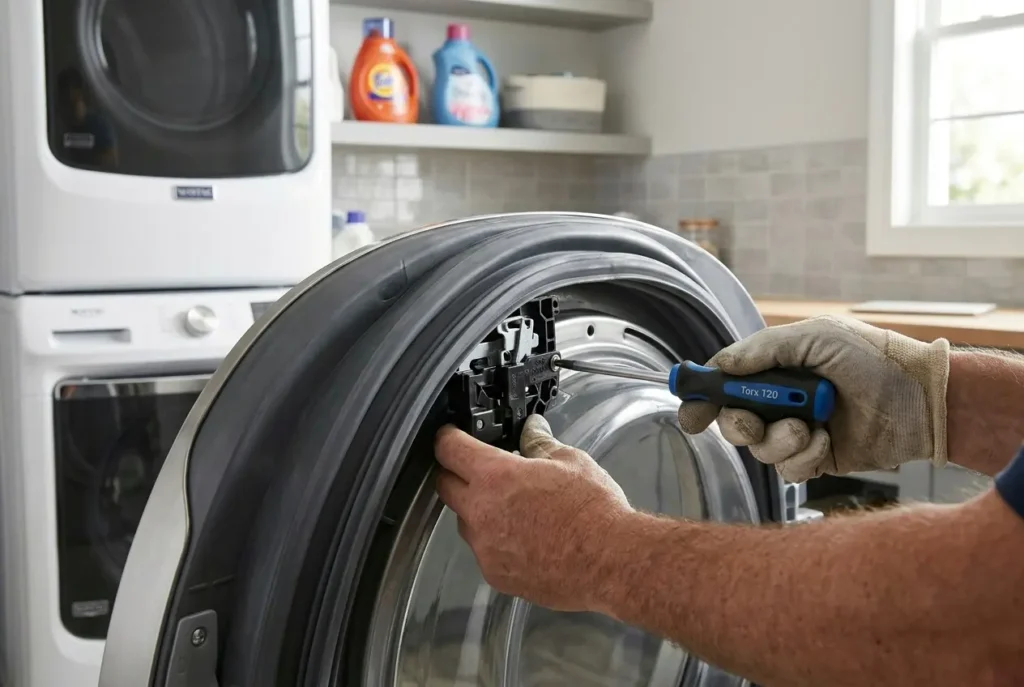
Remove the door lock assembly from the front gasket area, typically with three or four Torx T20 screws accessible from inside the door boot once the retaining band is worked back. With the connector unplugged, test continuity across the lock switch contacts with the latch manually held closed versus open; you should get a clean open/closed transition with no flicker. Separately, if your model uses a motorized lock, listen for the motor engaging when you plug in and start a cycle. A lock motor that hesitates, buzzes without moving, or engages twice is failing mechanically even if the switch contacts test fine.
How to fix it
The door lock assembly is replaced as a complete unit; the switch, motor, and latch mechanism aren’t sold as separate serviceable parts on MHW models. Unplug the old harness, transfer to the new assembly (harness plugs are keyed, so there’s no orientation guesswork), reinstall the Torx screws, and reseat the boot band evenly around the full circumference before running a leak-check cycle. A boot band that isn’t seated evenly will pinch and cause a separate leak fault that can look like a restart if you’re not watching closely.
Fix #5: Timer and Cycle-Selector Actuator (Older Analog-Dial Centennial/Performa Models)
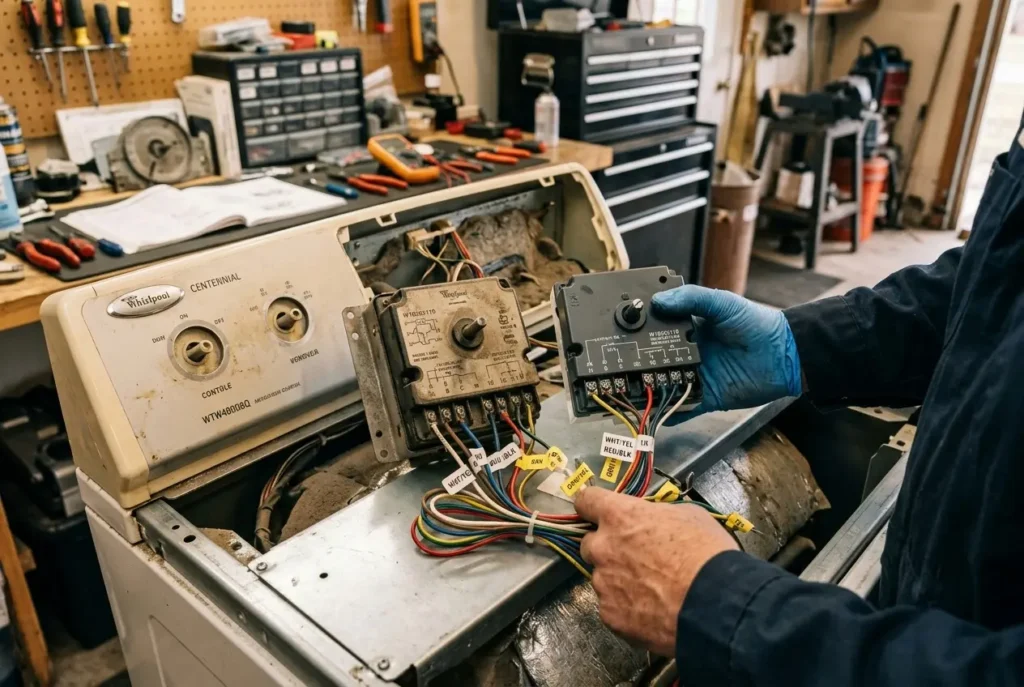
On older analog-dial Centennial and Performa washers without a digital control board, the restart cause is mechanical rather than electronic: a worn timer cam or a sticking cycle-selector actuator inside the timer housing behind the dial. As the timer motor advances the cam, a worn detent can let the cam slip backward slightly under vibration, which physically re-engages an earlier contact set and restarts the sequence.
How to test it
Remove the console top and locate the timer unit directly behind the dial shaft. With the power off, gently try to rotate the timer’s internal cam by hand in the advanced direction; it should move with firm, even resistance and hold position when released. If it spins freely past certain points or drifts backward on its own, the internal detent spring or cam gear has worn out.
How to fix it
Timers are sealed units on nearly all Maytag models from this era; there’s no serviceable detent spring inside, so the fix is a full timer replacement rather than a partial repair. Match the part number stamped on the timer housing exactly, since Centennial and Performa share a cabinet design across several timer variants that aren’t interchangeable. Transfer wires one at a time from the old timer using your reference photo, since the terminal layout is dense and a single swapped wire will cause a different fault entirely.
Which Fix Matches Your Symptom
Use where in the cycle the restart happens, from your earlier test run, to narrow down the likely part before you start disassembling anything.
| Restart Timing | Most Likely Cause | Difficulty | Typical Part Cost |
| Restarts during spin | Lid switch/striker (top-load) or door lock (front-load) | Easy to Moderate | $15 to $60 |
| Restarts during fill | Water level pressure switch or hose | Easy | $8 to $35 |
| Restarts randomly, any phase | Main control board relay fault | Moderate to Advanced | $120 to $220 |
| Restarts only on analog-dial models | Worn timer cam/detent | Moderate | $45 to $90 |
| Restarts right after drain/pump | Pressure hose kinked near pump housing | Easy | $8 to $20 |
👉 [Read more: Maytag washer lid lock stuck? The 5-Minute Manual Release Fix]
Maytag Washer Cycle Restarting Automatically: Frequently Asked Questions
1. Can a bad drain pump cause a Maytag washer to restart the cycle?
Indirectly, yes, if the pump is weak and can’t drain fast enough before the next phase, some Bravo control boards interpret the delayed drain as a fault and restart rather than error out. Check pump drain time (should clear a full tub in under 90 seconds) before assuming it’s the pump itself, since a kinked or clogged drain hose produces the identical symptom for free.
2. Is it safe to keep using the washer while it’s restarting?
For a lid switch or pressure switch fault, yes, short-term, it’s an inconvenience, not a safety issue. For a suspected control board or door lock fault on a front-loader, I’d hold off since an intermittently verifying door lock can occasionally fail to lock at all mid-spin, which is a real safety concern with a loaded drum.
3. Why does my washer restart only on the bulky/bedding cycle?
Bulky cycles run extended, higher-force spin phases that put more mechanical stress on the lid switch and striker specifically, so a marginal switch that survives normal cycles will fail under the added vibration. This points you straight to Fix #1 before checking anything else.
4. I replaced the lid switch, and it’s still restarting. What next?
Move to the pressure switch and hose next, since a slipped hose fitting produces a nearly identical restart pattern and is often mistaken for a lid switch issue because both faults tend to show up around the same point in the cycle.
5. Does a power surge or bad outlet cause cycle restarting?
It can mimic the control board relay fault described in Fix #3, particularly on homes with older wiring or a washer sharing a circuit with a garage door opener or well pump. Before replacing a board, test the outlet’s voltage under load and consider a dedicated dishwasher/laundry circuit if you’re seeing repeated relay failures.
6. How long does the door lock assembly replacement take on a front-load Maytag?
Budget 45 to 60 minutes for a first-timer, most of which is working the boot-retaining band back evenly. The screw removal and connector swap itself takes under ten minutes once you’re inside the boot area.
7. Should I replace the control board myself or call a technician?
If you’ve confirmed a visible cracked solder joint and you’re comfortable with a soldering iron, the reflow repair is very doable at home. A full board swap is also a reasonable DIY job; it’s connector-based, not soldered in, but I’d get a technician involved if you’re not confident reading the part number correctly, since ordering the wrong board revision is a common and expensive mistake.
Final Word
Cycle restarting on a Maytag almost always traces back to one of these five points, and the timing of the restart in the cycle will get you to the right one faster than random parts swapping. Work through the tests in order, starting with whichever matches your symptom in the table above, and confirm each fix with a full test cycle before closing panels back up; a restart fault that seems fixed after thirty seconds of testing has a habit of showing back up under real spin load.
If you’ve worked through all five and you’re still getting restarts, that’s a sign of a compounding fault, usually a marginal lid switch plus a slightly weak board, and it’s worth having a technician run a full diagnostic rather than continuing to swap individual parts.