
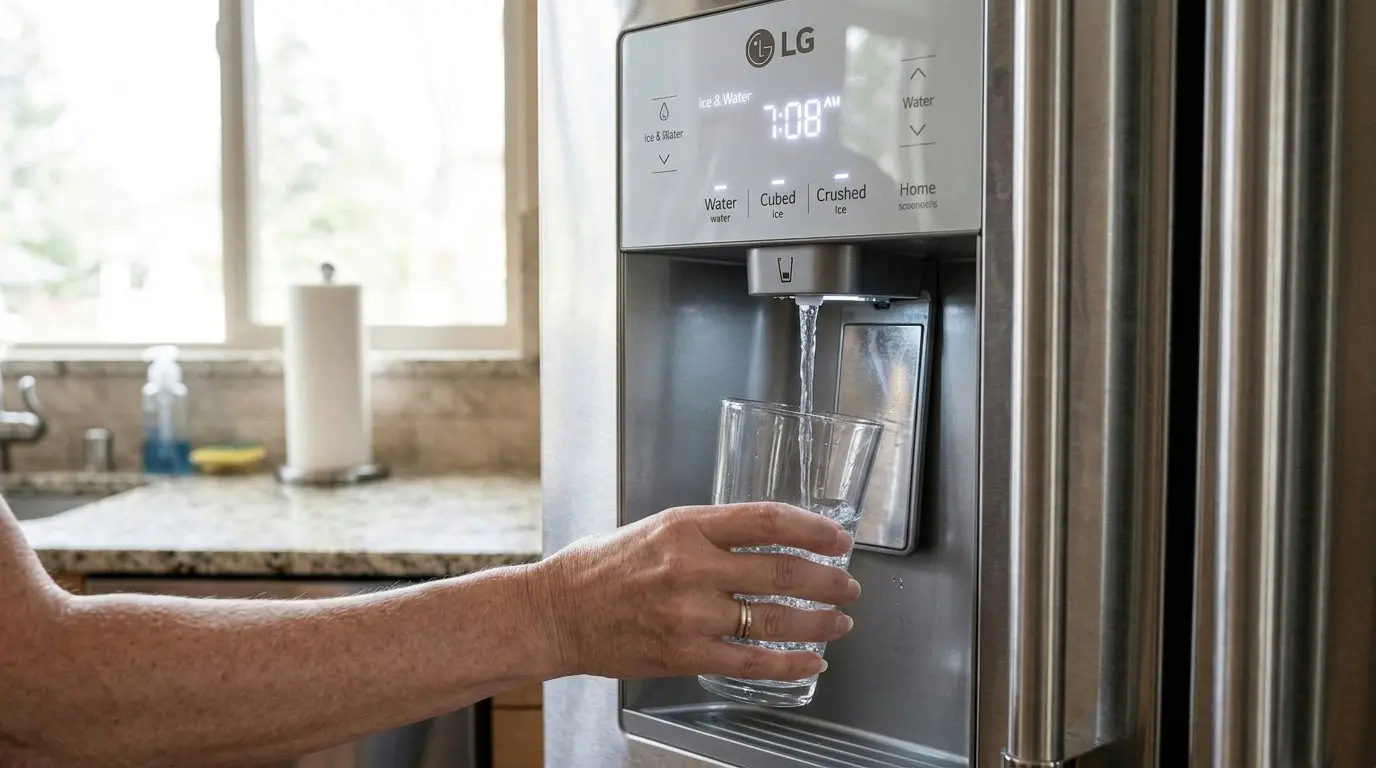
A dribbling dispenser and a dead one are usually the same fault caught at different stages. If your LG refrigerator water dispenser is not working, it almost always comes down to a clogged filter, a frozen tube, a kinked line, or a tired inlet valve, and I’ll walk you through checking them in the order that saves you the most money.
Table of Contents
Why Slow Flow and No Water Share the Same Root Causes
A dispenser that trickles and a dispenser that’s completely dead aren’t really two separate problems; they’re two points on the same spectrum. A partially clogged filter gives you a slow trickle. A fully clogged filter gives you nothing. A water line that’s starting to freeze gives you weak flow; once it freezes solid, you get zero flow. Even the inlet valve follows this pattern: a valve with a weakening coil can still open partway (slow flow) before it eventually fails to open at all.
This is why I’m walking through both symptoms in one repair guide instead of two. If I split “slow water” and “no water” into separate articles, you’d end up checking the same filter, valve, and tubing twice. Model coverage here includes common LG French-door and side-by-side units such as the LFXS26973S, LFXS28968S, and LRFVS3006S, though the diagnostic order applies across most LG models with an ice-and-water dispenser. Always confirm parts against the model number on the sticker inside your fridge, because LG changes filter and valve designs between model years.
⚠️ Safety Warning: Read Before You Start
This is the one repair guide where a mistake can hurt you. Read every point below before touching the fridge.
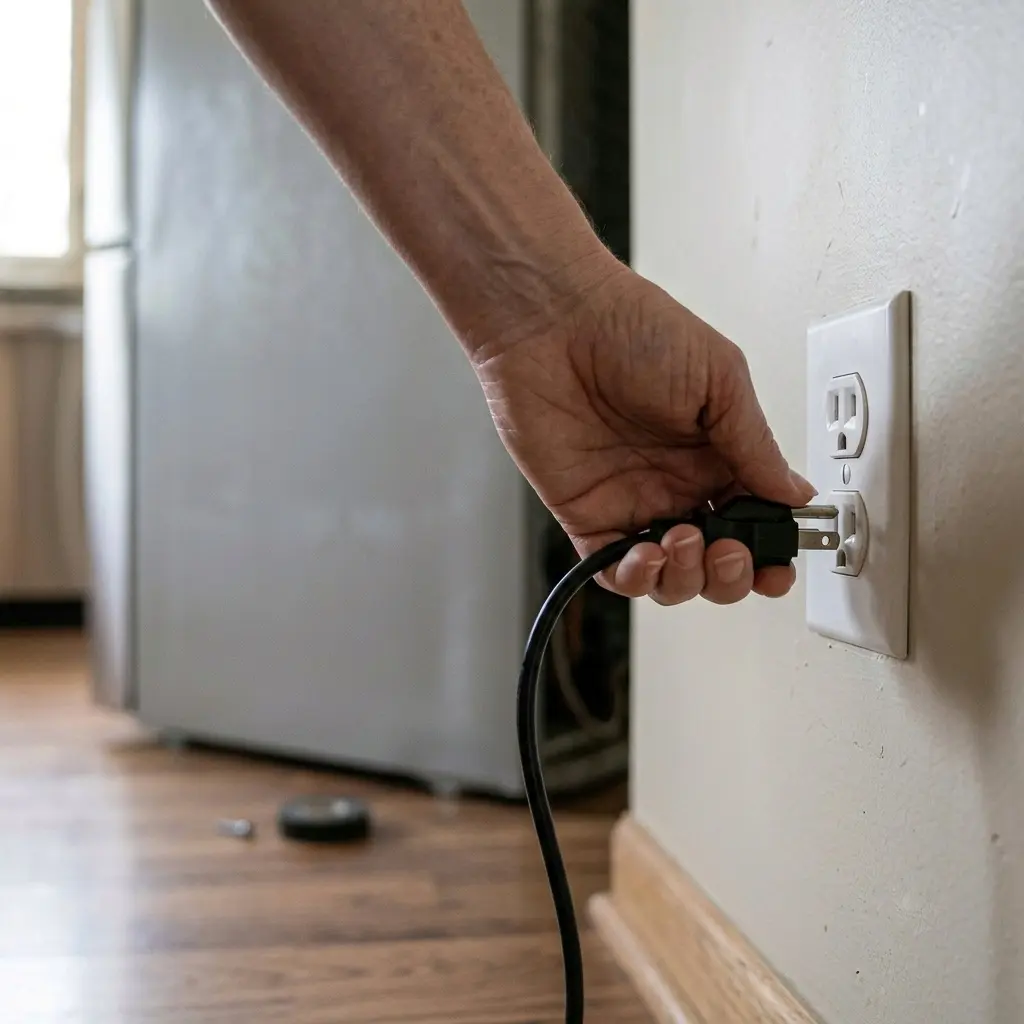
- Unplug the refrigerator. Physically pull the plug from the wall outlet. Don’t rely on a control panel setting or a wall switch. Do this before removing any rear panel, kick plate, or touching any wire.
- The water inlet valve runs on household line voltage (120 V AC in North America), not low voltage. Never touch its terminals with the fridge plugged in, and never test or disconnect it with wet hands or standing water nearby.
- Shut off the water supply at the inline shutoff valve (usually under the sink or behind the fridge) before disconnecting any water line. Keep a towel and a shallow pan ready; residual line pressure will release water even after the valve is closed.
- Water and electricity don’t mix. Wipe up all spills before working, and keep any hairdryer and its cord completely dry and away from puddles. Never use a heat gun, open flame, or boiling water on a frozen line.
- Saddle valves tapped into copper lines are a common source of slow leaks. Inspect them, but don’t overtighten old saddle valve screws; the copper can crack.
- Use a two-person lift if you need to pull the fridge away from the wall. These units are front-heavy and can tip. Pull it out slowly so you don’t stretch or kink the supply line, and protect your floor.
- Sharp edges: rear panels and kick plates often have raw metal edges. Wear work gloves.
- Stop and call a licensed plumber or appliance technician if: the shutoff valve won’t close fully or leaks, you find corroded, melted, or scorched wiring or connectors, you smell burning, or water has reached any electrical component. This guide covers appliance-side repair only.
- After any repair, restore the water, check every connection you touched for drips, and check again after an hour before you leave the fridge unattended.
Tools, Time and Difficulty at a Glance
| Step | Difficulty | Approx. Time | Tools / Parts Needed |
| 1. Supply line and shutoff valve | Easy | 10–15 min | Flashlight, towel; replacement line only if kinked |
| 2. Water filter | Easy | 5–10 min (plus flushing) | Correct LG replacement filter for your model |
| 3. Frozen water line | Moderate | 30–90 min active, longer for stubborn freezes | Hairdryer, nut driver or screwdriver, gloves |
| 4. Water inlet valve | Moderate to advanced | 30–45 min | Multimeter, nut driver, towel; replacement valve only if it fails |
| 5. Tubing and lever switch | Moderate | 20–40 min | Flashlight, screwdriver, replacement tube or switch if damaged |
Times are realistic estimates for a first-timer; your model may vary.
Step 1: Check the Water Supply Line and Shutoff Valve
Before touching anything inside the fridge, confirm water is actually reaching it. Pull the refrigerator out (with help) and locate the shutoff valve. It should be turned fully to the “open” position. I’ve lost count of how many “broken dispenser” calls ended with someone bumping this valve during a cleaning.
Check the supply line itself for kinks, especially where it bends behind the unit or through the wall. LG’s rear plastic quick-connect fittings occasionally don’t seat fully during installation, which restricts flow without causing a visible leak. If the line is creased or the tubing is old and brittle, replace it rather than straightening it.
If you have access to a water pressure gauge, low household pressure will produce a slow dispenser regardless of what’s wrong inside the unit. LG manuals for most dispenser models list a working range of roughly 20 to 120 psi, so check your own manual for the exact figure. Ruling this out early is the first thing I do on a slow-flow call, before opening the fridge at all.
Step 2: Test and Replace the Water Filter
LG recommends replacing the water filter roughly every six months, but real-world clogging depends heavily on your water hardness. In hard-water areas, I’ve pulled filters that were fully blocked with mineral scale after just three months.
To test, remove the filter and check the flow without it. Some LG models supply a bypass cap for exactly this purpose, so use it if one came with your fridge, and check your manual before dispensing with the housing empty because behavior varies by model. Keep the test brief, since the water won’t be filtered. If flow returns to normal with the filter out, you’ve found your problem.
👉 [LG Refrigerator Water Filter Warnings]
Buy the exact filter listed in your manual. LG uses several different filter designs, and counterfeit filters are common on marketplaces, so buy from LG or a seller you trust.
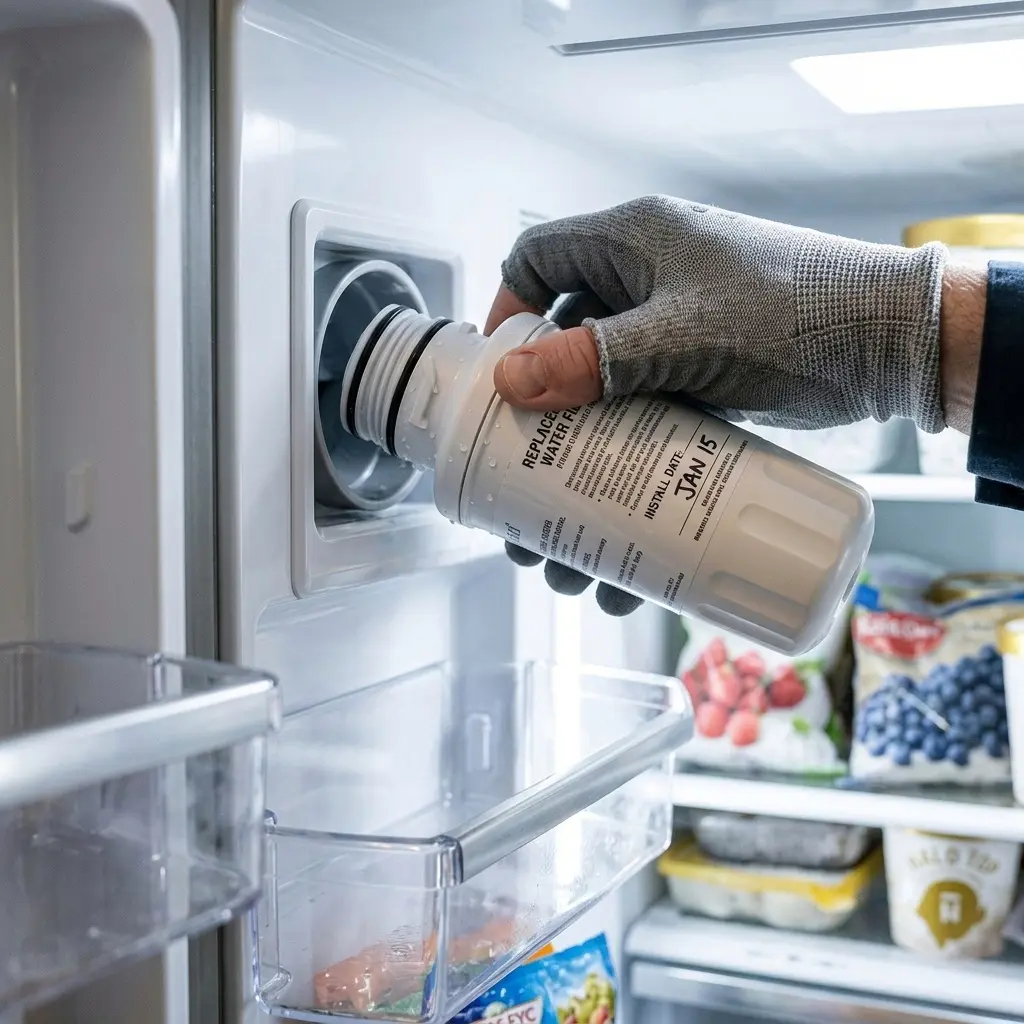
A detail most owners miss: a new filter that isn’t fully rotated into its locked position can restrict flow or weep at the housing, and it produces the exact “slow but not zero” symptom that gets misdiagnosed as a valve problem. Turn it until you feel and hear it lock, then double-check that it doesn’t wiggle.
After the swap, flush the system. Run water through the dispenser for a couple of minutes, discarding the first several glasses, since trapped air makes the stream sputter. LG’s manuals for many models call for flushing a couple of gallons through a new filter, so follow the figure for your model. Then reset the filter indicator; on many models that means holding the filter button for about three seconds, but check your manual.
Step 3: Thaw a Frozen Water Line
This is the most common cause of “worked yesterday, dead today” complaints, and it’s almost always tied to freezer temperature settings colder than needed combined with a water line routed close to the evaporator coil.
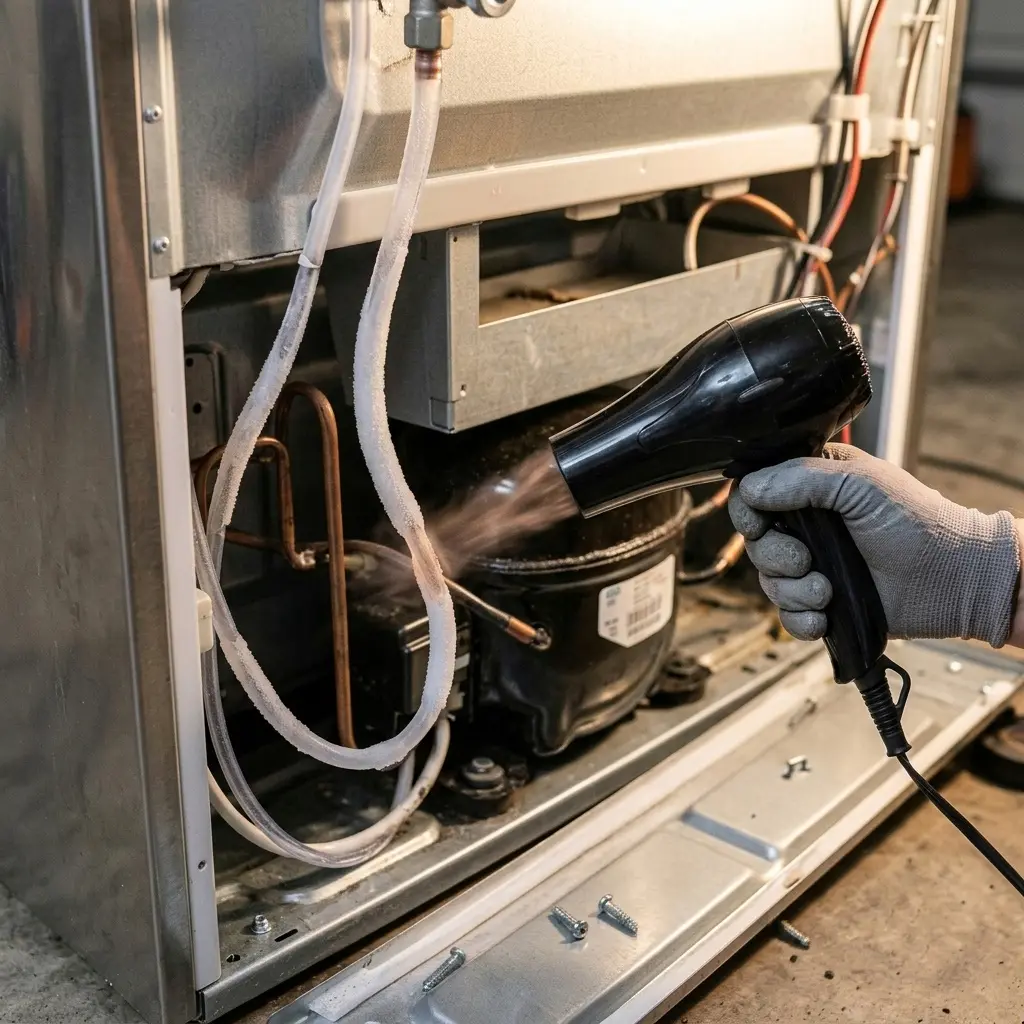
Unplug the unit, remove the rear panel or bottom kick plate (depending on model), and locate the plastic water line running from the back wall toward the dispenser assembly. If you feel a hard, rigid section instead of a flexible line, that’s your ice blockage. Use a hairdryer on low heat, held several inches away, and work along the tube’s length. Keep the dryer moving, never leave it running unattended, and never apply direct high heat to plastic tubing, as it can warp the fitting and create a slow leak that’s harder to diagnose than the original freeze.
For a stubborn freeze, the safer alternative is patience: keep the fridge unplugged with the doors ajar for several hours, protect the floor with towels, and move your frozen food to a cooler in the meantime.
Once thawed, set your freezer to the recommended 0°F (-18°C) if it was running colder, since extra-cold settings push right up against the line’s freeze threshold.
👉 [Correct LG Freezer Temperature Settings to Prevent Dispenser Freezing]
If the line freezes again within a few days, the cause isn’t the thermostat, it’s something feeding the freeze. Look for ice buildup around the tube, worn insulation on the line, or a door that isn’t closing fully. A failing seal lets in humid air, which builds frost around the evaporator and gives the line more reasons to freeze.
Step 4: Test the Water Inlet Valve
The inlet valve is the electromechanical part that opens when you press the dispenser lever, and it’s the part most people jump to replace first, often unnecessarily. Before replacing it, rule out the supply (Step 1) and the filter (Step 2), because a weak valve and a restricted supply produce identical symptoms.
Start with the insider check technicians use before condemning a valve. With the fridge plugged in, press the dispenser lever and listen closely near the valve location at the rear of the fridge, near the compressor compartment. Keep your hands and tools away from the terminals. If you hear a faint buzzing or humming as the coil energizes but no water moves, the valve itself may be fine and the blockage is downstream (a frozen line or a clogged screen filter built into the valve inlet). If you hear nothing at all when the lever is pressed, the fault is upstream of the valve, likely the dispenser switch or the control board, not the valve.
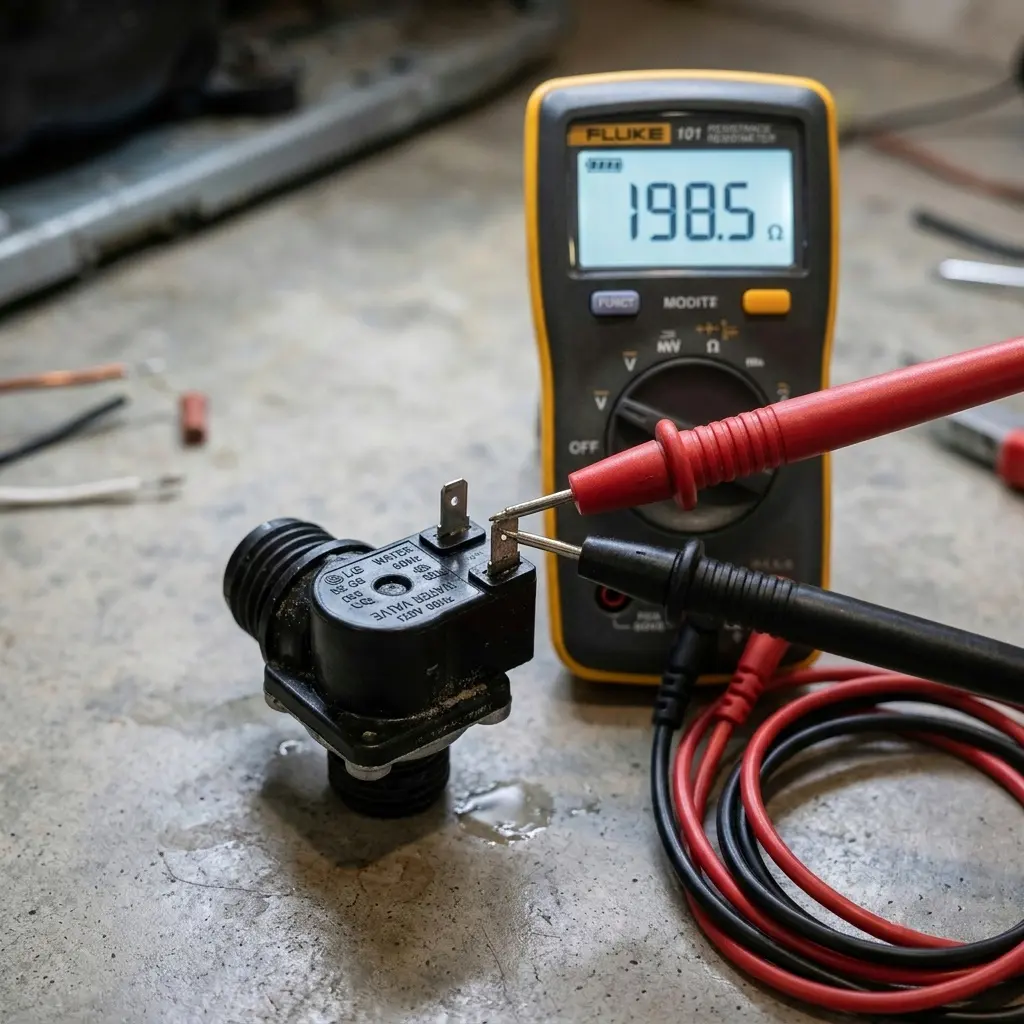
If the valve is silent or you still suspect it, do the electrical test. Unplug the fridge and shut off the water first. Note which wires go where, pull the connectors off the water coil terminals, and set your multimeter to resistance. A working coil reads a finite resistance, commonly a few hundred ohms, and the exact number depends on the valve, so compare it to your model’s service data. A reading of infinite resistance (open circuit) confirms a failed coil. Note that many LG valves are dual or triple units serving the water dispenser and the ice maker, so make sure you’re testing the water coil, not the ice maker coil.
If the coil tests bad, order the replacement using your fridge’s model number rather than a generic “LG inlet valve” listing. Rear-panel wiring on this valve carries line voltage, so if you’re not confident working with it, this is the step to hand to a technician.
Step 5: Check Tubing Kinks and the Dispenser Lever Switch
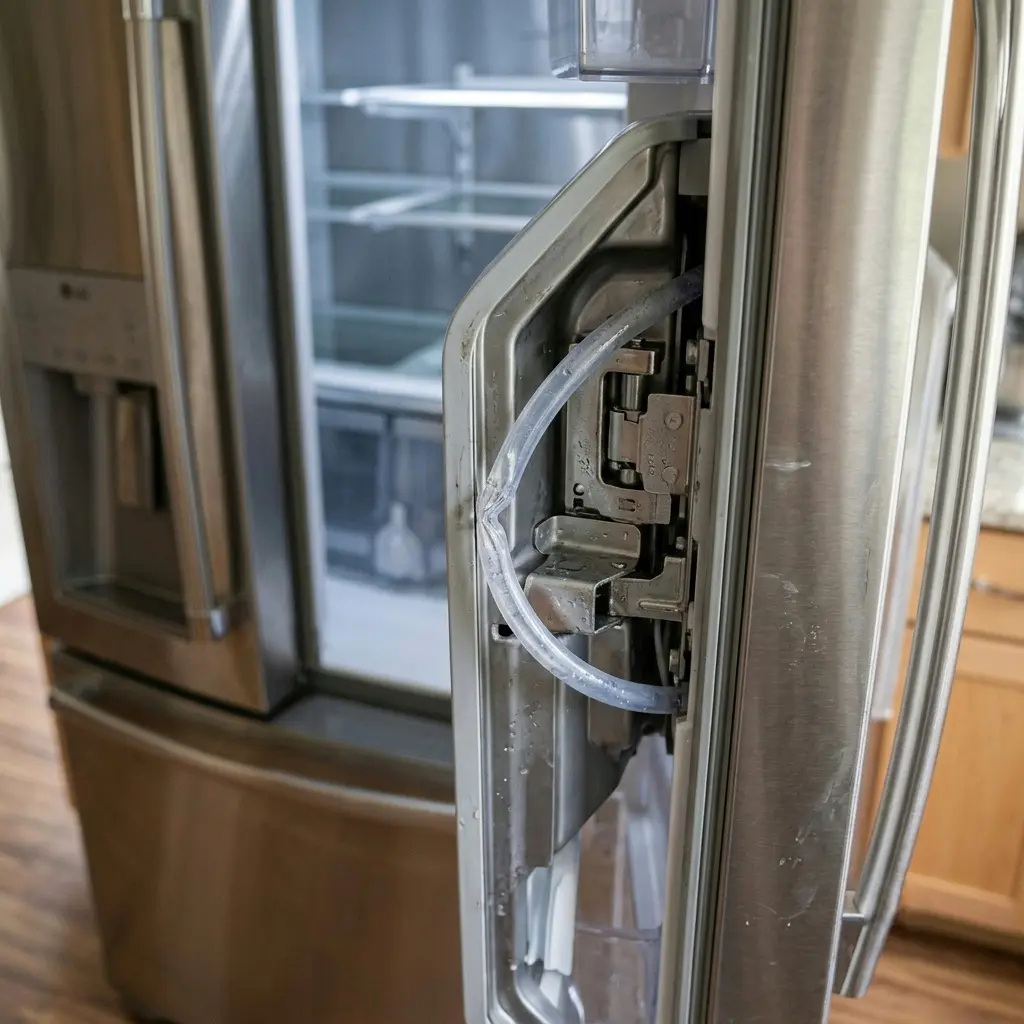
On French-door models, the water tube runs through a flexible loop at the door hinge to accommodate opening and closing thousands of times. Over several years, this loop can develop a permanent kink from repeated flexing in the same spot, which restricts flow without ever fully blocking it. It’s a textbook slow-flow cause that has nothing to do with the filter or valve.
Open the door fully and visually trace the tube from the hinge into the door panel. If you find a sharp crease rather than a smooth curve, the tube needs replacing rather than just repositioning, since a tube that’s been kinked long enough develops a permanent weak point in the plastic wall.
The dispenser lever switch is a simpler point of failure than most owners assume. A worn microswitch behind the lever can develop intermittent contact, giving you water only when you press at a specific angle. If pressing firmly at a certain angle restores flow, that switch, not the valve, is your actual failure point. The switch sits behind the dispenser panel, so unplug the fridge before you pry anything loose.
When to Stop DIY: Repair vs. Replace
If you’ve worked through all five steps and the dispenser still won’t cooperate, the fault is likely the control board, a hidden line blockage, or a sealed-system issue, and it’s time for a technician. Age matters too. If your fridge is 8 to 10 years old and you’re also seeing compressor noise or uneven cooling, sinking money into dispenser parts may be the wrong call. Check whether your warranty still covers the sealed system before you decide, and get a written quote before committing to a big repair on an older unit.
FAQ
1. Why does my LG fridge dispense water slowly, but ice comes out fine?
Ice and water often run through separate outlets of the same valve, so a partial filter clog or a slight kink in the water-only line can restrict water flow while leaving the ice maker’s supply unaffected. If the ice maker is the one that has stopped, that’s a different fault entirely.
👉 [LG Refrigerator Ice Maker Not Making Ice: Causes and Fixes]
2. What water pressure does an LG refrigerator water dispenser need?
Most LG dispenser models list a working range of roughly 20 to 120 psi at the supply connection, but confirm the figure in your manual. Below the minimum, you’ll get a slow trickle no matter which part you replace.
3. How long should I wait after replacing the filter before water flows normally?
Run the dispenser for a couple of minutes to purge trapped air. Some manuals specify flushing a couple of gallons through a new filter, so check yours. Sputtering that clears after the flush is normal because carbon filter media traps air pockets on first use. Sputtering that continues after several gallons suggests the filter isn’t fully seated.
4. Is it safe to thaw a frozen water line with a hairdryer?
Yes, with precautions: unplug the fridge first, use low heat, keep the dryer several inches from the tube, keep it moving, and keep it away from any water. Never use a heat gun or open flame on plastic tubing.
5. Should I replace the water inlet valve myself or call a technician?
The valve runs on household line voltage, not low voltage, so treat it like any 120 V component. If you’re comfortable testing resistance with a multimeter with the fridge unplugged, the swap is straightforward on most models. If you’re unsure about electrical work, have a technician confirm the diagnosis so you’re not replacing a working part.
6. Do I need to reset the filter indicator after changing the filter?
Yes. The indicator light won’t reset itself. Many LG models reset by holding the filter button for about three seconds, but the exact method varies, so follow your manual. Resetting the light doesn’t affect flow, but it keeps your next replacement on schedule.
7. Why does my dispenser work only when I hold the lever at a certain angle?
This points to a worn microswitch behind the lever rather than a valve or filter issue, since it indicates an intermittent electrical contact rather than a flow restriction.
Final Word
Most LG refrigerator water dispenser failures come down to five checks in order: supply valve, filter, frozen line, inlet valve, and tubing or lever switch, because each one rules out the next. Work through them methodically rather than replacing parts on a guess, and you’ll usually land on the real cause before spending a cent on anything unnecessary.
Start with Step 1 tonight, it takes ten minutes and costs nothing. If you’re still stuck after Step 5, book a technician and tell them what you’ve already ruled out; it’ll save you money on the visit. Leave a comment with your LG model number and what you found, and I’ll help you narrow it down.
👉 [LG Refrigerator Frost Buildup on Freezer Wall: 5 Common Causes and Easy Fixes]