
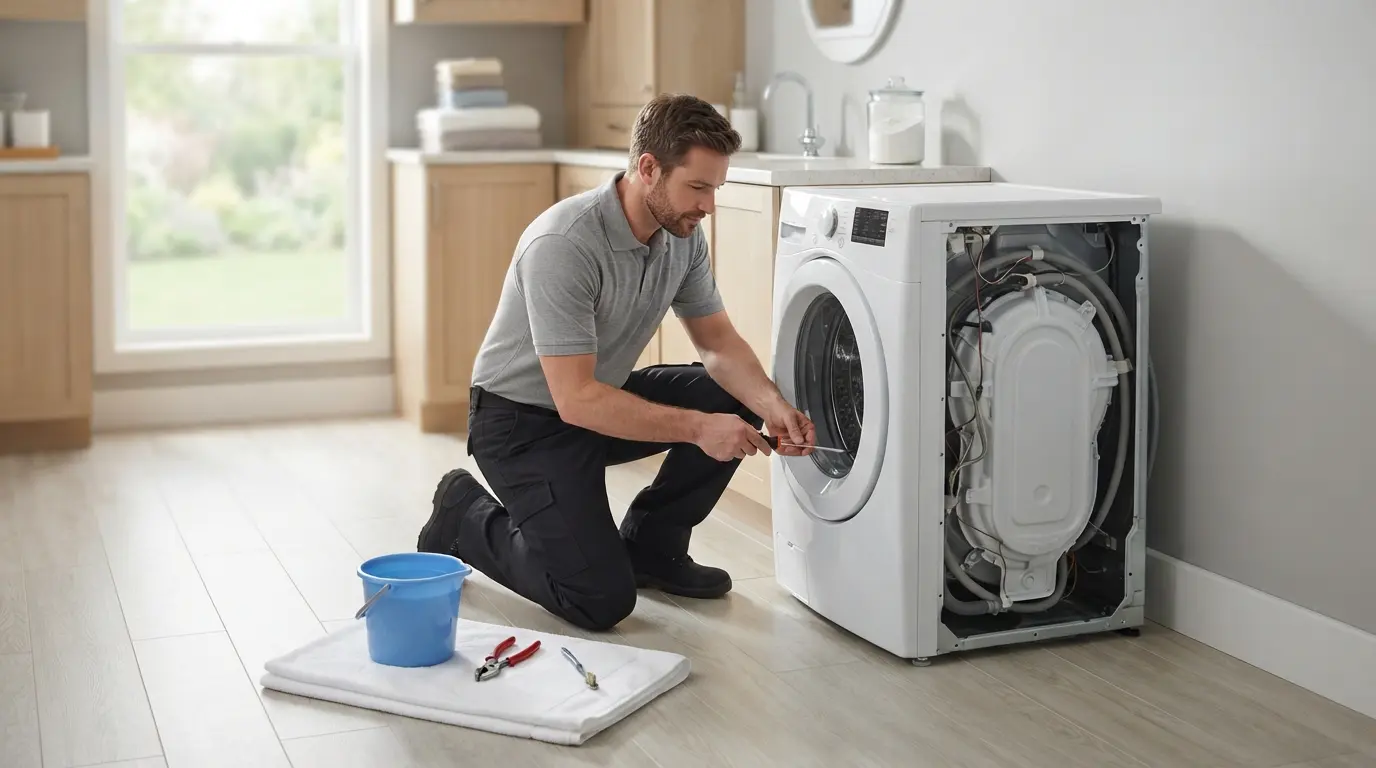
A washer that can’t fill is almost never a “bad washer.” Nine times out of ten, the Frigidaire washer E10 fill error fix is a ten-minute job with a toothbrush, and the tenth time it’s a valve that costs less than a service call. This guide walks you through both, in the order a technician would do them.
Table of Contents
Before you start: tools and safety
You need very little: a bucket, a towel, a flat screwdriver or nut driver, pliers, and an old soft toothbrush. For the valve test later you’ll want a multimeter. Model numbers matter here, because panel and valve designs vary between Frigidaire series, so keep your full model number handy and check your manual for how your cabinet opens.
Do the work in this order every time: unplug the washer, close both water taps, and only then touch a hose.
| SAFETY: READ BEFORE YOU TOUCH ANYTHING Unplug the washer from the wall, not just switch it off. Close both hot and cold taps. Hoses hold water even when the taps are shut, so keep the bucket and towel under the connections. Cabinet edges are sharp, so wear gloves when you open the machine. If you aren’t comfortable working near wiring, stop at Fix 2 and call a technician. |
The bucket test that tells you which fix you need
Before you disconnect anything, let the washer tell you where the problem is. Turn the taps on, start a cycle, and listen at the back of the machine.
- No sound and no water at all: the supply isn’t reaching the valve, or the valve isn’t opening. Start with Fix 1.
- Water running, but weakly, and the cycle times out: flow is restricted. That points at screens or hoses (Fixes 1 and 2).
- Water running normally and the code still appears: your fill is fine, and the level sensor isn’t seeing it. Stop here, because this is a sensor problem, covered in [Frigidaire washer water level sensor error: pressure switch and air tube check].
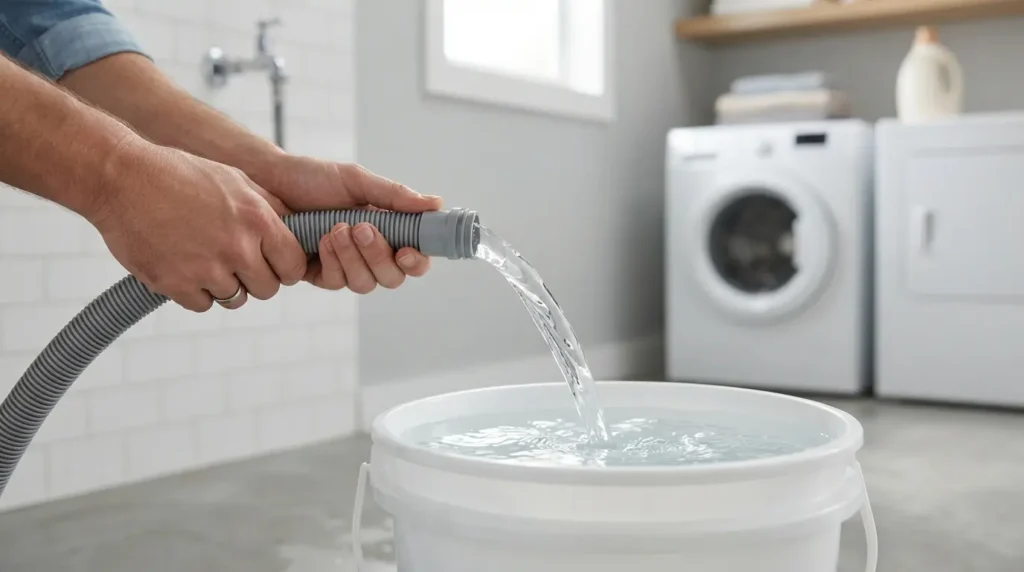
For a more precise version, close the tap, disconnect one hose into the bucket, and open the tap fully. A strong, steady stream means that the supply line is healthy. A trickle means the problem is upstream of the washer. Repeat for the other hose.
Fix 1: Clean the inlet screens.
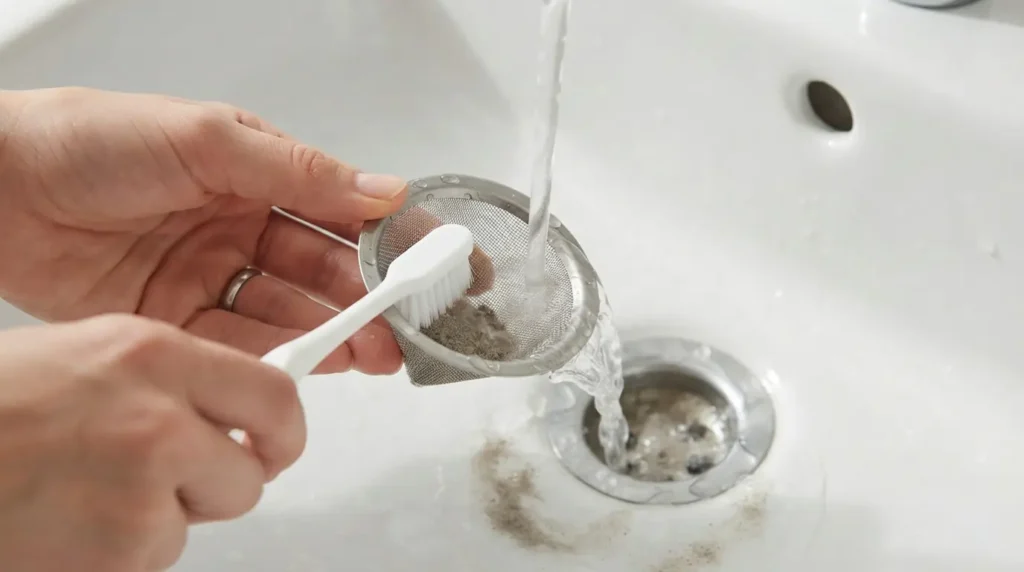
Each water inlet on the back of the washer has a small cone-shaped mesh screen sitting inside the port. Some hoses have a second screen or rubber washer at their ends. Their only job is to catch sediment, so when sediment shows up, they clog.
- Close both taps and unscrew each hose from the back of the washer, holding the end over the bucket.
- Look into each inlet port. You’ll see the mesh screen. Grip it gently with needle-nose pliers and pull it straight out.
- Rinse it under running water and scrub with the toothbrush until you can see light through the mesh evenly.
- Check the rubber washer inside each hose end. A flattened, cracked, or hardened washer leaks, so replace it if it looks tired.
- Reinsert the screens, reconnect the hoses, and tighten by hand, then a quarter-turn with pliers.
| INSIDER TIP: WHAT THE SCREEN IS TELLING YOU Look at what you pulled out. Fine grit or sand suggests a well or a recent disturbance to the plumbing. Black or gray flakes usually mean the rubber of an old hose is disintegrating, and the screen is catching pieces of the hose itself. If you see that, cleaning the screen only buys time. Replace the hoses. |
Fix 2: Check the hoses and the tap.
If the screens were clean, move out along the supply line.
- Kinks: Pull the washer forward a few inches and look at the hoses behind it. A sharp bend, especially where a hose is squeezed against the wall, can cut flow dramatically.
- The taps themselves: Old multi-turn taps and quarter-turn ball valves both fail internally, and the handle can look fully open when it isn’t. The bucket test above catches this.
- Hot and cold mix-ups: If one hose has a strong flow and the other a weak one, the weak one is your lead.
If you find stiff, bulging, or rust-stained hoses, this is the moment to swap them, and braided stainless steel hoses are the better choice.
Fix 3: Test and replace the water inlet valve.
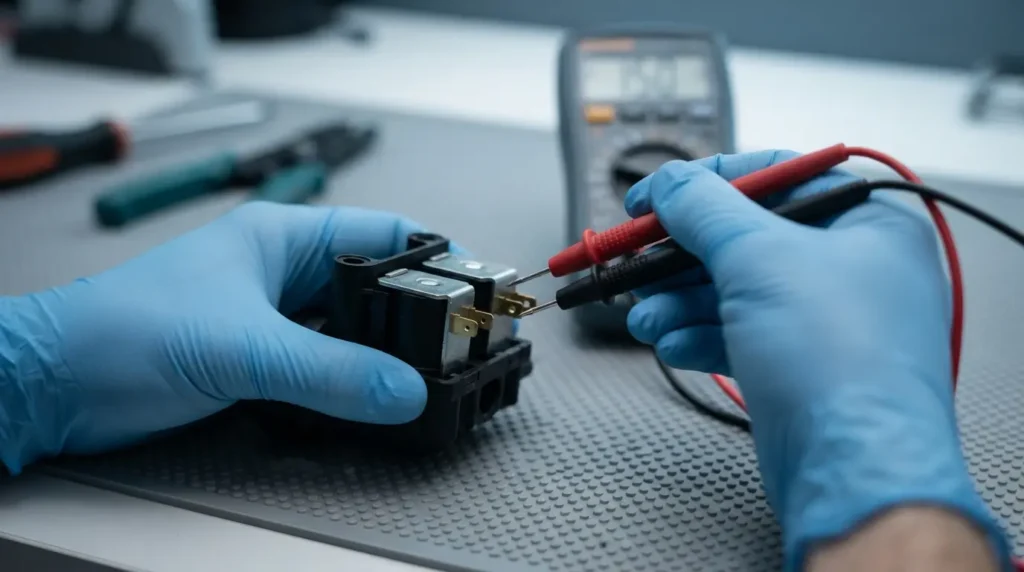
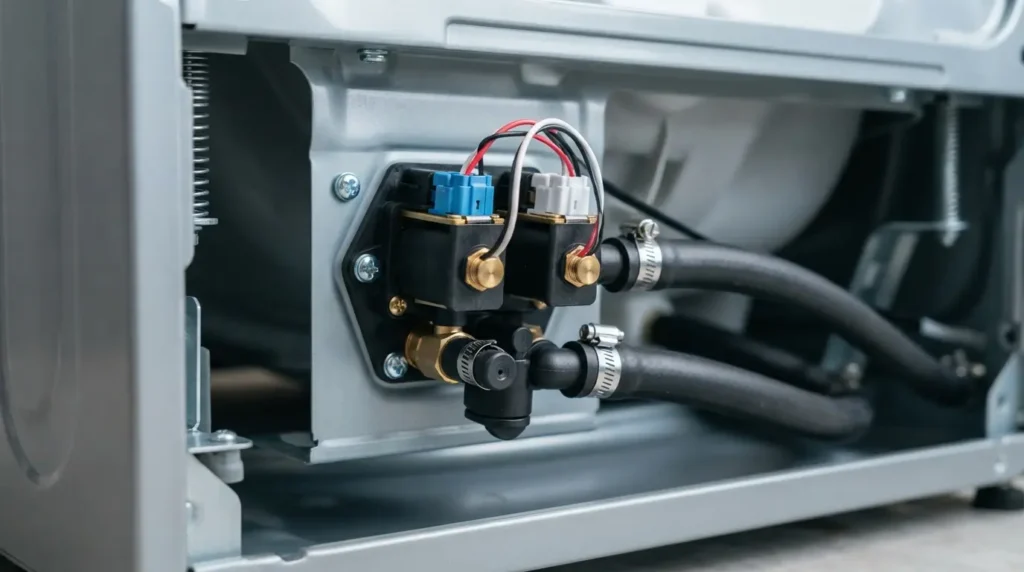
If the supply side is healthy, strong water arrives at the washer, and the washer still won’t fill (or fills painfully slowly), the water inlet valve is your suspect. The valve is a pair of solenoid-operated gates. When the board calls for water, it energizes a coil, the gate opens, and water flows. If the coil has failed or the valve is blocked with sediment, nothing flows.
Test before you buy.
With the washer unplugged, open the cabinet as your manual describes and locate the inlet valve behind the hose connections. Photograph the wiring connectors before touching them, and unplug one connector at a time. Set a multimeter to resistance and check across each coil’s terminals. A reading in a modest range (compare it with your model’s service data) means the coil is intact. A reading of infinity, an open circuit, means the coil has failed. If your readings are fine but flow is poor, sediment inside the valve is likelier than the coil.
Replacing the valve
If a coil has failed, replace the whole valve assembly. They’re sold as a unit, they cost far less than a service visit, and this is a repair worth doing on almost any old washer that needs it.
- With the washer still unplugged and the taps closed, disconnect the hoses from the valve inlets.
- Note which connector goes to which coil, then unplug them. Photos make this foolproof.
- Release the hose clamp(s) on the valve’s outlet side, which feeds the detergent dispenser. A pair of pliers usually does it.
- Remove the screws holding the valve to the cabinet, and lift it out.
- Fit the new valve, reattach the outlet hoses and clamps, reconnect each connector to the same coil, and thread the supply hoses back on.
Match the part to your full model number rather than to its appearance. Valves look alike, and the coil count and connector layout differ between machines.
After the repair: flush, test, and confirm
Before you reconnect the hoses for good, hold each one over the bucket and run the tap for a few seconds to flush any loose debris out of the line, because a leftover flake is what clogs a brand-new screen.
Then reconnect, open both taps slowly, and check every connection for drips before you plug the machine in. Run a short rinse-and-spin cycle with the drum empty. Watch the fill, and look for the code to stay away. Check the connections again after the cycle, because a fitting that seeps under pressure will show itself within minutes.
Finally, leave a small towel under the connections for a day. A slow drip dries before you notice it, but a towel shows it.
E10 fix path at a glance
| What the bucket test showed | Most likely fix | Skill level | Typical time |
| Weak flow at both hoses | Clean the screens, and check the tap. | Beginner | 10-15 minutes |
| One strong, one weak | Check for a kink or a failing tap on the weak line. | Beginner | 10-20 minutes |
| Flakes of rubber in the screen | Replace the supply hoses. | Beginner | 20-30 minutes |
| Good flow at the hose, none inside the washer | Test and replace the inlet valve. | Intermediate | 45-60 minutes |
| Good fill, code still present | Level sensor path, not a fill fault | See the sensor guide. | n/a |
FAQ: Frigidaire Washer E10 Fill Error
1. Can I fix an E10 fill error without pulling the washer out?
Often, yes. Cleaning the inlet screens only needs access to the hose connections at the back, which you can usually reach by tilting the machine slightly or pulling it forward a few inches. Replacing the valve requires opening the cabinet.
2. How do I know it’s the screens and not the valve?
Weak flow at the hose end points to the supply side and screens. Strong flow at the hose with nothing entering the washer points to the valve. The bucket test separates the two in a couple of minutes.
3. How often do inlet screens clog?
It depends on your water. Homes on well water or older plumbing can see sediment build up within months, and municipal supply can stay clean for years. If you find a heavy buildup, check them more often. The routine interval is part of the [Frigidaire washer maintenance schedule].
4. Is a water inlet valve expensive to replace?
Generally the part is modest in price compared with the cost of a technician visit. Prices vary by model and seller, so check the exact part for your full model number.
5. Will turning the tap on harder fix low flow?
Only if it wasn’t fully open. A tap that looks open but is failing inside will not give you more flow no matter how far you turn it, so the bucket test is more reliable than the handle position.
6. Can I use a regular hose clamp or sealant on the valve connections?
Use the clamps designed for the washer’s hoses, and don’t add sealant to threaded supply fittings. The rubber washers in the hose ends create the seal, and hand-tight plus a quarter turn is usually enough.
7. The code came back after I replaced the valve. What now?
Recheck the screens, because debris from the work can clog a clean screen quickly. If flow is strong and the code persists, the problem is probably the level sensor path, not the fill.
Final word
Start with the bucket test, work through the screens, hoses, and valve in that order, and stop the moment the washer fills normally. Most of these repairs end at step one. Once it’s running again, put the screen check on your calendar, and let that be the last time E10 interrupts your laundry day.