
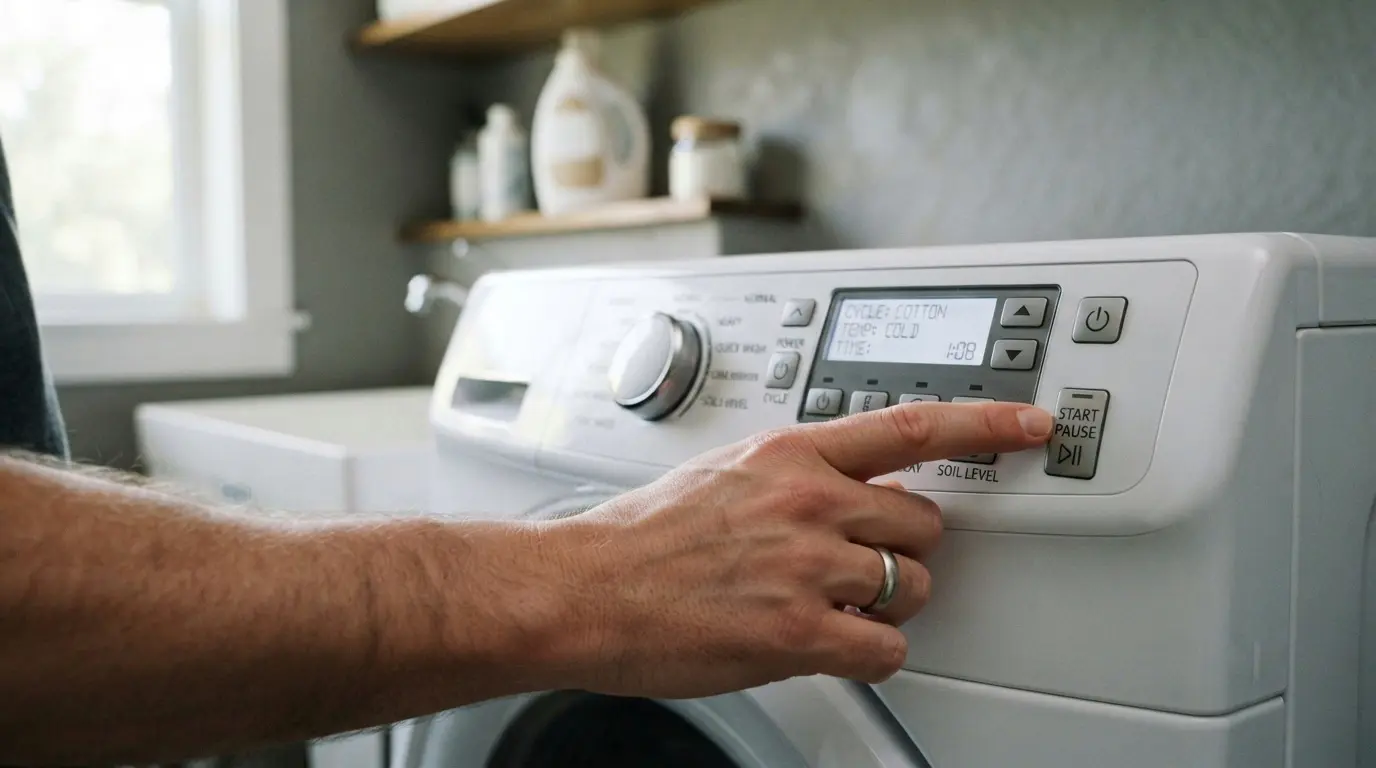
The number one call I used to get from customers who’d found “GE washer diagnostic mode” on a forum somewhere was some version of “I got it into the mode, but now it won’t do anything, and I think I broke it.” ” You didn’t break it; you just landed in a menu that isn’t designed for casual browsing, and most GE washers don’t make it obvious how to move through it and back out safely.
This guide walks through exactly how to get into diagnostic mode on a GE washer, what you’ll actually see once you’re there, and, just as important, how to get back out without accidentally changing a setting you didn’t mean to touch.
Table of Contents
What GE Washer Diagnostic Mode Actually Does
Diagnostic mode, sometimes labeled service test mode on the technician documentation for these machines, is a built-in menu that lets the washer’s control board run individual components, the drain pump, the water valves, the motor, and sometimes the door lock, on command, one at a time, outside of a normal wash cycle. It’s designed for technicians to isolate a problem component without running a full 45-minute cycle just to hear whether the drain pump kicks on.
Why Your Entry Method Depends on Your Control Panel Type
This is where most online guides fall apart, because they assume every GE washer uses the same button sequence. It doesn’t. GE has sold washers across at least three distinct control panel generations over the last fifteen-plus years, and the entry sequence changes with the panel type.
| Control Panel Generation | Typical Era | How Diagnostic Mode Is Usually Entered | Notes |
| Mechanical dial + basic buttons | Older top-load models | Specific button-and-knob combination held during power-up | Least standardized; varies most by exact model |
| Electronic button panel (no full display) | Common mid-generation top-load and early front-load models | Holding two specific cycle buttons simultaneously for several seconds while powering on | Most common “press and hold” style entry |
| Digital display / touch control panel | Newer GE and GE Profile models | Menu-based entry through a settings and options screen, sometimes combined with a button hold | May require scrolling through an on-screen menu rather than a physical hold |
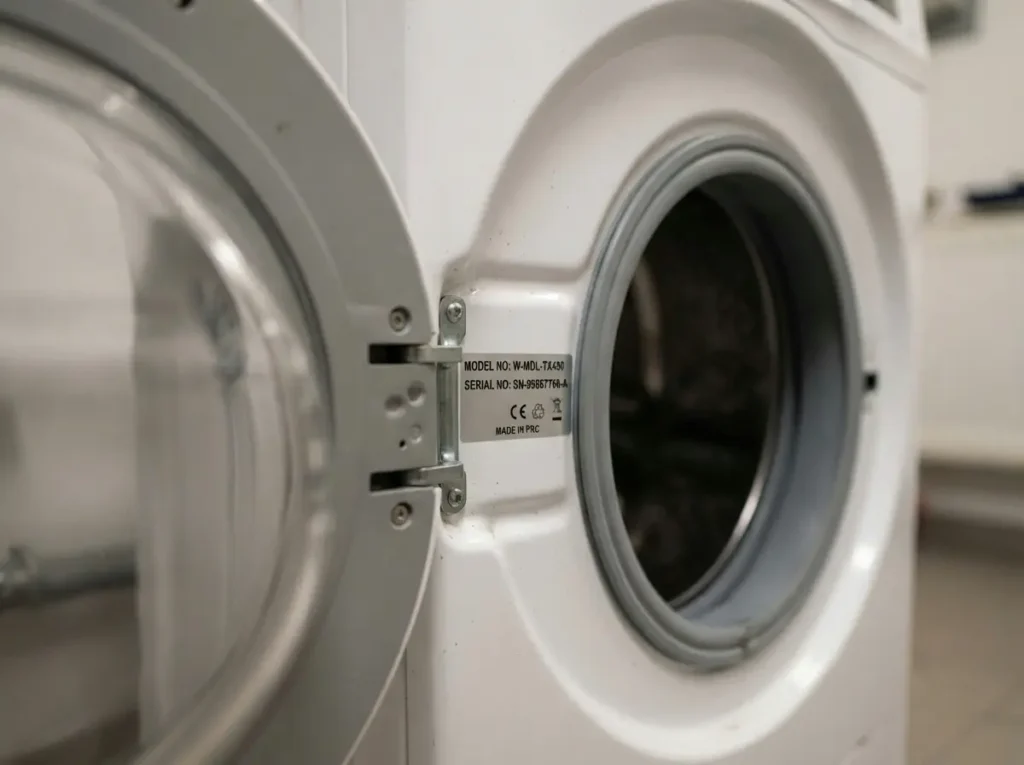
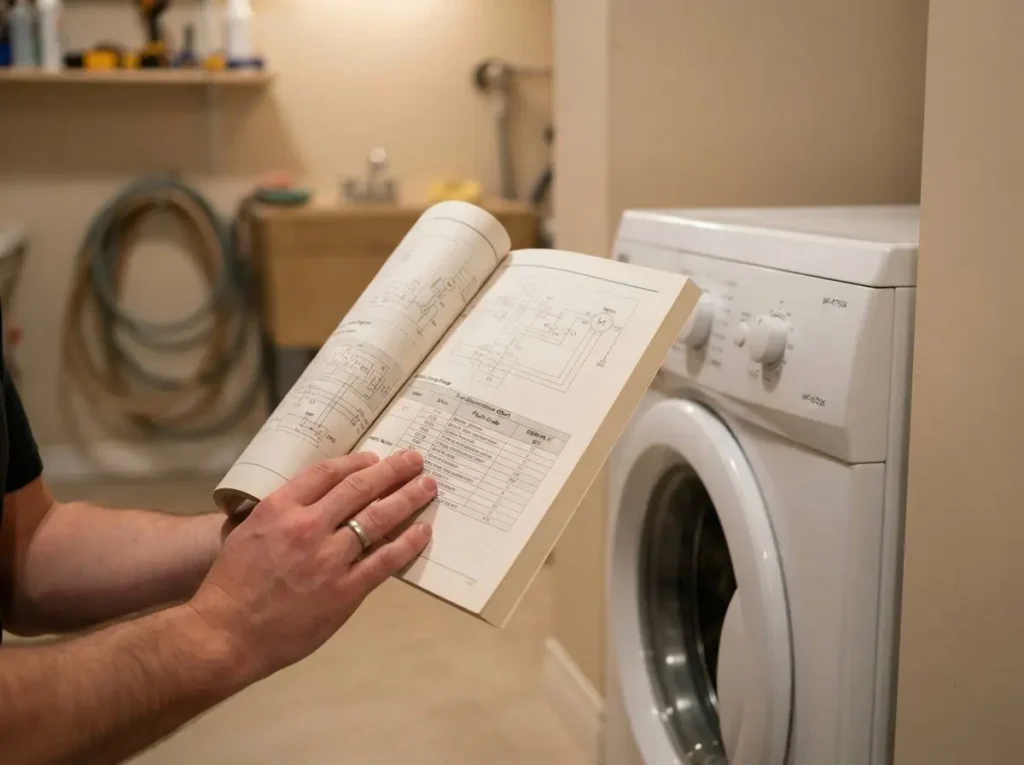
Because the exact buttons involved differ by model number rather than just by “top load vs. front load,” the single most reliable way to confirm your exact sequence is the technician sheet and use-and-care guide for your specific model, which is usually tucked behind the control panel, inside the door frame, and in a slide-out drawer beneath the drum. If that’s missing, the model and serial number plate let you pull the correct manual online directly from GE’s support site rather than guessing based on a sequence that worked on a different model.
Step-by-Step: Entering GE Washer Diagnostic Mode
While the exact buttons vary by model, the general process across nearly all GE washer generations follows this same basic pattern:
- Start with the washer powered off: either unplugged briefly and with the power/start button off, depending on your model.
- Locate your model’s designated “entry” buttons. On many electronic-button panels, this is a specific pair of cycle selection buttons (commonly something like two adjacent cycle buttons) rather than the start button itself.
- Power the unit on while holding the entry combination, and in the case of some display models, power on normally and then navigate into a hidden settings sub-menu, sometimes reached by holding a settings and options button for several seconds once the display is active.
- Hold the combination for the full duration specified for your model: this is commonly in the 3-8 second range, but some models require closer to 5 seconds of continuous hold before the display responds, and letting go a second early is the most common reason people think the sequence “isn’t working” when it’s actually just a timing issue.
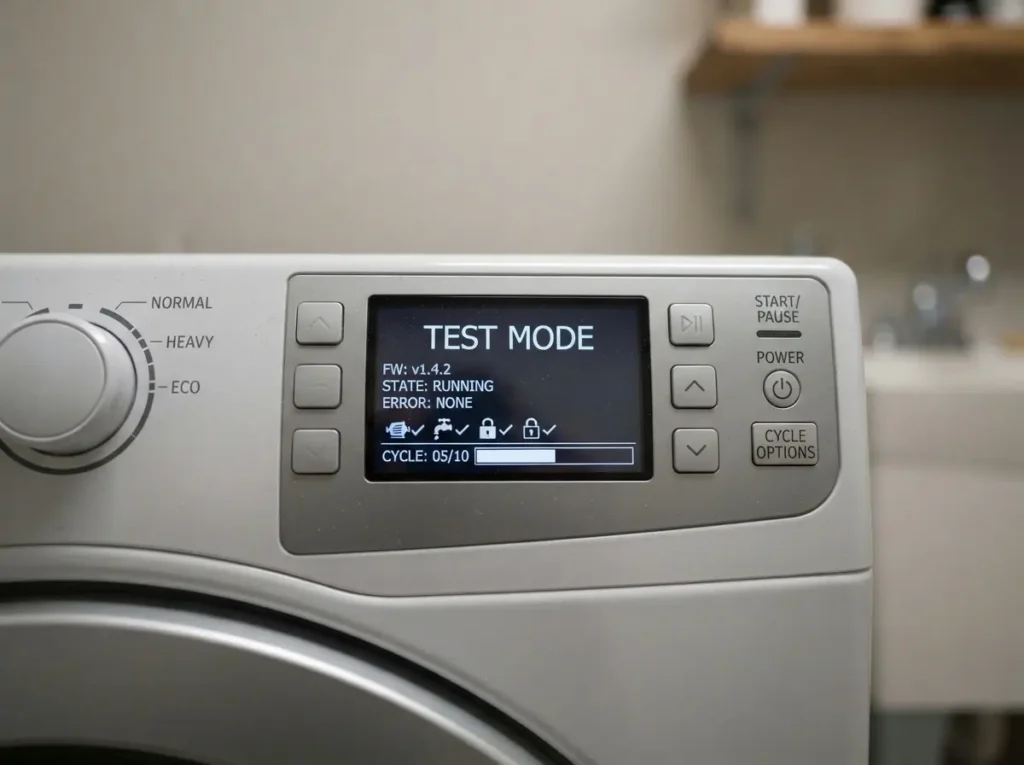
- Watch for the confirmation signal: this is typically a specific light pattern, a display showing something like “dU” and a test-mode indicator, and an audible tone confirming you’re now in service test mode rather than a normal cycle.
Navigating the Test Sequence Once You’re In
Once inside diagnostic mode, most GE washers step through components in a fixed order using the same cycle-selector buttons and dial you’d normally use to pick a wash cycle; pressing “next” typically advances to the next test rather than starting a new function.
The typical test sequence checks, in some order depending on the model: door lock engagement and release, water valve activation (hot, cold, and sometimes a third valve on models with a sanitize and extra-rinse function), drain pump operation, and motor/drum movement at low speed. Each test usually runs briefly and automatically before you can advance to the next one, though some models require you to manually confirm each step.
| Insider point most owners don’t know: technicians don’t run every single test in the sequence every time; we typically jump straight to whichever component matches the symptom (skipping straight to the drain pump test if the complaint is “water won’t drain,” for example, rather than sitting through the whole sequence). If your model’s diagnostic mode allows skipping ahead rather than forcing you through every step in order, learning that shortcut saves a genuinely significant amount of time versus running the full sequence from the beginning every time. |
GE Washer Diagnostic Mode vs. a Real Hardware Fault: Telling Them Apart
This is the single most useful diagnostic skill, and it’s simpler than most people expect: GE Washer diagnostic mode bypasses the washer’s normal safety and sensor logic, so if a component activates successfully inside diagnostic mode but the washer still won’t perform that same function during a normal cycle, the component itself is very likely fine; the problem is almost always somewhere in the sensor logic, the lid/door switch circuit, and a setting interaction rather than the part you were testing.
For example, if the drain pump runs and drains water just fine in diagnostic mode but the washer won’t drain during an actual cycle, that points strongly toward a lid switch, door lock signal, and a water-level sensor issue rather than a bad pump, which means opening up the machine to replace the pump would have been the wrong repair entirely. That specific pump-vs-sensor distinction alone has saved plenty of customers from paying for a part that wasn’t actually the problem.
Conversely, if a component fails to activate at all inside diagnostic mode, there’s no motor movement, no valve click, and no pump sound that’s a stronger signal of an actual hardware and wiring fault rather than a settings issue, and at that point you’re better served by the physical troubleshooting steps in the DIY repair guide rather than anything settings-related. 👉 [GE washer won’t drain and spin; DIY troubleshooting].
Exiting GE Washer Diagnostic Mode Safely
Getting stuck seemingly “inside” diagnostic mode is almost never a real malfunction; it’s nearly always a matter of not knowing the exit sequence, which is usually far simpler than the entry sequence.
On most GE washers, unplugging the unit for roughly 30-60 seconds and plugging it back in will fully reset the control board out of diagnostic mode and back to normal operation. Some display-panel models allow a cleaner exit by pressing the power/cancel button once and by navigating back out through the same settings menu used to enter. Either method is safe; diagnostic mode doesn’t store changes that persist after a power cycle, so there’s no setting you can permanently damage just by being in the menu longer than intended.
When Diagnostic Mode Isn’t the Tool You Actually Need
GE washer diagnostic mode is genuinely the wrong first step in a couple of common situations, and knowing this upfront saves a lot of wasted time. If your display is showing an actual error code rather than the washer just behaving oddly with no code present, go straight to the error code reference instead of running the full diagnostic sequence; the code itself usually already tells you which component to focus on. And if the issue is that a setting seems to have reset itself between loads (temperature defaulting differently, a favorite cycle no longer saved), that’s a settings-behavior issue rather than a component-test issue, and diagnostic mode won’t shed any light on it at all.
FAQ
1. How do I know which control panel generation my GE washer has?
Look at your control panel directly; a simple row of buttons with no screen is the electronic-button generation, while any model with a digital readout and touchscreen is the newer display generation. Your exact model number, found on the plate inside the door frame and lid area, confirms it precisely.
2. Is it safe to run diagnostic mode myself, and should I call a technician?
It’s generally safe to enter and observe diagnostic mode yourself since it doesn’t change and damage anything; the risk is more about misreading what you see than about causing harm, so it’s a reasonable first step before calling for service.
3. My washer won’t enter diagnostic mode no matter what I try. What’s wrong?
Double-check you’re using the exact sequence for your specific model number rather than a sequence you found for a different GE washer, since even models that look similar can use different combinations. If the correct sequence still doesn’t respond, that often points to an unresponsive control panel issue rather than doing the sequence wrong.
4. Does entering diagnostic mode void my warranty?
No, GE Washer diagnostic mode is a built-in, manufacturer-designed feature, not a hack and unauthorized modification, so simply entering it does not affect warranty coverage.
5. Can I damage my washer by running the wrong test in diagnostic mode?
It’s very unlikely under normal use. GE Washer Diagnostic mode runs components briefly and individually rather than continuously, so accidentally triggering the wrong test typically just means restarting the sequence rather than causing damage.
6. Why does my display show a code like “dU” instead of a normal diagnostic screen?
Different models use different confirmation indicators when diagnostic mode is active, and a short code display is one of the more common ways certain GE panels confirm you’re in the right mode rather than signaling an error.
7. How long should I run each component test before moving to the next one?
Most tests only need to run for a few seconds to confirm whether the component activates at all; you’re listening and watching for a response, not waiting for a full operational cycle, so there’s rarely a reason to let any single test run more than 10-15 seconds.
Final Thoughts
GE Washer Diagnostic mode is one of the more genuinely useful built-in tools GE puts in these machines, but only if you go in knowing what you’re looking for rather than just poking around. Confirm your exact model’s entry sequence first, use the mode to isolate whether a component and a sensor/setting are the real culprits, and don’t be afraid to back out with a simple power cycle if anything feels unclear.