
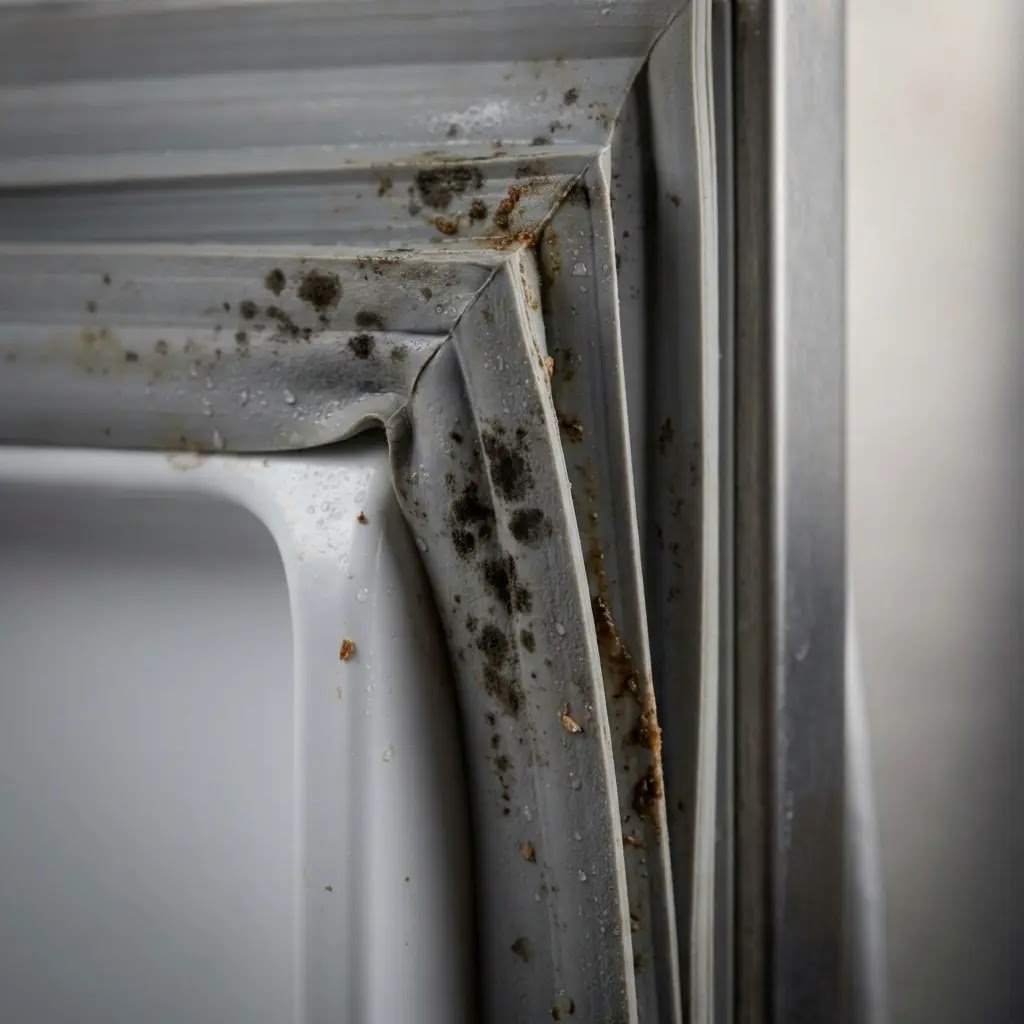
Most people glance at that black gunk on the refrigerator door and assume it’s just dirt. It isn’t. It’s a living colony of mold, and every time you open the door, the vibration and air pressure send invisible spores drifting straight onto your fresh food.
Technician’s opinion: I’ve seen families deal with recurring allergy flare-ups for months before anyone thought to check the refrigerator gasket seal. Before you spend $100+ on a professional and a replacement part, give me 10 minutes; you can likely fix this yourself for under $5.
Table of Contents
Why This Matters Beyond Aesthetics
A leaky refrigerator gasket isn’t just a health issue; it’s an energy vampire. If the rubber isn’t forming a full vacuum against the frame, your refrigerator is constantly leaking cold air, which forces the compressor to run far more than it should. That’s a real, ongoing cost on your electricity bill, not a one-time inconvenience.
If your refrigerator is still running warm even after the seal is clean and sealing properly, dust buildup is a common next suspect. See our [👉 “Clean the Refrigerator Coil: 5 Easy Steps”] to clear whatever’s choking the compressor.
Real-world scenario: in humid climates and kitchens near a dishwasher and stovetop, gasket mold tends to come back faster than the “6 months” guideline below suggests; condensation and steam give it a head start. If that’s your kitchen, treat the schedule further down as a maximum interval, not a fixed rule.
Diagnostic: Is It Dirty and Dead? (The Dollar Bill Test)
Don’t waste time cleaning a seal that’s already physically failed. Before you reach for the vinegar, run this quick test:
Place a dollar bill (or a strip of paper) halfway inside the door, close it, and try to pull the bill out.
- The bill slides out easily: the refrigerator gasket has lost its seal and needs replacing; cleaning won’t fix that.
- The bill is stuck and hard to pull: the seal is structurally sound and just needs restoration; keep reading.

Why Vinegar Trumps Bleach
Your first instinct might be to reach for bleach. Don’t. Bleach kills surface mold, but as a harsh chemical it also draws moisture out of the rubber over repeated use, gradually making the refrigerator gasket brittle and prone to cracking.
The better solution: white vinegar (acetic acid). It penetrates the porous surface of the rubber to kill mold closer to the root without breaking down the material’s structural integrity the way bleach does over time. Porous materials like rubber gaskets are exactly the kind of surface where a mild acid tends to outperform a surface disinfectant, bleach wipes the top layer, and vinegar gets into the folds.

Step-by-Step Deep Cleaning Process
⚠️ Health note: wear a mask and make sure the kitchen is ventilated before you start. Scrubbing dry mold releases spores into the air; this is a basic precaution for the cleaning task itself, not a sign anything dangerous is about to happen.
Technician’s secret: spray the vinegar solution onto the mold before scrubbing. Dampening it first keeps it from becoming airborne, which dry-scrubbing tends to do.
- Pre-wipe: use a dry microfiber cloth to clear loose crumbs, pet hair, and debris from the folds first.
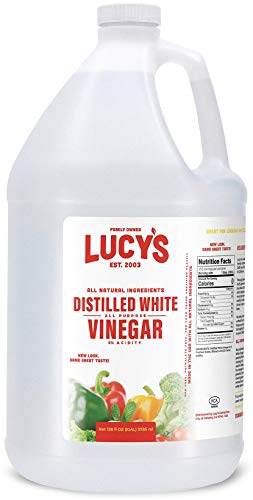
- Vinegar soak: mix a 1:1 solution of white vinegar White Distilled Vinegar Cleaning Solution and warm water in a spray bottle Reusable Spray Bottle for Cleaning Solutions. Spray generously into the refrigerator gasket folds and let it sit 3–5 minutes.
- Crevice work: use an old soft-bristle toothbrush and a detail brush Soft-Bristle Detail Cleaning Brush Set to get into the deep valleys of the seal; this is where mold actually roots, not on the visible front fold most people stop at.
- Rinse and dry: wipe down with a damp cloth to remove vinegar residue, then, this step matters more than people expect, dry it completely with a towel. Leftover moisture is often the real reason mold comes back within 48 hours, not incomplete cleaning.
Insider note: most guides skip. People almost always clean the front-facing fold of the refrigerator gasket thoroughly and skip the deeper accordion pleats entirely, because that’s the part you can see without pulling the door seal outward. That hidden pleat is usually where the colony is actually living.


Pro-Level Restoration: The Hairdryer Trick
Sometimes a seal is clean but warped, leaving small gaps where air escapes, common if the refrigerator was left open for a while and on an older unit.
Crucial precaution: keep the hairdryer 4–6 inches away from the rubber. Too much heat can demagnetize the internal magnetic strip that holds the seal shut, which would make the refrigerator gasket useless even though it looks fine.
The fix: run the hairdryer on low-to-medium heat and wave it over the stiff and warped sections for 1–2 minutes. The heat softens the rubber enough to be pliable again; close the door immediately afterward and hold it shut for a moment so the rubber remolds itself into an airtight shape as it cools.
If your refrigerator starts beeping and shows a “temp” warning shortly after cleaning, that’s usually unrelated to the cleaning itself. Check our [👉 Samsung Refrigerator Error Codes: Full List] to see if it’s just a sensor needing a reset.

Lubrication: Petroleum Jelly vs. Silicone Grease
Once the rubber is clean and reshaped, keeping it supple is what prevents the next round of cracking.
Never use cooking oil. It goes rancid over time, which actively feeds mold growth while also degrading the rubber it’s supposed to protect, one of the more common well-intentioned mistakes people make here.
Apply a thin layer of petroleum jelly and food-grade silicone grease to the hinge side of the refrigerator gasket. This keeps the rubber from sticking to itself and folding over, which is the single most common cause of gasket tears over time.
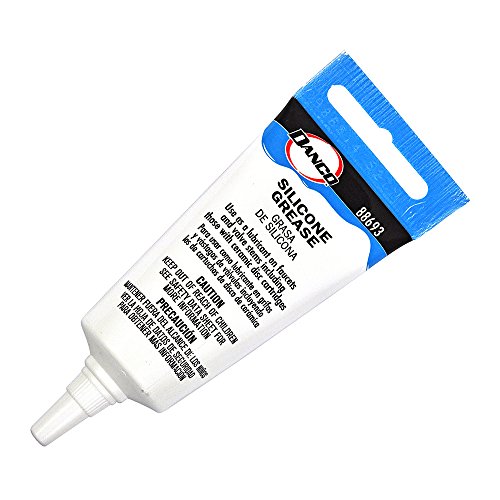
- PLUMBERS FAUCET AND VALVE GREASE Ideal for lubricating faucet stems valves and cartridges when repairing a leaky faucet
- LUBRICANT GREASE Contains high raw silicone content making it better for long term lubricant hold & helps hard-turning f…
- NSF 61 APPROVED designed for use as a waterproof lubricant on faucets valve stems cartridges and is safe for nitrite/rub…

2026 Refrigerator Gasket Care Checklist
| Frequency | Task | Benefit |
| Weekly | Quick wipe with a damp cloth | Prevents spill buildup before it hardens |
| Monthly | Dollar Bill Test | Confirms the seal is still doing its job |
| Every 3 months (humid climates/heavy-use kitchens) | Vinegar spot-check | Catches early mold before it spreads |
| Every 6 months (typical households) | Full vinegar deep clean | Kills mold before it becomes a health issue |
| Yearly | Petroleum jelly and silicone coating | Extends gasket life by several years |
Several current refrigerator models with companion apps (like SmartHQ and SmartThings) let you set custom maintenance reminders; a refrigerator gasket check is a reasonable one to add if your refrigerator supports it, though this varies by model, and I’d confirm the option exists in your specific app rather than assume it.
Frequently Asked Questions
Q: Can I use baking soda instead of vinegar?
A: A paste of baking soda and water works well on stubborn surface stains, but it doesn’t kill mold spores as effectively as vinegar’s acetic acid. Think of it as a good scrubbing aid, not a substitute for the vinegar step.
Q: Why does my refrigerator gasket seal smell even after cleaning?
A: The smell may be trapped behind the gasket rather than on it. Many modern gaskets push-fit into a groove and can be gently pulled back to clean the plastic frame underneath, which traps moisture and odor just as easily as the rubber itself.
Q: How long should I let the vinegar solution sit before scrubbing?
A: 3–5 minutes is usually enough to loosen mold from the rubber’s pores. Letting it sit longer on badly affected sections doesn’t hurt, but don’t let it fully dry on the surface before you scrub; that makes the mold harder to lift, not easier.
Q: Is it safe to clean the gasket while the refrigerator is still running?
A: Yes, this is a surface cleaning task, not electrical work, so there’s no need to unplug the unit. Just keep spray bottles pointed at the gasket itself rather than into any vents and the door’s electrical contacts.
Q: My gasket looks fine, but the refrigerator still isn’t cold enough. Is the seal really the problem?
A: Not necessarily. If the dollar bill test showed a solid seal, the temperature issue is more likely dust-clogged coils, a door left slightly ajar, and a separate cooling problem. The seal is worth ruling out first since it’s the fastest, cheapest check, but it isn’t the only possible cause.
Q: Can I clean a refrigerator gasket on a freezer the same way?
A: Yes, the same vinegar process and dollar-bill test apply to freezer door gaskets. Freezers tend to show ice buildup around a failing seal in addition to mold, which is a useful extra clue that top-mounted and side-by-side refrigerator gaskets don’t give you.
Q: How do I know if it’s time to stop cleaning and just replace the gasket?
A: If the dollar bill test fails (slides out easily) even after a full clean and reshape, and if you see actual tears and splits rather than just staining, that’s your sign; restoration only works on rubber that’s still structurally intact.
Conclusion
Restoring your refrigerator gasket isn’t just about how it looks; it’s a genuine step for your family’s health and your home’s energy efficiency, and it costs a fraction of what a service call would. A dry, supple, well-sealed gasket is a healthy gasket.
Next step: run the dollar bill test today. Even if you don’t smell and see anything obvious, most refrigerator gasket problems start invisible. Once your gasket care is handled, our full [👉 “Refrigerator Maintenance: Extend Its Lifespan”] guide covers the rest of what keeps your refrigerator running efficiently for years.