
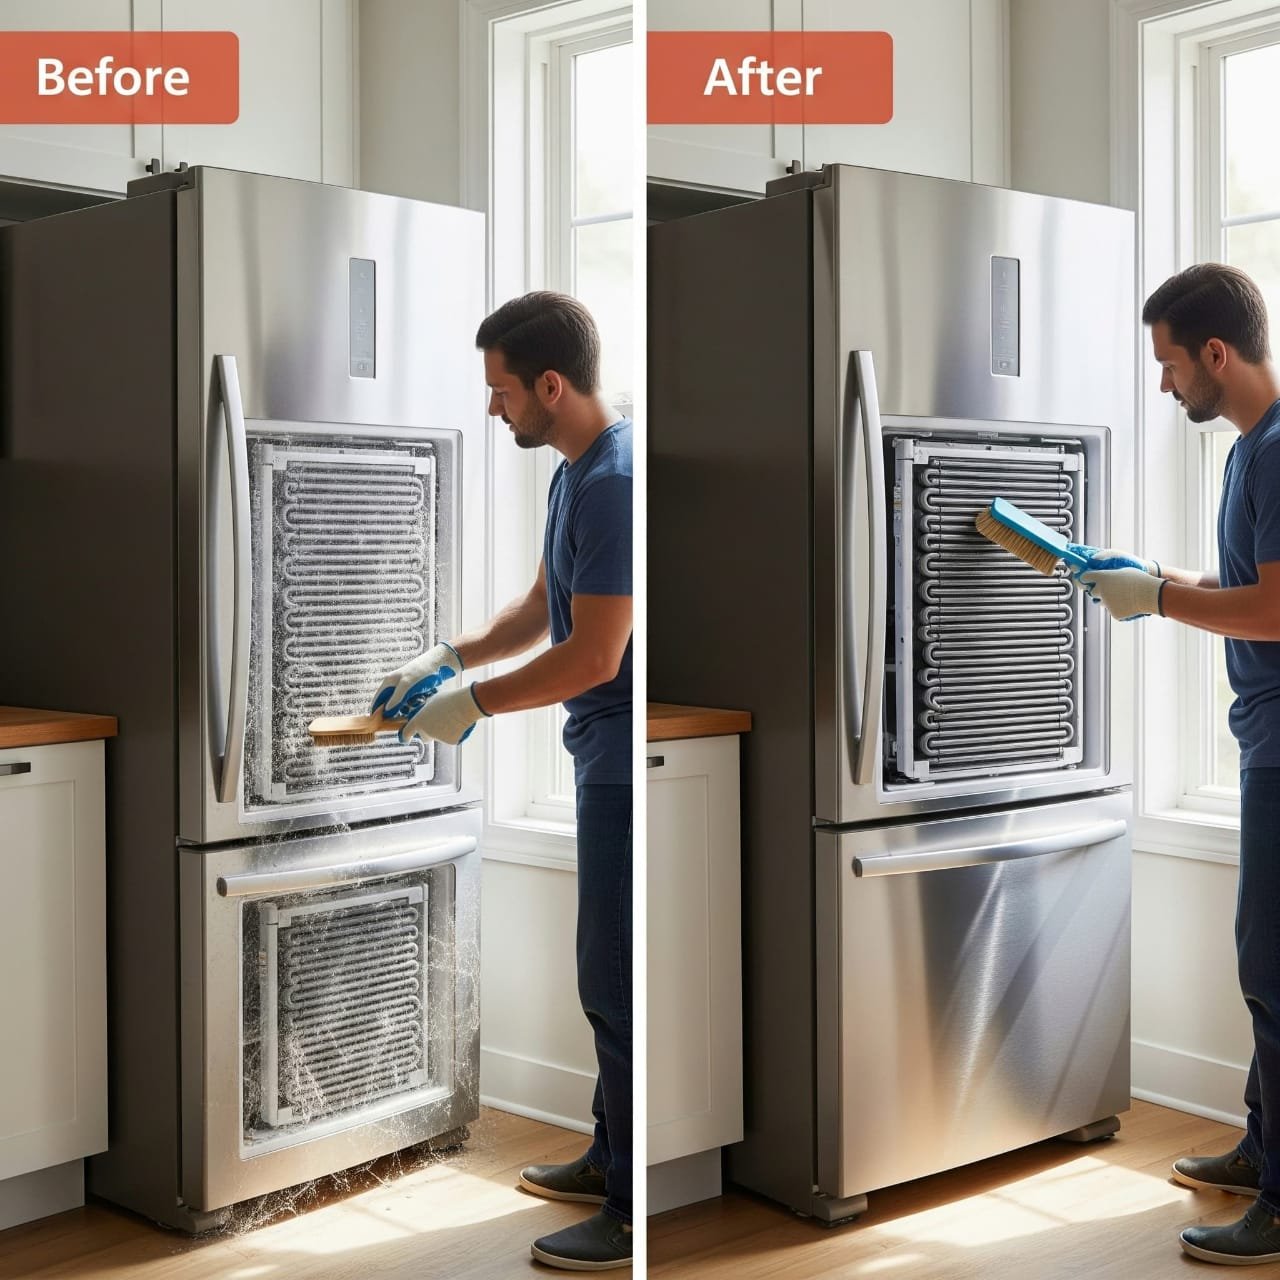
Dirty condenser coils can quietly cut your fridge’s cooling efficiency by up to 30%, long before you notice warm spots inside or a spike on your electric bill. If your refrigerator has been running longer than usual or feels less cold than it used to, the coils are one of the first places worth checking, and cleaning them is a genuinely simple DIY job. In this Article we discuss why refrigerator coils get dirty and how to clean refrigerator coil in 5 easy steps
Table of Contents
What Coils Do and Why They Get Dirty
Refrigerator coils, also called condenser coils, release the heat your fridge pulls out of its interior. Over time they collect dust, pet hair, and grime, which blocks that heat from escaping properly. The fridge compensates by running harder, which leads to:
- Poor cooling performance
- Higher electricity usage
- Shorter appliance lifespan over time
That’s why cleaning them every 6–12 months is one of the highest-value, lowest-effort maintenance habits you can build.
Dust isn’t the only buildup you’re dealing with. If your fridge sits near a stove or in a kitchen with regular frying or grilling, airborne grease combines with dust to form a sticky film on the coils rather than loose dust. That film doesn’t brush off the way dry dust does; it’s worth knowing this before you start, since it changes which tool actually works (more on that below).
How to Clean Refrigerator Coils in 5 Steps
A quick safety note before you start: coils have thin metal fins that bend and pinch easily, and you’ll be working near the appliance’s power cord and, on some models, a water line for the ice maker. Unplugging first isn’t optional; skip it and you’re working around a live compressor and fan.
Step 1: Unplug the refrigerator.
Disconnect it from power completely before touching anything. Move nearby furniture out of the way so you have room to work without straining.

Step 2: Locate the coils.
These sit in one of two places depending on your model:
- Back-mounted coils, usually exposed and visible if you pull the fridge away from the wall
- Bottom-mounted coils, hidden behind a grill or toe plate at the base; you’ll likely need a screwdriver to remove it

Step 3: Remove loose dust and debris.
Use a coil brush, a flexible brush built to reach around the tubing, and gently work along all sides. Go slowly here; bent or crushed fins reduce airflow just as much as dust does, so this is not a step to rush. A small handheld broom or paintbrush works fine for tight spots a coil brush can’t reach.

Step 4: Vacuum the area thoroughly.
With a hose attachment, clean around the coils, the floor space behind or beneath the fridge, and any nearby ventilation vents. Leftover loose dirt can get pulled back into the fan or motor later, so this step matters as much as the brushing.

Step 5: Replace covers and plug back in.
Reattach the grill or back panel, plug the fridge back in, and push it back into position. You should notice quieter operation and better cooling within a few hours as the system catches up.
Which Tool Actually Works for Your Situation
Not every coil needs the same approach, and using the wrong tool is a common reason people think they’ve cleaned the coils when they’ve only cleaned the surface layer:
- Dry dust, no pets: A coil brush alone is usually enough; work it through the fins, then vacuum up what falls.
- Pet hair: Vacuum before brushing in this case, not after. Matted hair tends to wrap around the fins, and brushing first can push it deeper in rather than pulling it out. A vacuum with a brush attachment pulls it out more cleanly, and then a coil brush handles what’s left.
- Greasy film (kitchen fridges near cooking areas): A dry brush will just smear grease-laden dust around instead of removing it. Unplug the fridge, then lightly wipe the coils with a cloth barely dampened with a mild degreaser or diluted dish soap, let them dry fully, and only then vacuum. Never use excess liquid near the coils or electrical components.
- Tight, delicate spacing on newer slim-profile coils: A can of compressed air can reach gaps a brush can’t, but use short bursts and keep the nozzle a few inches away; sustained direct blasts can bend thin fins just as easily as rough brushing can.
Cleaning Frequency by Household Type
| Household Situation | Recommended Frequency | Why |
| No pets, low-dust environment | Every 12 months | Slower buildup, less airflow restriction |
| Pets that shed (cats, dogs) | Every 3–4 months | Pet hair clogs coils significantly faster than dust alone |
| Near a construction area or dusty climate | Every 3–6 months | Airborne particulate accumulates faster |
| Kitchen with limited airflow clearance behind the fridge | Every 6 months | Restricted clearance already limits heat dissipation |
Signs You’ve Waited Too Long
- The refrigerator feels warm inside despite normal settings
- The motor runs almost constantly instead of cycling
- Buzzing, humming, or overheating sounds from the back
- Ice buildup in the freezer
- A noticeable jump in your electricity bill
👉 [Why Is My Refrigerator Running Constantly? Causes and Fixes]
What Cleaning Won’t Fix
Coil cleaning solves airflow-related cooling problems, but it isn’t a universal fix. If cooling is still poor after cleaning, the real cause could be a faulty compressor, a damaged condenser fan, or low refrigerant, none of which cleaning addresses. A useful gut check technicians use: give the fridge 24 hours after cleaning before judging results. If temperatures haven’t improved by then, coils weren’t the problem, and it’s time to call someone rather than clean again.
👉 [Refrigerator Compressor Repair Cost: 2026 Price Guide]
Bonus Maintenance Tips
- Leave a few inches of clearance behind and around the fridge for proper airflow; pushing it flush against the wall undoes a lot of the benefit of cleaning
- Add coil cleaning to a recurring home maintenance checklist rather than relying on memory
- If you have pets, check the coils visually every couple of months even between full cleanings; a quick look tells you if you’re falling behind schedule
Real-World Examples
Apartment with a cat, bottom-mounted coils: The owner noticed the fridge running almost nonstop. Coils hadn’t been touched since move-in; pet hair had matted across the entire coil surface. After cleaning, the fridge went back to normal cycling within a day.
Family kitchen, back-mounted coils pushed flush against the wall: Cleaning helped some, but cooling stayed sluggish until the fridge was pulled out to leave a few inches of clearance. The coils were clean but still couldn’t dissipate heat properly with zero airflow space.
Older unit, coils cleaned but no improvement: After cleaning and waiting the full 24 hours, temperatures hadn’t budged. That pointed to coils entirely; the eventual diagnosis was a failing compressor, not a dirt issue.
FAQ
1. How often should I clean refrigerator coils?
Every 6–12 months for most households, but every 3–4 months if you have shedding pets or live somewhere dusty.
2. Do I really need to unplug the fridge first?
Yes, you’ll be working near the motor, fan, and power cord, and on some models, a water line, so this isn’t a step to skip.
3. Can I use a regular vacuum instead of a coil brush?
A vacuum alone doesn’t dislodge packed-in dust the way a brush does; use the brush first, then vacuum to remove what you loosened. The one exception is pet hair; vacuum that out first, since brushing matted hair can push it deeper into the fins instead of pulling it free.
4. Will cleaning the coils lower my electricity bill?
Often yes, since a fridge with restricted coils has to run harder and longer to maintain temperature, cleaning reduces that strain.
5. I cleaned the coils, and it’s still warm inside. What now?
Give it 24 hours to catch up first. If it’s still not cooling properly after that, the issue likely isn’t the coils; it could be the compressor, fan, or refrigerant level.
6. Are front-mounted or bottom-mounted coils harder to clean?
Bottom-mounted coils usually take a bit more effort since you need to remove a grill first, but neither type is difficult once you know where to look.
7. My coils look greasy, not dusty. Is that a different problem?
It’s the same underlying issue, just a different mix; kitchens near a stove or grill get airborne grease combined with dust, which forms a sticky film a dry brush won’t remove. A lightly dampened cloth with mild degreaser, followed by a full dry-out before plugging back in, works better than brushing alone in that case.
Final Thoughts
Cleaning your refrigerator coils is a quick, genuinely DIY task that can lower your energy bill and extend the life of your fridge, and unlike most appliance maintenance, it takes under 30 minutes with tools you likely already own. Set a recurring reminder based on your household type from the table above, and if cooling doesn’t improve within a day of cleaning, that’s your cue to look elsewhere rather than clean again.