
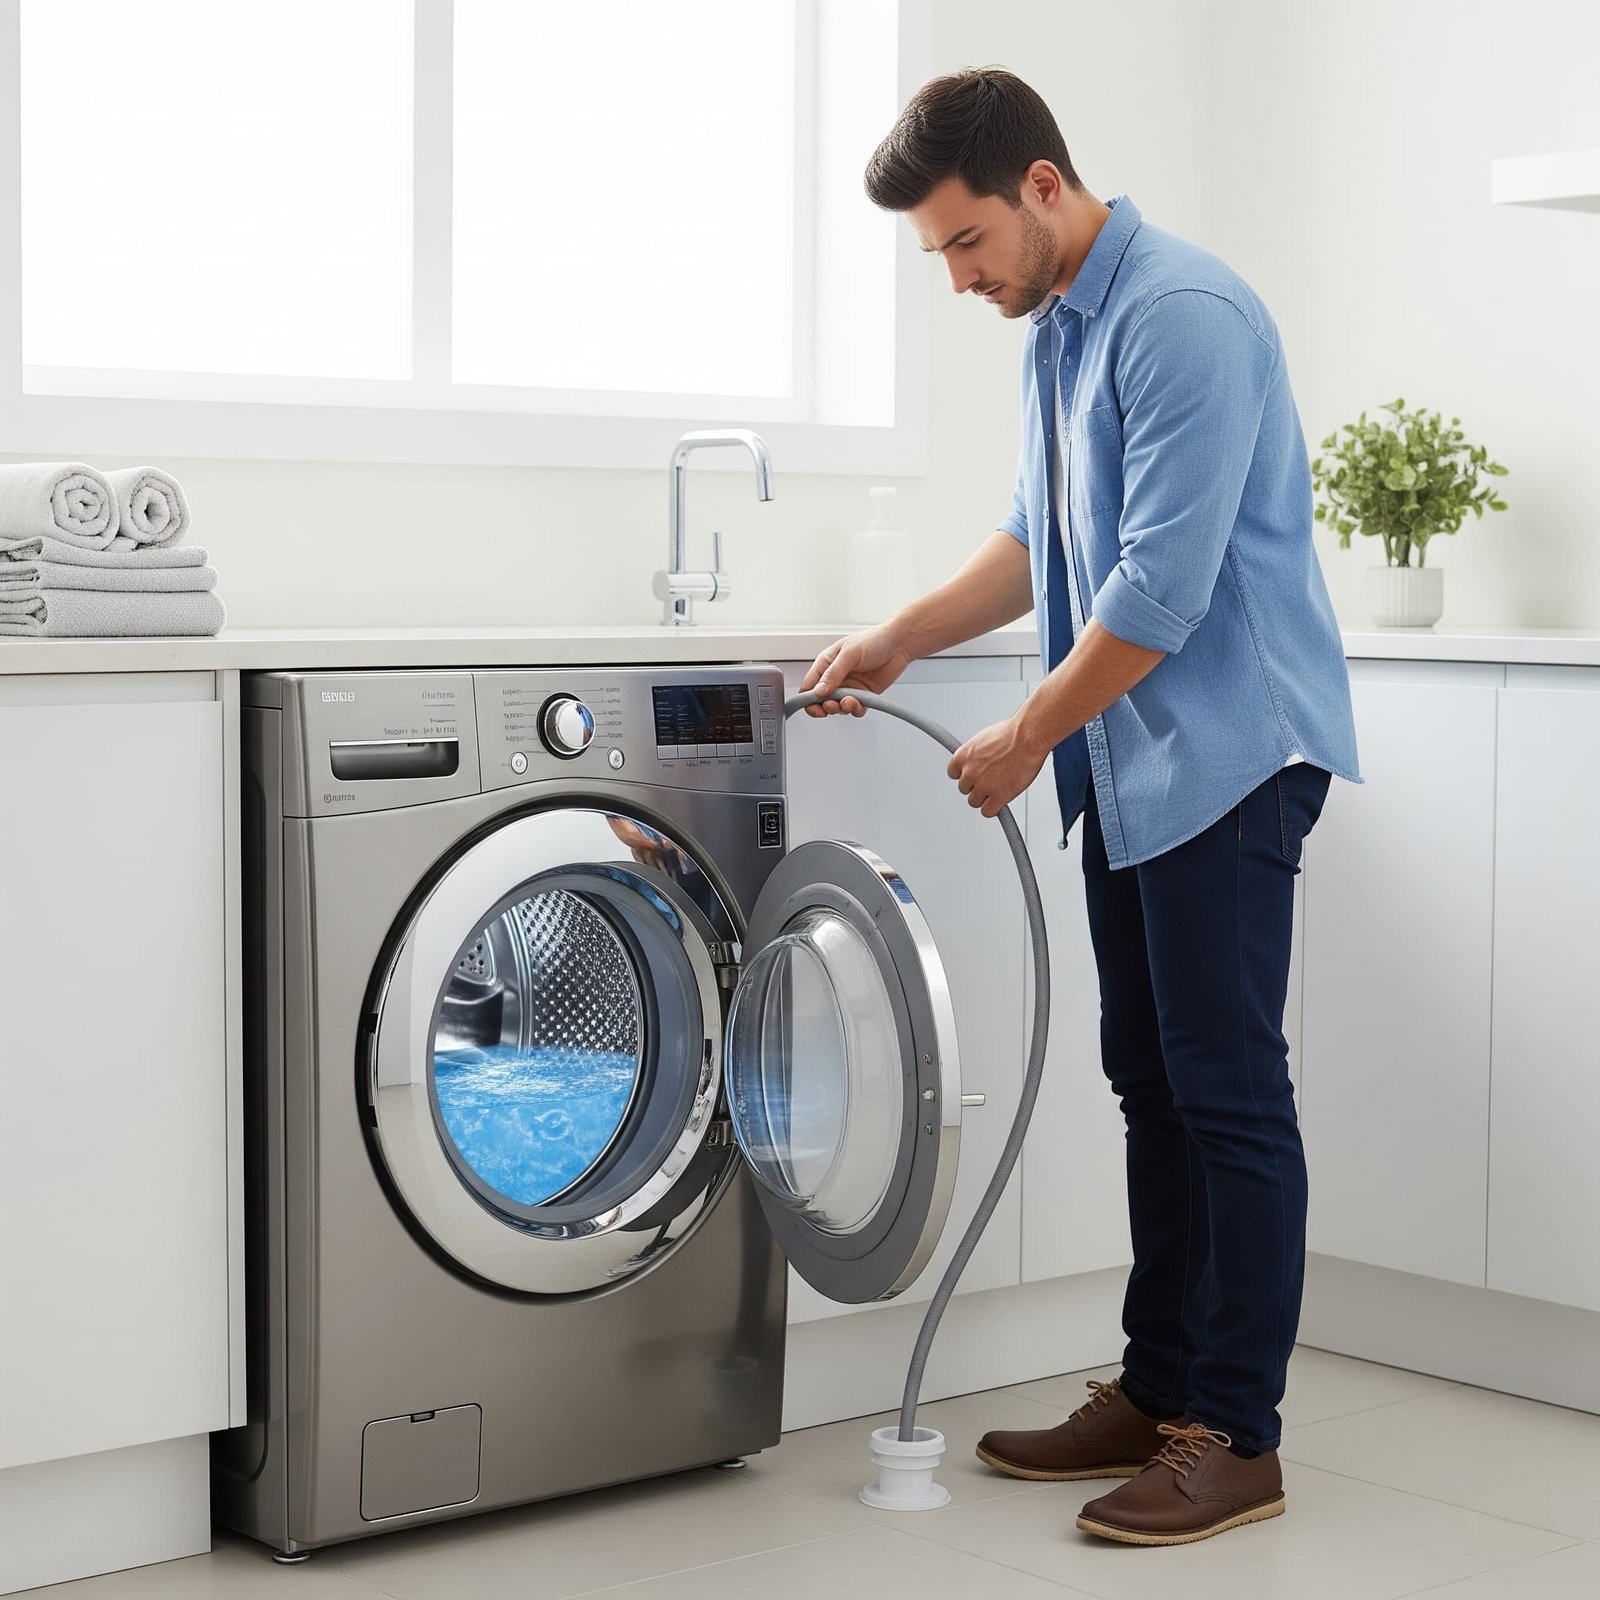
Standing water in your drum after the cycle ends almost always traces back to one of five parts, and four of them you can fix yourself in under 30 minutes with tools you probably already own. Here’s exactly how, in the order most likely to solve it fastest. Repair a Washing Machine That Won’t Drain with Easy Steps.
Table of Contents
Why Drainage Fails (Quick Overview)
A washer that won’t drain is a symptom with several possible root causes: a blockage, a worn part, or a failed switch. This guide focuses purely on the physical repair steps once you’ve narrowed things down. If you haven’t yet identified which cause fits your situation, our full breakdown of drainage error codes and symptoms by brand is the better starting point:
👉 [Washing Machine Won’t Drain, Causes & Error Codes Explained]
If you already know it’s a mechanical or clog issue, keep reading; we’ll walk through each fix from easiest to most involved.
⚠️ Safety First: Read This Before You Start
Don’t skip this section, even if you’ve done appliance repairs before. Washing machines combine standing water, mains electricity, and heavy moving parts, a bad combination if you rush.
- Unplug the washer before touching any panel, hose, or pump. Never work on a machine that’s still connected to power, even “just to check something.”
- Shut off the water supply valves (hot and cold) behind the machine before disconnecting any hose.
- Expect water when you open the pump filter or disconnect the drain hose; several liters can be sitting in the line and pump housing. Have towels and a shallow container ready.
- Watch for sharp edges on hose clamps, the filter housing rim, and the pump impeller blades.
- Don’t force a jammed impeller or pump motor. If it won’t spin freely by hand, replace the part; don’t pry it with metal tools while it’s installed.
- Stop immediately and call a licensed technician if you see scorched wiring, a burning smell, a machine that trips your breaker, or any sign of a failed control board. These are electrical hazards, not DIY jobs.
With that covered, let’s get into the fixes.
Difficulty, Time & Tools at a Glance
| Fix | Difficulty | Time Needed | Tools Required | Typical Part Cost |
| Clogged/kinked drain hose | Easy | 15–20 min | None, or a hose-cleaning brush | $0–$15 |
| Pump filter cleaning | Easy | 10–15 min | Towels, shallow container | $0 |
| Lid switch test/replace | Moderate | 20–30 min | Screwdriver, multimeter | $10–$25 |
| Drain pump inspection/replace | Moderate | 30–45 min | Screwdriver, pliers, towels | $30–$80 |
| Standpipe/sink drain clog | Easy–Moderate | 15–30 min | Plumber’s snake | $0–$20 |
Fix 1: Clear a Clogged or Kinked Drain Hose
This is the fastest thing to rule out, so start here.
- Unplug the washer and pull it away from the wall.
- Inspect the drain hose (usually at the back) for kinks, tight bends, or a squashed section where it exits behind the unit.
- Disconnect the hose from the machine.
- Flush it with a garden hose or faucet. A flexible drain-cleaning brush works better than water alone for lint and detergent buildup stuck to the inner walls.
- Reconnect the hose securely, making sure the connection is snug and the hose isn’t pinched when you push the washer back.
Insider tip: Check the exact point where the hose enters the standpipe or sink; that’s where detergent scum builds into a hard ring most people never think to scrape out, even after “cleaning” the hose itself.

Fix 2: Clean the Pump Filter (Front-Loaders)
Most front-load washers have a filter or trap behind a small access panel near the bottom front.
- Place towels and a shallow container under the panel; water will drain out as soon as you crack the cap.
- Open the panel and slowly unscrew the filter cap.
- Remove and clean the filter. Coins, buttons, hairpins, and small socks are common culprits.
- Reattach the cap tightly and close the panel.
Real example: One reader found a bobby pin, two coins, and a baby sock lodged in the filter; draining resumed the moment it was cleared.
Insider tip most guides skip: Before you unscrew the cap fully, roll a second towel into a tight “dam” around the base of the access panel. The initial water release is often faster and higher volume than people expect, and a dam keeps it from spreading across the floor while you get the container positioned.

Fix 3: Test and Replace the Lid Switch (Top-Loaders)
The lid switch is a safety interlock; if it fails, the machine may refuse to drain or spin at all.
- Open and close the lid and listen for a click.
- No click usually means a failed switch.
- With the machine unplugged, use a multimeter to check for continuity across the switch terminals.
- If it fails the test, replace it; the part is inexpensive, and the swap is usually four screws and two wire connectors.

Fix 4: Inspect or Replace the Drain Pump
The drain pump does the actual work of pushing water out of the drum, and it’s the part most likely to need full replacement.
- Unplug the washer and shut off the water supply.
- Locate the pump, usually underneath the unit or behind a rear/bottom access panel.
- Clear any visible debris.
- Try turning the impeller by hand. It should spin freely with no grinding.
- If it’s seized, cracked, or the motor doesn’t hum at all when the machine tries to drain, replace the pump assembly.
Insider diagnostic tip: Listen closely during a drain attempt. A pump that hums but doesn’t move water usually has a jammed impeller or worn belt, a fixable mechanical issue. A pump that’s completely silent when it should be running points to a wiring or control-board problem, which is a different (and more expensive) repair path. Knowing which one you’re dealing with before you order a part can save you a return shipment.
Fix 5: Check the Household Standpipe or Sink Drain
If your washer drains into a standpipe or laundry sink and water backs up, the blockage may be in your home’s plumbing rather than the machine.
- Pour a bucket of water directly into the standpipe or sink.
- If it backs up or drains slowly, the pipe itself is clogged, not the washer.
- Use a plumber’s snake to clear it. Avoid caustic chemical drain cleaners in standpipes shared with other fixtures; they can damage older pipe seals.
- If it still won’t clear, this is a plumbing job, not a washer repair; call a plumber.
⚠ When to Stop and Call a Technician
If you’ve worked through all five fixes and the washer still won’t drain, the issue is likely beyond a DIY swap:
- Burnt-out drain motor or failed control board
- Internal wiring damage
- Damaged drum bearings or transmission components
- Persistent electronic error codes on smart-enabled washers that don’t clear after a pump/filter fix
Pro tip: Never open or attempt to rewire a control board yourself; it’s a shock hazard and will typically void any remaining warranty. If your washer has manufacturer app connectivity, check it first; several current-generation models surface a live drain-pump fault code in the app before you ever open a panel, which can save you a full teardown just to confirm what’s wrong.
For brand-specific quirks, these guides go deeper:
👉 [Fix GE Washer Not Draining, Full DIY Guide] 👉 [LG Washing Machine Common Problems 2026]
✅ Prevention Tips
A few habits go a long way toward avoiding a repeat of this repair:
- Clean the pump filter every 2–3 months
- Check pockets before every load
- Keep the drain hose kink-free and securely fastened
- Use HE detergent in front-loaders to reduce suds-related buildup
For a full seasonal maintenance schedule, see our dedicated guide:
👉 [Washing Machine Maintenance Schedule by Machine Age]
If drainage issues keep recurring alongside water pooling under the drum itself, it may be a separate seal problem, worth ruling out here:
👉 [How to Fix a Leaking Washing Machine Drum]
FAQs
Q1: Why is my washer still not draining after cleaning the filter?
There’s likely a deeper blockage or a failing drain pump. Work through the drain hose, pump, and lid switch checks in order before assuming the part needs replacing.
Q2: Can I manually drain the washing machine?
Yes. Unplug it, disconnect the drain hose from the back, and let gravity empty the line into a low container.
Q3: What does professional washer repair typically cost?
Rates vary widely by region, but a service call plus labor commonly runs into the low hundreds of dollars, DIY fixes on hoses, filters, and switches usually cost under $30 in parts.
Q4: Can a power outage affect draining?
Occasionally. If the machine froze mid-cycle during an outage, unplug it for a few minutes and restart the cycle once power returns.
Q5: How do I tell if the drain pump is just clogged versus actually broken?
Turn the impeller by hand with the machine unplugged. If it spins freely but nothing moves during a drain cycle, check wiring and connections first. If it’s stiff, grinding, or won’t turn at all, the pump needs replacing.
Q6: Is it safe to open the pump filter myself, or will it flood my floor?
It’s safe with basic prep. Expect a rush of water the moment you crack the cap, towels, a shallow container, and a rolled towel dam around the base keep it contained.
Q7: Can I test the lid switch without a multimeter?
Not reliably. Listening for a click tells you something’s off, but confirming an actual failed switch requires a continuity test; a basic multimeter is worth the small investment if you’re doing this repair yourself.
Final Thoughts
A washer that won’t drain is one of the more forgiving appliance problems to fix yourself; most cases come down to a clogged hose, a dirty filter, or a worn switch, none of which require special training. Work through the fixes in order, respect the safety steps around water and electricity, and you’ll likely have it draining again before you’d have even gotten a technician on the phone.
Tried one of these fixes? Tell us which one solved it in the comments; it helps other readers troubleshoot faster.